- Composites
- Finishing & Polishing
-
-
 FlexiDisc Dental Polishing Discs
 Dental Polishing Cups & Points
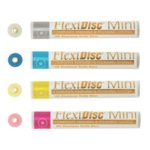
 Enamelize Dental Polishing Paste
 FlexiBuffs
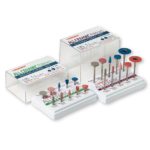 All Ceramic Polisher
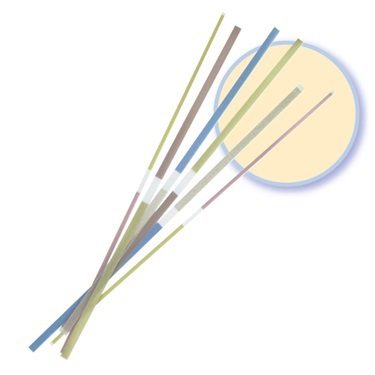 FlexiStrips Dental Polishing Strips
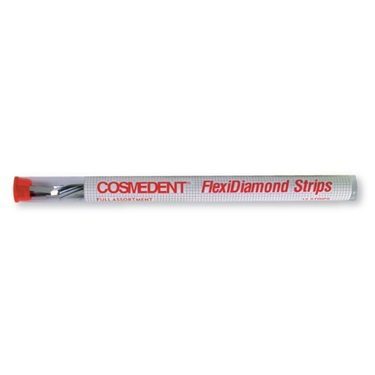 FlexiDiamond Strips
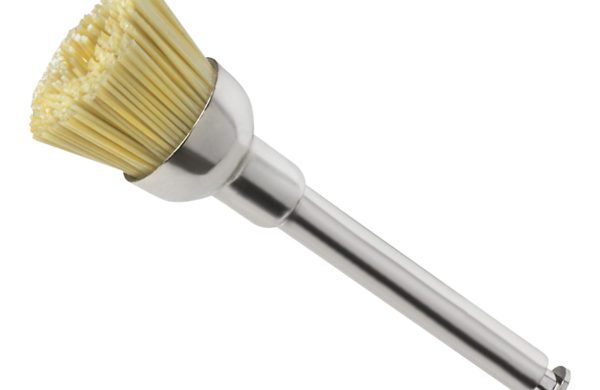 FlexiBrush Dental Polishing Brush
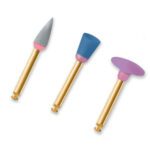 NANO / Microhybrid Diamond Polishers
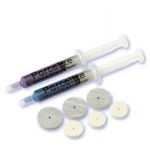 Porcelize - Porcelain Polishing & Finishing Paste
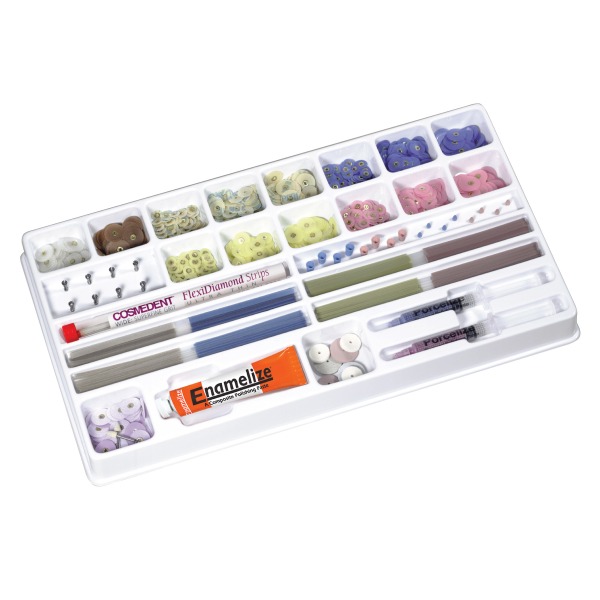 Top Finisher System
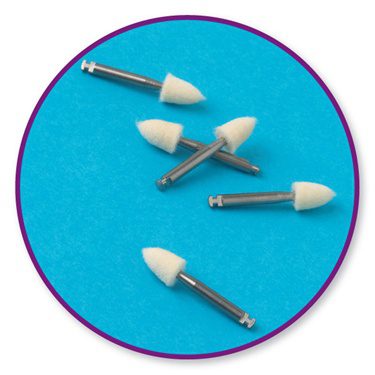 Felt FlexiPoints
-
-
-
-
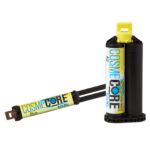
- Core & Temp
- Resin Cement
- Accessories
- Education
Webinar
The Art and Science of Adhesive Posterior Restorations
A complete class on the materials, tools, and procedures for high-quality, cost-effective adhesive restorations, focusing on posterior restorations and quadrant dentistry.
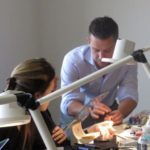
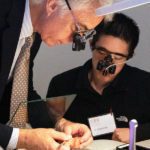
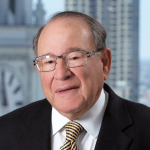
The Presenter: Dr. Javier Quiros
Dr. Javier Quiros has over 20 years of experience doing dental restorations and has had appointments at the University of Costa Rica and the Dental Aesthetics Program at Baylor University. Dr. Quiros discusses what is needed for quick and successful posterior restorations including the tools, materials, and methods that work best.
Overview: Adhesive Posterior Restorations with Composites
Most dental schools cover the basics of doing dental restorations, but best practices for dental restorations are always evolving, and new composites and tools are continually being developed as well. Adhesive posterior restorations, especially, require good isolation and careful attention to detail when it comes to anatomy.
In this webinar, Dr. Javier Quiros shows how to achieve proper anatomy and functional occlusion in posterior restorations. You will learn:
- Appropriate cases for adhesive restoration
- Materials used for restoration (composites, tints and adhesives)
- Instruments matrix and rubber dam systems
- Setup for posterior restorations (and quadrant dentistry)
- Best practices for placement and polishing
The webinar also includes video of several restorations in progress, and a Q&A.

Radiographic assessment of left side of face jaw in need of posterior restorations
Application: What Are Appropriate Cases for Adhesive Restorations?
Adhesive restorations make sense in cases where significant tooth structure has been lost due to decay, trauma, or deformity. Such cases commonly occur when a patient has multiple caries, broken teeth/restorations, or older restorations that are showing their age.
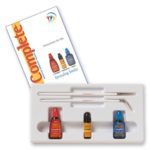
Materials Used for Restoration: Composites and Tints
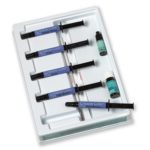
This webinar will review the main materials used in composite restorations, and why some materials are better than others. These include:
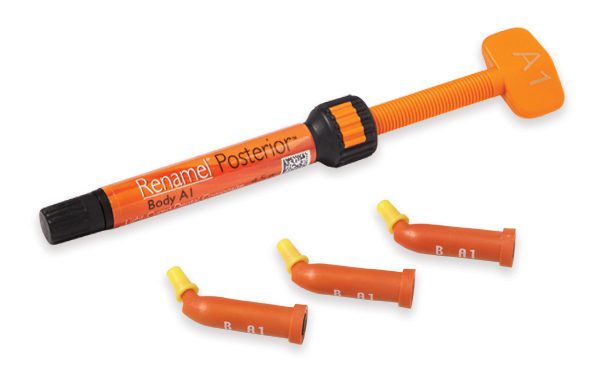
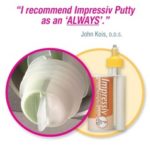
Microhybrid composites are strong composites created from a mixture of different fillers or of various sizes. This mix of sizes gives the composite its unique strength, which is absolutely necessary when doing posterior restorations. Studies have shown that the compressive strength of microhybrid composites surpasses even that of typical nano composites.
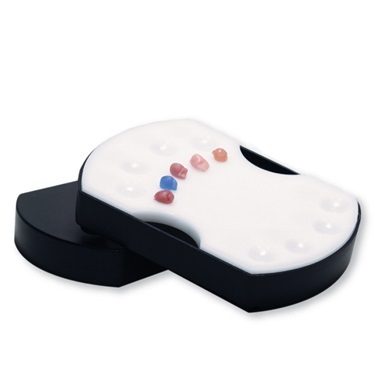
Tints are used to give the restoration a more natural look, mimicking pit and fissure stains to make the anatomy more distinct and natural-looking.
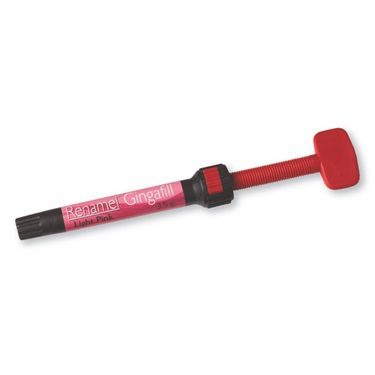
Opaquers, including Pink Opaque, mask unwanted colors (for example, dark colors left by old amalgam)

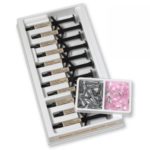
List of materials for direct restorations composites shades tints.
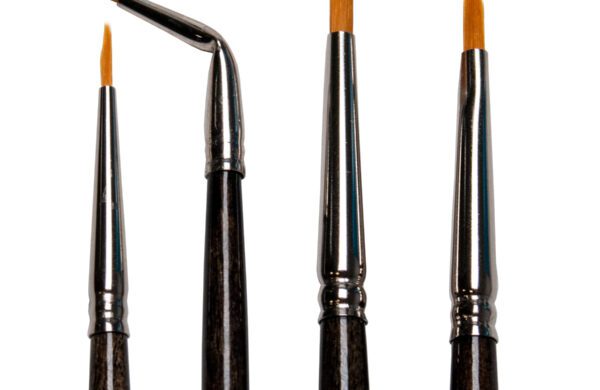
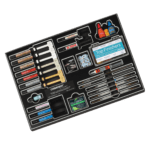
Instruments and Tools Worth Investing in for Best Posterior Restorations
Experts in adhesive restorations tend to prefer some instruments and matrices over others. Some of the instruments and tools highlighted in this webinar include the following:
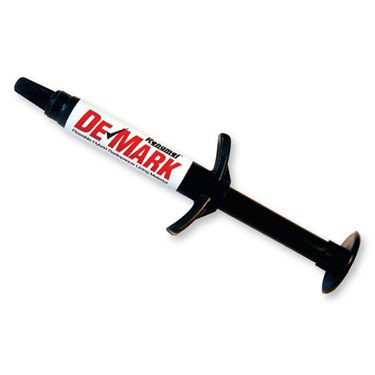
Caries detector. A caries detector is a non-specific protein dye that stains the organic matrix of demineralized tooth structures. This helps to identify caries so that they can be removed as completely as possible before doing the posterior restoration itself.
Curing light. Too many dentists still use curing lights from years ago—even from dental school! Investing in a new curing light can save time and improve polymerization.
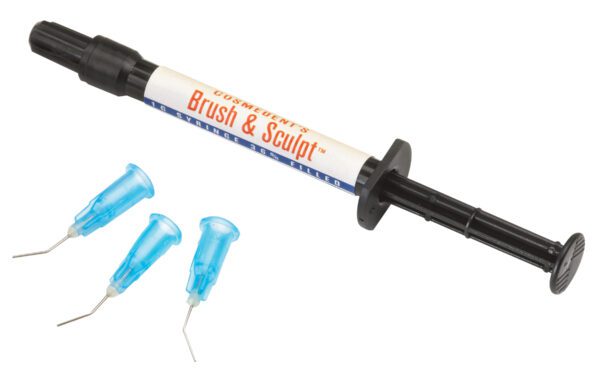
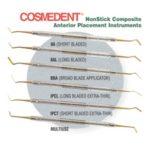
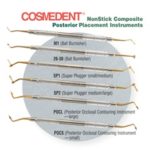
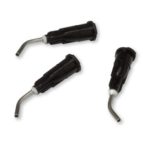
IPCT and Multi-Use composite instruments. Ideally, non-stick instruments should be used so that the adhesive material does not cling to instruments when used.
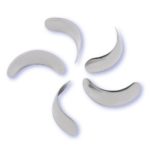
Matrices. Interproximal contacts with direct restorations are done with matrices. Sectional matrices are preferred because they will not leave space in between contacts.
Rings. Rings are to strengthen contacts between facets, which helps prevent food impaction.
Wedges. Wedges help to compress a matrix band against the tooth structure, which helps create a tighter seal.

IP thin use being demonstrated for adhesive restoration of posterior teeth
Setup for Posterior Restorations (and Quadrant Dentistry)
In the process of showing several restorations, Dr. Quiros reviews best practices when it comes to setting up posterior restorations, including:
Radiographic assessment. A good radiographic assessment will verify that the patient is a good candidate for restoration and will give a good idea of the scope of the restoration.
Isolation. Isolation of the posterior teeth is important; in these examples, a rubber dam is used. A Note on Quadrant Dentistry: It is recommended that the entire quadrant be isolated and worked on at one time. Not only does this give you more area to work in, but contacts are adapted better, and occlusion is better. Plus, most patients would prefer making a single appointment, rather than multiple ones. Isolating a full quadrant takes two minutes, once practiced, but can save 10 to 20 minutes of appointment time.
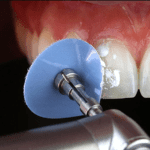
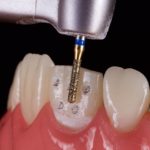
Getting to Work: Placement and Polishing
After etching comes placement of the adhesive. Dr. Quiros uses three to five coats per tooth. Coats are placed without curing or drying—only once all coats are placed is the resin cured.
When closing two boxes, matrices are used so that individual teeth can be worked on sequentially. Using the right sectional matrices allows for good contact.
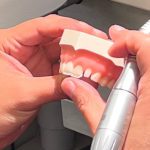
When it comes to anatomy, there are several “tricks of the trade” for remembering the forms of posterior teeth. Practicing these, as demonstrated in the webinar, will help the practitioner craft more natural looking and more functional restorations.
At the end, it is very important to polish the composite restorations with the appropriate polishers so that they will last.
Adhesive Posterior Restoration Cases
Throughout the webinar, Dr. Quiros will demonstrate several cases of adhesive posterior restorations, including:
- A multi-contact case using sectional matrices
- An interproximal with extensive decay
- A case with “tricky anatomy”
- A lower molar with a large onlay and cavity
The Art and Science of Adhesive Posterior Restorations webinar also includes a Q&A with the audience.