


Questions
How do I polish a microhybrid or nanofill composite?
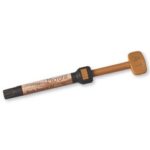
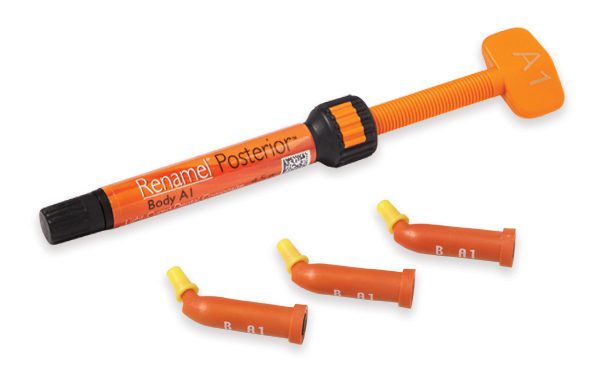
What are the steps to polishing my Renamel Microfill Restoration?
Can Microfill be used by itself for an anterior restoration?
When should I use a flowable composite?
How long do I cure my composite?
How thick of an increment can I cure with the Renamel Microhybrid?
How do I keep my composite from sticking to my instruments?
How do I add hypo/hypercalcification to my composite restoration?
How do I add staining and crazing to my composite restoration?
How do I add incisal translucence to my restoration?
How do I repair pits in my Renamel restorations?
Can I use Renamel Microfill on a posterior restoration?
Do I need to use a liner with Renamel Microhybrid or Renamel NANO in the posterior?
Is Renamel Microhybrid radiopaque?
Can I use Renamel Microhybrid to build up a core?
How do I remove the oxygen inhibited layer?
What is the shade Milky White Occlusal (MWO) used for?
Why did my porcelain restoration shift color?
What types of restorations will Insure work with?
How do I make Insure lighter or darker?
What is the curing time of Insure?
What is the difference between light cure, dual cure and self cure?
Should I refrigerate materials?
Answers
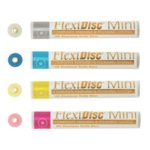
How do I polish a microhybrid or nanofill composite?
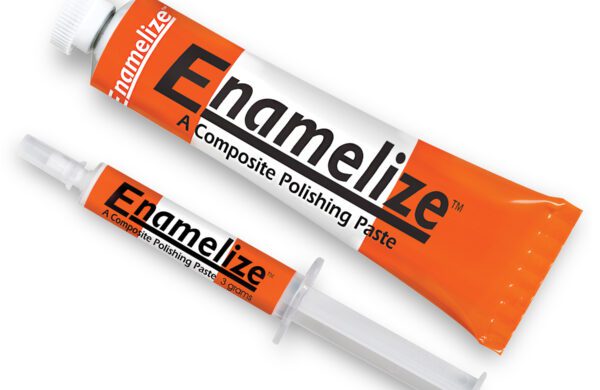
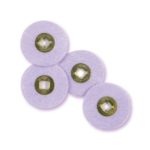
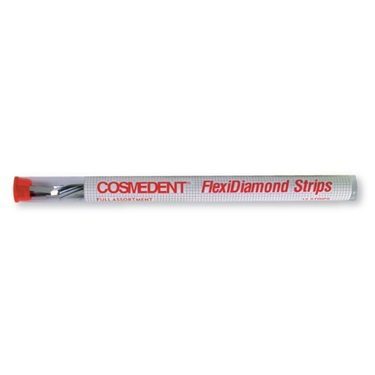
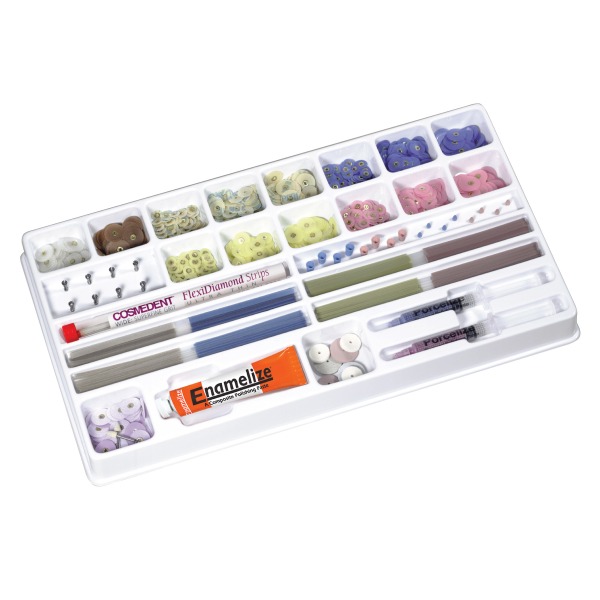
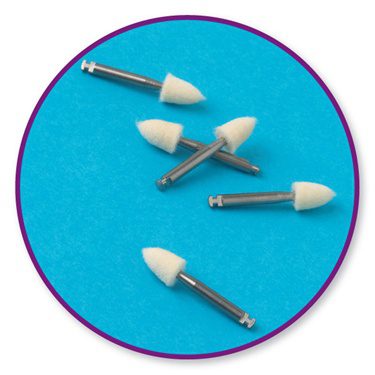
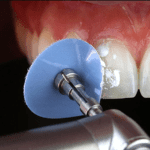
Begin by using various finishing burs of your choice. The different shapes and sizes of burs will enable you to contour the bulk of your restoration. Next you should follow the FlexiDisc 4 grit Sequence: coarse, medium, fine, superfine. You may use FlexiDiscs wet or dry. Start with FlexiDisc (Grey). This disc is the most abrasive of the four FlexiDisc grits so use gently so as to not remove too much of your contours. Next, use FlexiDisc Medium (Blue), followed by FlexiDisc Fine (Yellow) and lastly FlexiDisc Superfine (Pink). Your final step should be to use a Felt Flexi buff used with our polishing paste called Enamelize. The end result is magnificent!
If you prefer to use diamond polishers you should try Cosmedent’s new Nano/Microhybrid diamond polishing kit, which includes 9 reusable diamond polishers, one point, cup, and wheel of each grit; coarse for initial contouring; medium for finishing, and superfine to bring out the polish. Make sure to finish with a Felt Flexibuff and Enamelize polishing paste to achieve a beautiful final luster.
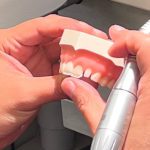
What are the steps to polishing my Renamel Microfill Restoration?
After the restoration is contoured (usually with a carbide burr) the sequence for polishing is as follows:
1. Refine contour with Coarse (Grey) FlexiDiscs
2. Remove small scratches and start the polishing with Medium (Blue) FlexiDiscs
3. Polish to a shine with Fine (Yellow) FlexiDiscs
4. Add surface characterization with Medium (Blue) followed by SuperFine (Pink) FlexiCups and FlexiPoints.
5. Polish to a high shine with SuperFine (pink) FlexiDiscs
6. Polish to a high luster using Enamelize and FlexiBuffs.
Can Microfill be used by itself for an anterior restoration?
In most instances, yes, but it depends on the case. If a patient presents with a simple or rather small diastema closure, Renamel Microfill has just the right amount of translucency and opacity within the matrix of the material to accomplish this procedure.
You must always consider your tooth preparation. If the patient has a large or rather complex diastema then Renamel Nano, Renamel Microhybrid or a Creative Color opaquer may be needed. Also, in restorations involving the incisal edge, Renamel Microhybrid or NANO should be placed on the lingual incisal portion first to lend strength and opacity to the restoration. However, in many instances pertaining to class III’s or class V’s, yes you can use a Microfill by itself.
Can I use pink opaque on something that’s not necessarily a dark stain or metal, or do I have to order a vita shade opaque?
When using a hybrid, nano or microfill technique and opaquing becomes necessary, it is strongly recommended that you use the corresponding vita shade opaquer shade.
Cosmedent’s Pink Opaque is specifically designed to mask dark brown tetracycline stains and unsightly gray metal show through due to fractured porcelain. Because of its neutral or “soft” shade, pink materials have been used in labs for many years for just this reason. In theory, you could probably use pink opaque for masking certain situations but is it really worth the risk not achieving a true or absolute shade match on an anterior tooth? Probably not. We are working with millimeter incremental layers in dentistry and therefore must always be cognizant of what and how much we layer, being ever present or mindful of the final esthetic result.
When should I use a flowable composite?
Use flowable composites such as Renamel Flowable Microfill and Renamel Flowable Microhybrid for fast and simple repairs such as sealing margins, repairing pits and defects, small occlusal repairs, sealing gingival margins in Class II and Class III restorations and in deep Class V restorations prior to overlay of microfill.
How long do I cure my composite?
Each incremental layer should be cured for 20 seconds. The final polymerization should be for 60 seconds.
How thick of an increment can I cure with the Renamel Microhybrid?
Regardless of whether or not you are using Renamel NANO, Renamel Microhybrid or Renamel Microfill, each composite increment should be placed no more than 2 to 2 ½ millimeter increments at a time and then polymerized.
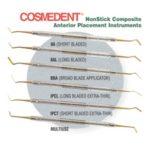
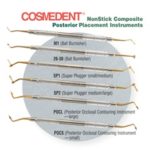
How do I keep my composite from sticking to my instruments?
First of all, make sure you are using titanium coated instruments when manipulating any composite resin, such as Cosmedent’s non-stick composite placement instruments. If you still find your composites sticking to your titanium instruments you may use a damp alcohol gauze, intermittingly swiping between adding or shaping to the composite restoration. Please remember not to ultrasonic these instruments as they will create microscopic scratches and ultimately remove trace amounts of titanium from the instruments causing more sticking problems in the future.
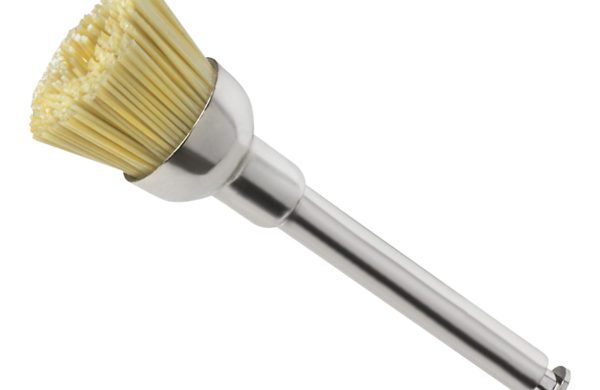
How do I add hypo/hypercalcification to my composite restoration?
Take the blunt edge of Cosmedent’s Brush #3 and dip the very end of the bristles into Creative Color White Opaque and dab/apply the material either on top of a polymerized nano or hybrid layer. After the White Opaque has been strategically placed and light cured, you may then overlay with microfill. Once the microfill is cured, you should then see the effects of this type of characterization coming through the microfill layer. You may also entrap the Creative Color White Opaque within the body or matrix of the microfill material by troughing out a desired area, placing the creative color white opaque and then squeezing the troughed out area together and then light cure.
How do I add staining and crazing to my composite restoration?
Staining can be accomplished by adding any of Cosmedent’s Creative Color tints to a polymerized hybrid or nano layer and then overlaying with Renamel Microfill. Craze lines can be created using a technique called Trapping. The uncured facial layer of composite is sliced with a thin instrument such as an IPCT, and then the tints may be added into the slice. The microfill should then be gently squeezed together so the tints are trapped or sandwiched within the matrix of the material. Staining and crazing effects should never be on the outermost surface of the composite restoration.
How do I add incisal translucence to my restoration?
First you must determine which translucent shade would be applicable for the restoration. If you are using a lighter or brighter shade, such as SB1, SB2, SB3, white, BO, B1, or Al, I would strongly suggest using the Renamel Microfill Light Incisal. If you are using any of the other A,B,C,D, range upward of 2, 2 ½, 3, 3 ½ , then Renamel Microfill Medium Incisal should be used. Finally, the darkest shades such as C4, C5, A5, A6 etc. should require the Renamel Microfill Dark Incisal or DI. Remember, there are always exceptions! You must always consider the overall value of the patients existing dentition and/or existing translucency on any natural teeth.
You may add the translucency into the soft body of the microfill or you may intersculpt it into the polymerized body material as well. Either way, this procedure is not easy to explain verbally without the aid of line drawings or photographs to better enable the dentist a greater understanding of how just exactly to manipulate the material once the proper translucency has been selected. Cosmedent offers courses on incisal translucency at the Center for Esthetic Excellence, Cosmedent’s very own educational center. We highly recommend you come to one of these segmented mini courses and drastically improve your ability to create natural incisal translucency.
How do I repair pits in my Renamel restorations?
These repairs vary slightly depending on if the restoration is Microhybrid, Nano or Microfill. For Microhybrids and Nanos, the pit and the area surrounding the pit can be prepared with a microetcher or roughened with a round diamond burr. (Remember you cannot bond to a polished surface). If the material is a Microfill, a microetcher should not be used. Instead, roughen the surface with a burr or Coarse Flexidisc. Rinse and dry the area to be repaired. Add some unfilled resin to the pit and surrounding surface, then gently air thin. Do not light cure. If you know what type of composite the rest of the restoration is, determine the proper shade and use the same type of material. Microfills are best used on anterior teeth for pit repairs, and hybrids and nanos are best used on posterior surfaces for pit repairs. The dentist may either use a flowable material or a body material to repair the pit. Place the material, shape, sculpt, cure, finish, polish, and you’re done.
Can I use Renamel Microfill on a posterior restoration?
Yes, but there are certain instances that need to be addressed. First of all, microfills have a smaller more uniform particle size. Because of this, they are not as strong as a microhybrid or a nanofill composite and although if used in the posterior region on an occlusal surface in particular, one may see less particle plucking and or ditching around the margins of the restoration due to constant masticatory (chewing, biting, eating) force, they will not hold up as well over the long term.
Microfills would be better suited posteriorly on the buccal or lingual surfaces of premolars and molars, not occlusal surfaces which bear the most brunt of the wear. In truth, microfills were not meant to withstand such strong occlusal forces and my recommendation would be to use Renamel NANO or Renamel Microhybrid on posterior teeth.
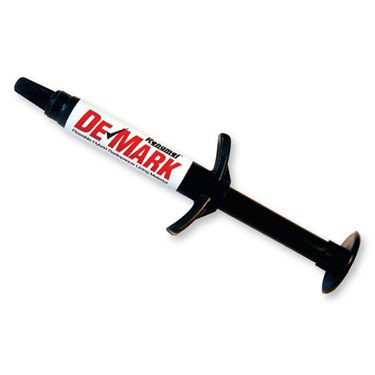
Do I need to use a liner with Renamel Microhybrid or Renamel NANO in the posterior?
It depends on what the doctor is trying to see. Other than metals, most composite materials are not truly radio opaque. Some are what we refer to in the industry as “radio apparent” which is a kinder way of saying, they are not radio opaque but you can ‘kind of’ see them. In a class II or III posterior restoration, you may wish to use Cosmedent’s flowable radio opaque liner, De-Mark is a great composite liner that clearly demarcates a composite restoration on an x-ray. Although not necessary to use a liner in the posterior, the use of De-Mark is strongly recommended as it will eliminate the problem of misdiagnosing decay.
Is Renamel Microhybrid radiopaque?
Renamel Microhybrid is slightly radiopaque. We recommend using De-Mark as a flowable radiopaque cavity liner as it is more radiopaque than enamel.
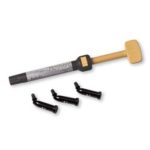
Can I use Renamel Microhybrid to build up a core?
Yes, but although amalgam and various hybrids, microfills and nanofills can be and have been used for years in the dental industry for core build ups, there are much more suitable materials on the market today. As an alternative to the time consuming process of building up composite and amalgam cores, Cosmedent has created CosmeCore, a dual cure core build up material, suitable for bulk application. CosmeCore is preferable to using a Microhybrid because during crown preparation, the tactile feeling is the same as the dentin and enamel being prepped. Many core build up materials from other dental manufacturers are not nearly as hard, so it is easy for the dentist to gouge the prep. CosmeCore’s hardness allows it to prep just like tooth material.
Can I etch a microhybrid?
Yes. There are two methods to prepare the surface of hybrid for repairs. The first is to use a clear composite etch (9.5% hydrofluoric acid). It is important to use clear etchant because tinted solutions will stain composite. Adjacent teeth and soft tissue need to be protected before starting. We recommend using GingaGuard Light-Cure Resin Dam Material. The Cosmedent Composite Etch should be applied and allowed to work for five minutes, then rinsed off with copious amounts of water. The second method is to prepare the surface is using a microetcher. As with the first method, protecting the adjacent teeth and soft tissue is important; this should be done with GingaGuard. Follow the instructions from the manufacturer to prepare the surface. Because Microfill cannot be etched or microetched, it is important to know what type of composite is being prepared.
How do I bond to metal?
Bonding to metal should be an easy procedure if you follow several very important rules. First, you must isolate the area to be bonded. Use of cotton rolls, retraction with a mouth mirror, bite block, rubber dam, Gingaguard, and the use of a saliva ejector or oral evacuator is important. (Not all of these items may be necessary, but the point is, you must find an accurate means of isolating the repair area if you want the procedure to be successful.)
All metal, whether precious, semi-precious or non precious should be adequately isolated from water or any oral fluids such as blood or saliva. Microetch the metal using either a sandblaster with aluminum oxide particles or a course or medium diamond bur is sufficient to roughen or prepare the metal. Do not use both methods as it would be redundant.
Next, apply bonding resin and light cure. Please note, follow the manufacturer’s instructions to whatever bonding adhesive system you are using to make absolute certain it is applicable for such procedure. Next, apply a layer of Cosmedent’s Pink Opaque and light cure. Better to place one or two thin coats, light curing between each coat, than to place one thick coat.
Next, place a thin layer of Renamel NANO or Renamel Microhybrid on top of the Pink Opaque layer and shape it accordingly. Then apply a microfill if so desired, otherwise after the nano or hybrid has been placed, light cure, finish and polish.
How do I remove the oxygen inhibited layer?
The air inhibited layer, often referred to as the “sticky layer” is the phenomenon that occurs on each cured/polymerized layer of composite. It is in fact, the very reason that each additional layer of composite can continue to be added to build a restoration. Removing the oxygen air inhibited layer is simple and occurs in the initial phases of finishing and polishing. The Oxygen inhibition layer can also be eliminated prior to the final cure by placing a coat of Oxygone (clear glycerin gel) on the surface. Since the composite is no longer exposed to Oxygen, there is no more sticky layer. Remember though, if you wish to apply more composite to the restoration after you remove this air inhibited layer, you must add unfilled resin to the composite surface and polymerize it once again.
What is the shade Milky White Occlusal (MWO) used for?
MWO is a beautiful shade to be used for a direct posterior composite restoration. It has more opacity than translucency within the matrix of the material and thus simulates the loss of posterior tooth structure quite nicely. It is also used anteriorly to build up incisal edges and create characterization within the incisal third of a composite restoration, be it a Class IV or a direct composite veneer.
Why did my porcelain restoration shift color?
There are many reasons why your porcelain restorations can shift color. Below are some of the most common causes:
- Improper treatment of tooth structure prior to cementation.
- Expired bonding adhesive or expired cement.
- Open margins of the restoration causing microleakage or porosity.
- Contamination upon seating the restoration for example, blood or hemostatic agent.
- Inadequate polymerization of adhesive and or cement.
- Improper fabrication of the restoration.
Why did my porcelain debond?
Porcelain can debond for the following reasons:
- Contamination of something on either the tooth or restoration such as blood, saliva, hemostatic agent etc.
- The surface or intaglio of the restorations was not prepared properly.
- The surface of the tooth structure was not prepared properly.
- The dentist used an expired adhesive system or an adhesive system not applicable for indirect bonding procedures.
- The dentist used expired or inadequate cement for the procedure.
- The patient has a problem such as grinding or clenching or is not wearing the prescribed mouth guard or night time appliance.
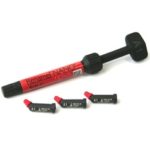
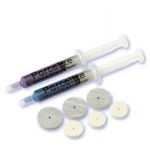
What types of restorations will Insure work with?
Insure has two viscosities, Insure Lite and Insure Regular. Insure regular viscosity is applicable for porcelain or composite veneer cementation. Insure Lite viscosity mixed with Simulcure catalyst is applicable for porcelain, composite, precious, semi-precious and non precious cementation of inlays, onlays, crowns and bridges. I am not aware of any restorative prosthesis that cannot successfully be cemented with Insure. Insure Lite Clear/Simulcure Automix is a great new addition to the Insure System. This convenient automix dispensing system is great for inlays, onlays, crowns and indirect composite repairs.
How do I make Insure lighter or darker?
Insure resin cement is made lighter or darker by either increasing or decreasing the hue, chroma or value of the material by manipulating various other insure shades such as our opaque or translucent shades. This is best accomplished with the use of Prevue, Cosmedent’s water soluble try-in gels that give the dentist the freedom of trying in restorations for proper shading without the fear of them polymerizing in the mouth prematurely. Once the established shade has been successfully achieved, it may be duplicated by using the exact same proportional mix with the permanent Insure resin cements. The Insure instructions contain a very useful chart that details the steps needed to lighten or darken the Insure resin cement.
What is the curing time of Insure?
Initially Insure restorations should be “tacked” into place with 10 second cure time using a small light tip on the incisal and cervical. Then after cleaning all the excess off of the margins, the restoration should be cured for 60 seconds from each direction. If the light tip is smaller than the restoration, it must be cured multiple times.
What is the difference between light cure, dual cure and self cure?
The term light cure implies any dental material such as a resin cement or composite, which will (harden/set/cure/polymerize) with the use of a light source (primarily, a curing light) Any dental material requiring light curing should be used with a “light cured” bonding adhesive/primer solution. The ability to “light cure” something effectively is primarily based on “how thick” it is, such as a porcelain veneer which is typically a very fine or thin piece of porcelain in which the light can adequately “pass” through the depth or thickness of the restoration.
Dual cure or dual curing is typically required for any dental material that exceeds the depth or thickness of something that can be fully cured with a light such as an inlay, onlay, crown or bridge that needs “additional curing” in which the light curing aspect alone will not adequately polymerize. Hence, a dual cure bonding adhesive/primer is required for this procedure. You must use a curing light to initiate polymerization of a dual cure procedure.
Self curing or self cure implies a dental material that requires the mixing of two materials to initiate the polymerization process. Cosmedent currently does not offer/make/sell any self cure dental materials.
Should I refrigerate materials?
We recommend keeping Renamel and Insure at room temperature. Refrigeration could cause the material to become too stiff and the syringes could break if adequate time is not allowed for the material to reach room temperature before dispensing it. However, if you do choose to refrigerate Renamel or Insure, remove the materials from the refrigerator at least 24 hours before using it.
Which is better for Class IV fracture, a combination of Renamel Microfil and Renamel Microhybrid or just Renamel Nano?
For ease of restoration, it is best to restore a Class IV fracture with Renamel NANO plus Renamel Microfill if desired. Always start a Class IV with Renamel NANO because of the materials no slump consistency. Since there is more translucency in the NANO you may need to use an opaquer. The Renamel NANO will polish to a nice shine, but if ultimate esthetics is desired you should overlay the NANO with Renamel Microfill.
Is it essential to polish (as described in your posted Q & A) on all composite restorations? What is the long term Benefits of proper polishing when used, and what are the pit falls if little or no polishing is exercised? Thank You
It is absolutely essential to polish all Nanofills, Microhybrids and Microfills as stated above. The long term benefits of proper polishing will ensure the smoothest surface possible resulting in a reduction of plaque or calculus to the restoration, long term color stability i.e, eliminating or avoiding staining the composite restorations due to coffee, tea, red wine drinking etc. When polished properly near the embrasure area or cervical third area of the tooth in question, the gingival tissue will also remain superior.
The pit falls of improper polishing will result in unnecessary roughness which will result in the adherence of plaque and stains, breakdown of the material over time due to particle plucking and ditching around the margins.
Does wiping the surface of a preparation after resin coating with flowable composite remove the oxygen inhibited layer sufficiently to allow accurate impression taking with an addition cure PVS material?
After the flowable composite has been placed and light cured, take a moist gauze and wipe the surface. That will ensure the removal of the oxygen inhibition layer and a successful impression will result without any sticking of the PVS to the restoration.