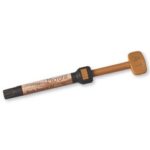
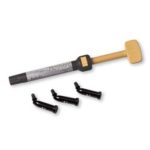
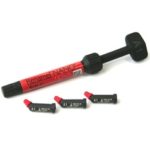
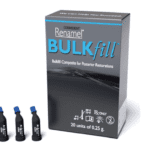
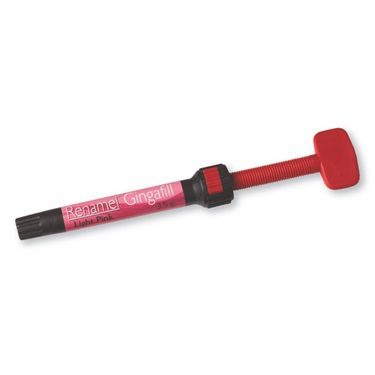
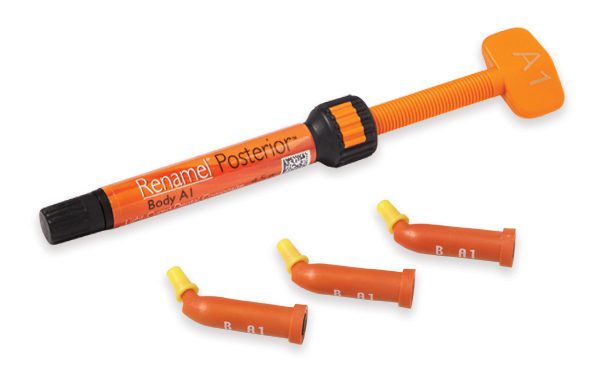
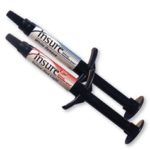
- Composites
- Finishing & Polishing
-
-
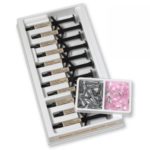
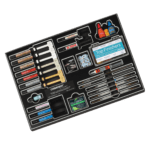
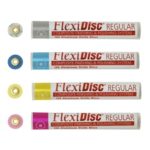 FlexiDisc Dental Polishing Discs
 Dental Polishing Cups, Burs & Points
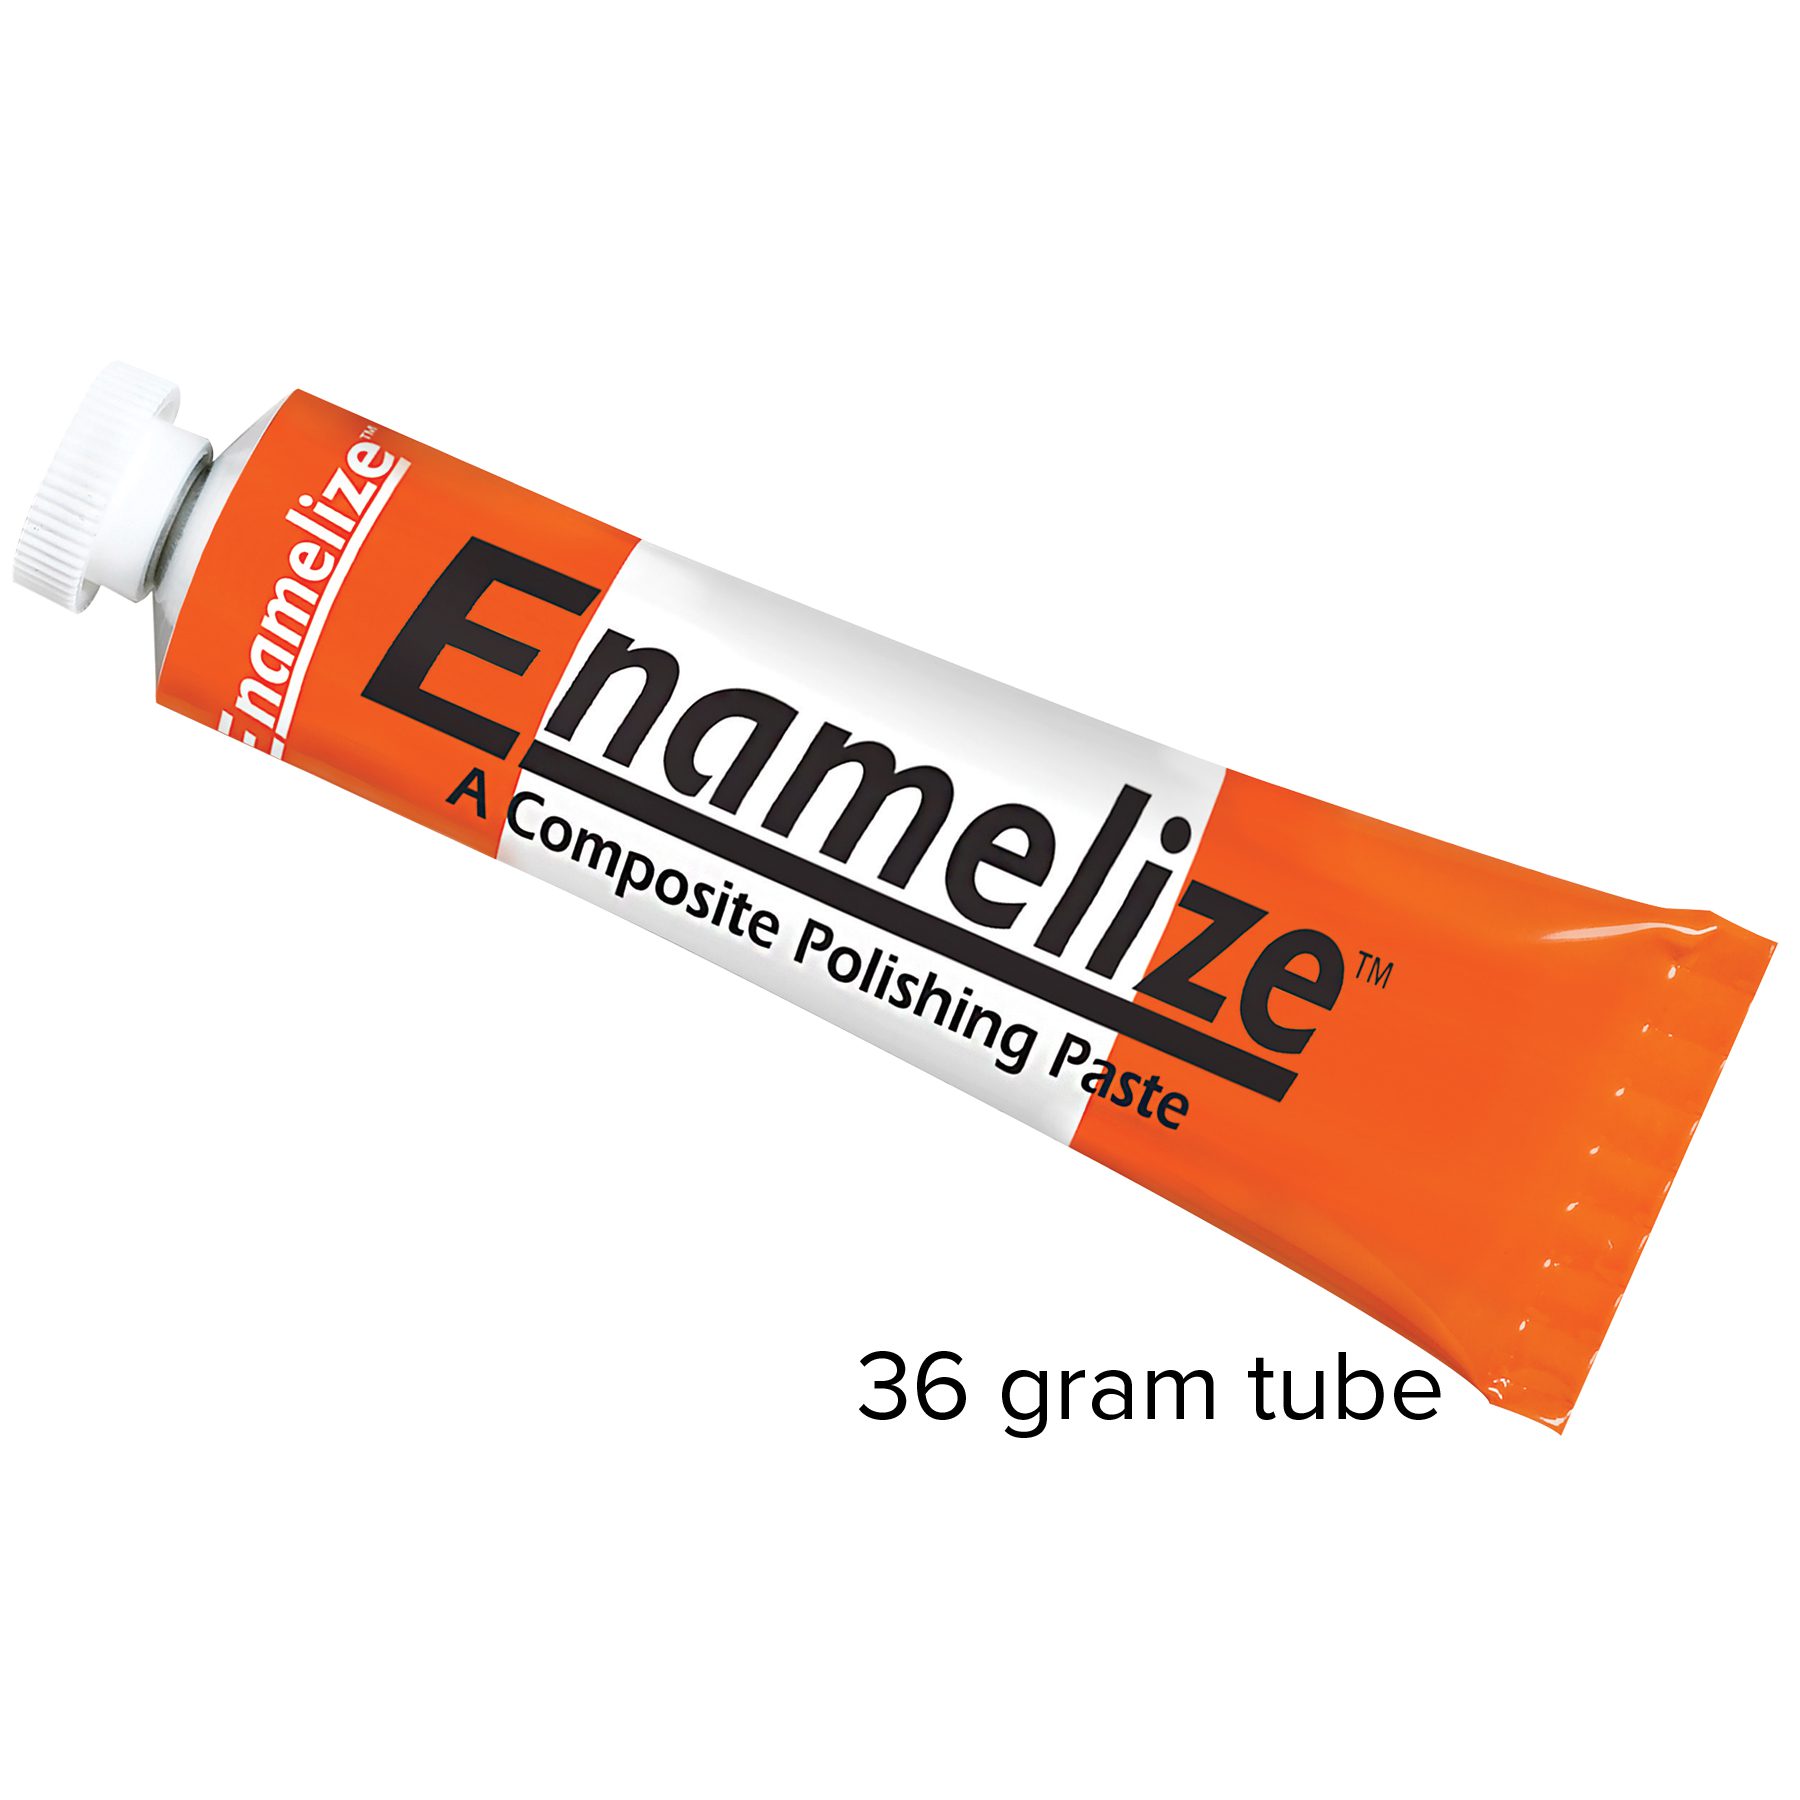 Enamelize Dental Polishing Paste
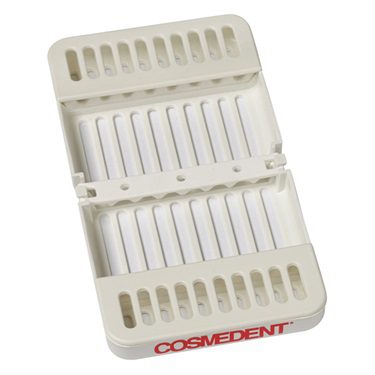
 FlexiBuffs
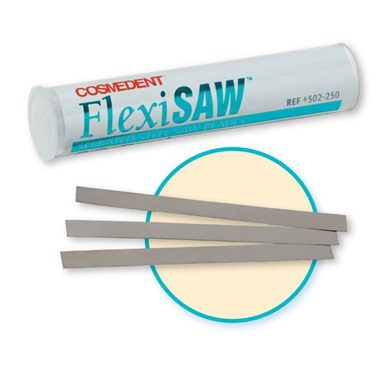 FlexiSAW
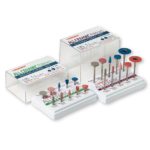 All Ceramic Polisher
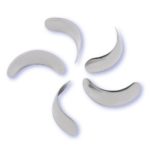
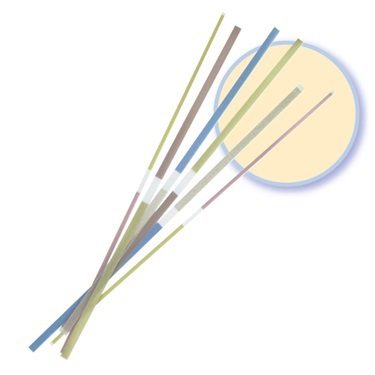 FlexiStrips Dental Polishing Strips
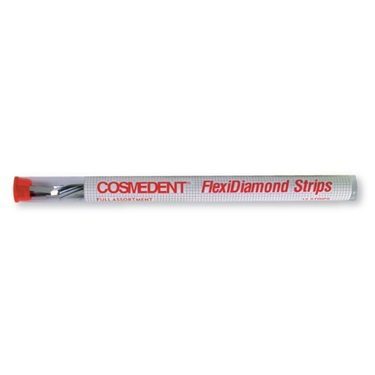 FlexiDiamond Strips
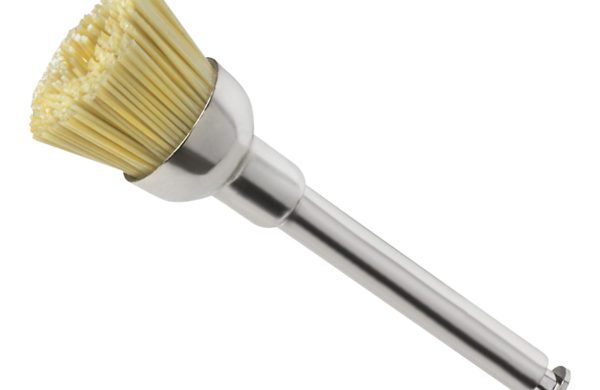 FlexiBrush Dental Polishing Brush
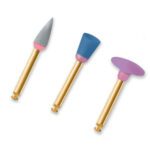 NANO / Microhybrid Diamond Polishers
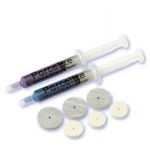 Porcelize - Porcelain Polishing & Finishing Paste
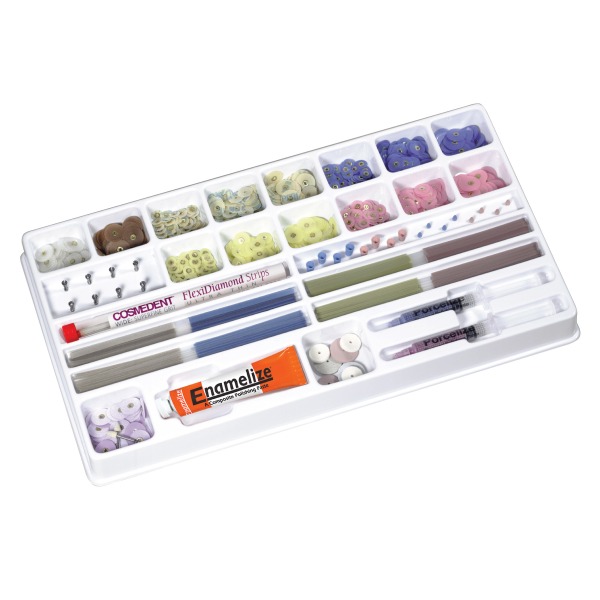 Top Finisher System
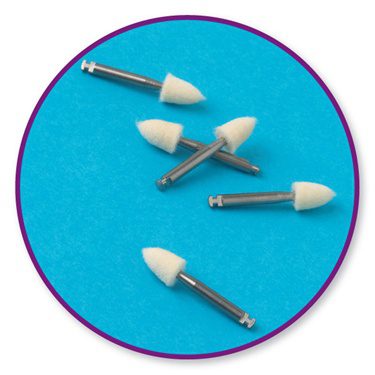 Felt FlexiPoints
-
-
-
-
- Core & Temp
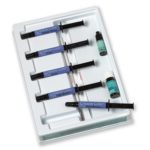
- Resin Cement
- Accessories
- Education

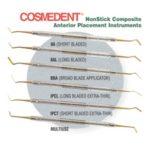
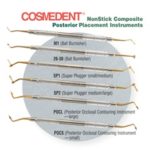


Restorative Techniques
Restorative Technique – Class III Composite
Step-by-step Class III Restoration
This PDF download by Dr. Buddy Mopper provides the pictorial steps involved in a Class III restoration from preparation to final polish. In this case, there is a carious lesion on the proximal surfaces of the canine.
Preparing the tooth for a Class III Restoration
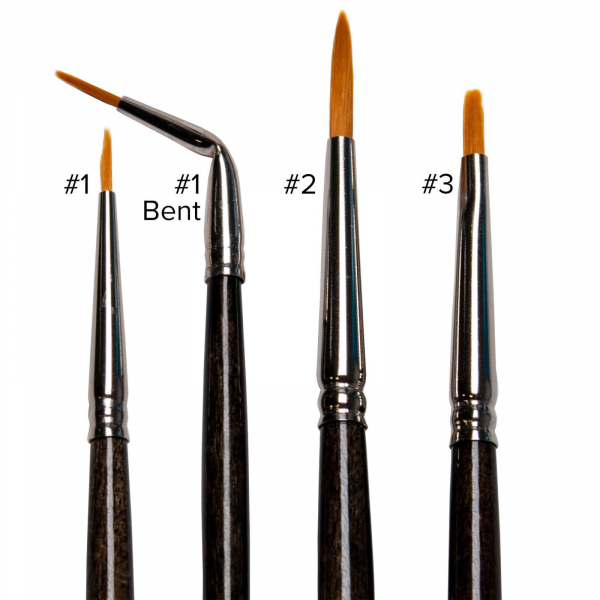
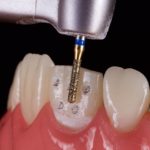
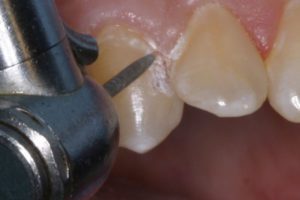
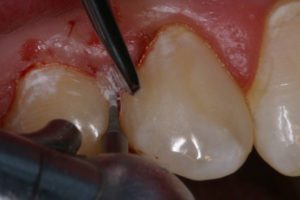
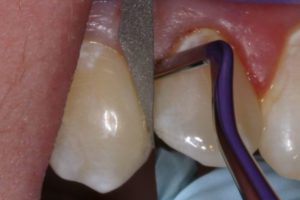
The first set of steps involves the preparation of the tooth, including etching and bonding. Begin by preparing the tooth using a 330 Carbide bur. Next clean the interproximal contact with Cosmedent’s FlexiDiamond Strip. You then clean the interproximal contact with Cosmedent’s FlexiDiamond Strip. After cleaning, create a uniform 2mm long bevel with the 6862-012 diamond bur. Then apply Cosmedent’s EnamelEtch well past the long bevel using the #1 Brush. In final preparation step, apply the bonding adhesive, Cosmedent Complete.
Class III
Begin preparation using a 330 Carbide bur.
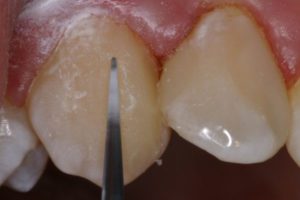
Clean the interproximal contact with Cosmedent’s FlexiDiamond Strip.
Create a long bevel with 6862-012 diamond bur.
Notice the uniform 2mm long bevel.
Apply Cosmedent’s EnamelEtch well past the long bevel using the #1 brush.
Bonding adhesive in place (Cosmedent Complete.)
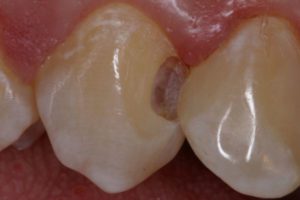
Dentin Replacement
The steps walk you through the placement of the substructure of the tooth with either a Microhybrid or Nanofill composite. This dentin replacement, in this case, Renamel Microhybrid A3, is used as a base for its strength. It will also increase value and opaque the darkened area of the tooth. Using the Cosmedent 8AL instrument, sculpt the Renamel Microhybrid to the leading edge of the long bevel. Polymerize the Microhybrid.
Place Renamel Microhybrid A3 to increase value and opaque darkened area.
Sculpting of Renamel Microhybrid with Cosmedent’s 8AL to the leading edge of the long bevel.
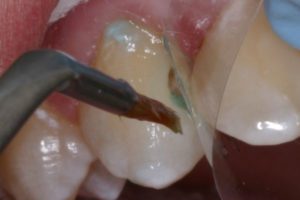
Enamel Replacement
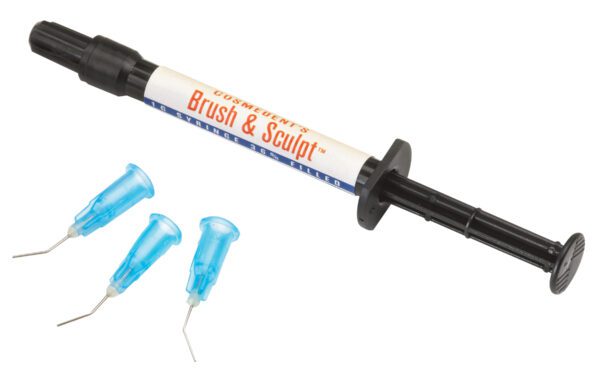
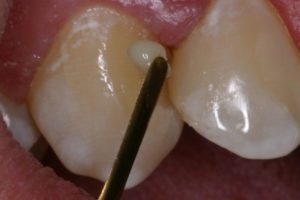
The Renamel Microfill layer is added next to simulate the enamel surface of the tooth structure. Take a small amount of Microfill in your fingers and roll it into a convenience form. This makes it easy to place on the tooth. Place the Renamel Microfill layer using Cosmedent’s 8AL instrument. Polymerize this final layer for 60 seconds.
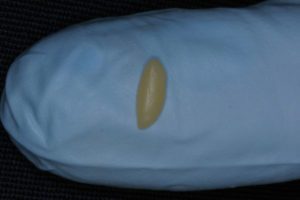
Renamel Microfill A3 rolled into a convenience form
Place Renamel Microfill layer using Cosmedent’s 8AL instrument.
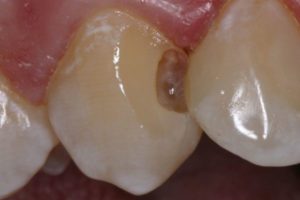
Finishing and Polishing the Composite Restoration
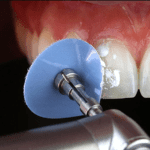
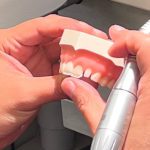
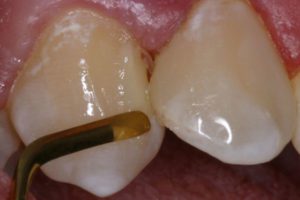
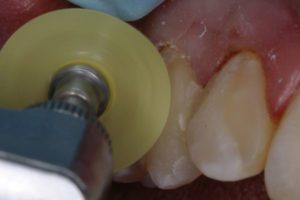
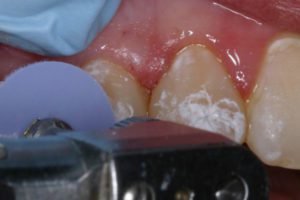
The final steps finish and polish the restoration. Add initial contour to the restoration with an ET9 carbide bur. When contouring, move the bur from composite to tooth. Next, using a series of aluminum oxide discs, you will continue to refine and then polish the Class III restoration. Cosmedent offers the FlexiDisc System (Mini Center) with four different girts — Coarse, Medium, Fine and Superfine. After using the ET9 bur, you will use the Coarse FlexiDisc to blend the Microfill margin into the tooth. You will then follow up with the 3/8″ Medium FlexiDics to finish at the cervical. Additionally, contour the restoration starting from the proximal to create perfect embrasures with the 5/8″ Medium FlexiDisc. To start the initial polish, use the 5/8″ Fine FlexiDisc.
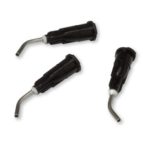
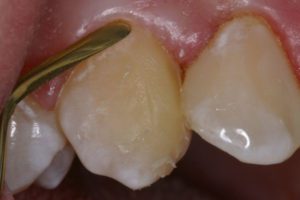
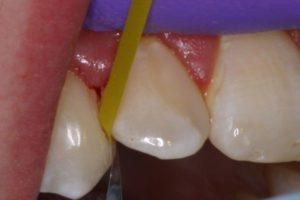
Before the final polish, retract gingival tissue and reduce excess flash with the 8392-016 bur. Using the 8A instrument to torque between the two teeth, gently separate the teeth with the FlexiDimond Strip. Run a Fine/Superfine FlexiStrip in the interproximal.
To finish the composite restoration, add a dab of Enamelize Polishing Paste and polish with a FlexiBuff disc.
Contour restoration using the ET9 carbide bur (moving from composite to tooth.)
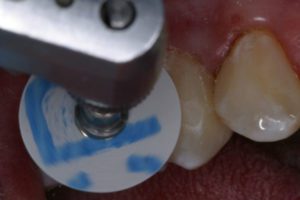
FlexiDisc Coarse – blend the Microfill margin into the tooth.
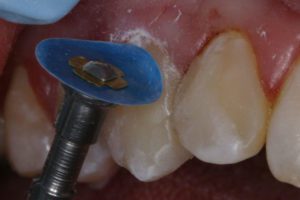
FlexiDisc Medium 3/8″ – finish at the cervical.

FlexiDisc Medium 5/8″ – contour starting from the proximal to create perfect embrasures
FlexiDisc Fine 5/8″
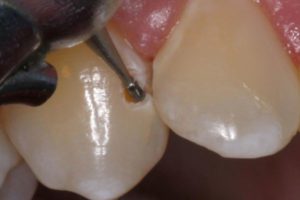
Retract gingival tissue and reduce excess flash with the 8392-016 bur.
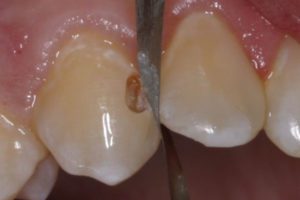
Use the 8A instrument to torque the teeth and gently separate
using FlexiDimond Strip
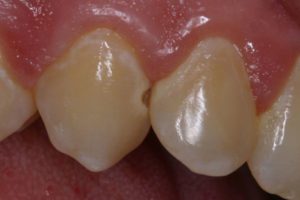
Fine/Super Fine FlexiStrip
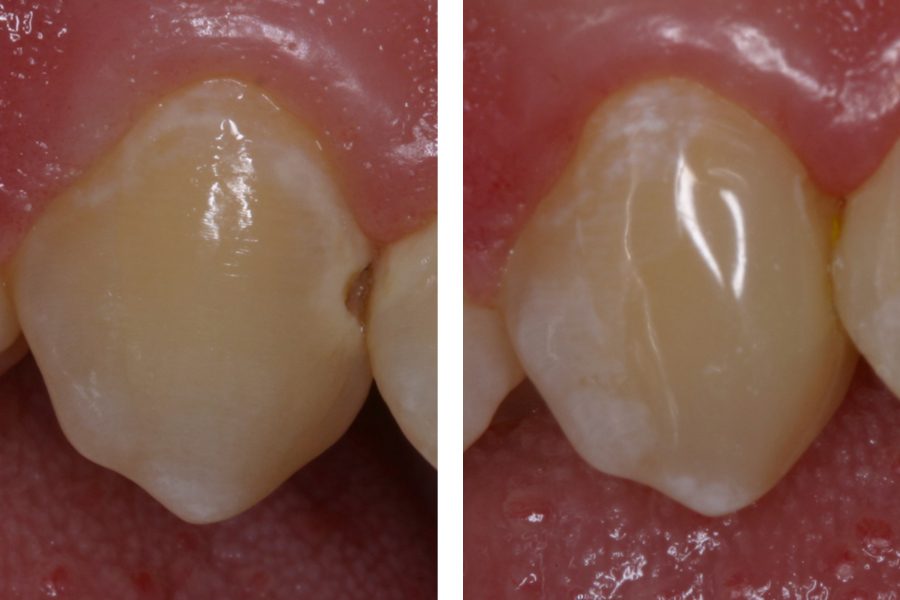
Final polish with Enamelize and FlexiBuff disc.
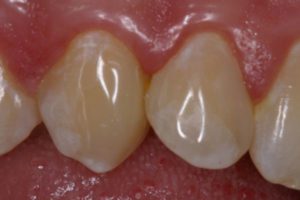
Final Restoration
