- Composites
- Finishing & Polishing
-
-
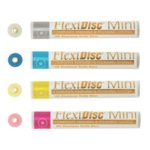 FlexiDisc Dental Polishing Discs
 Dental Polishing Cups & Points
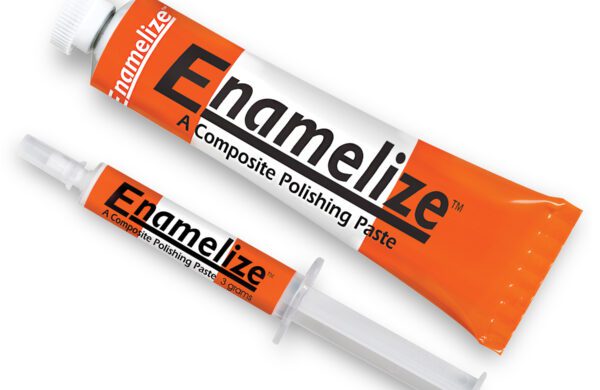 Enamelize Dental Polishing Paste
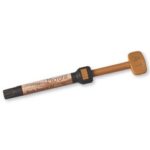
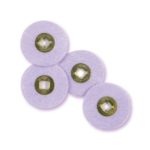 FlexiBuffs
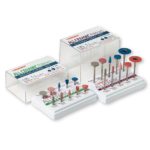 All Ceramic Polisher
 FlexiStrips Dental Polishing Strips
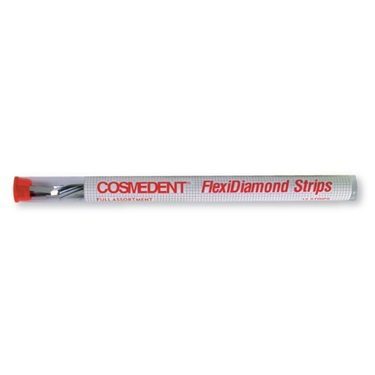 FlexiDiamond Strips
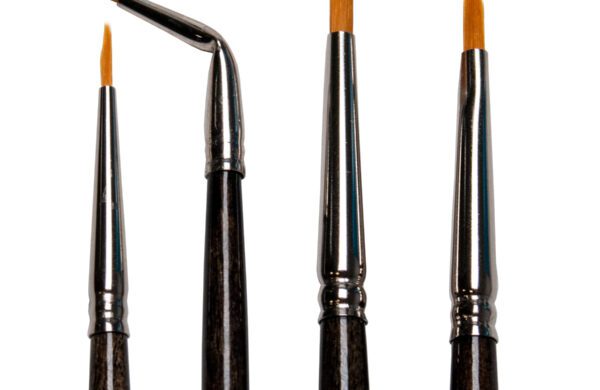
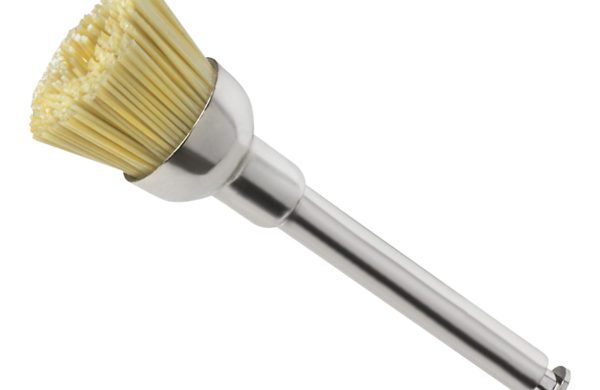 FlexiBrush Dental Polishing Brush
 NANO / Microhybrid Diamond Polishers
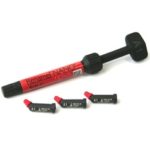
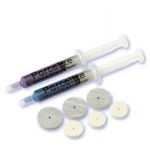 Porcelize - Porcelain Polishing & Finishing Paste
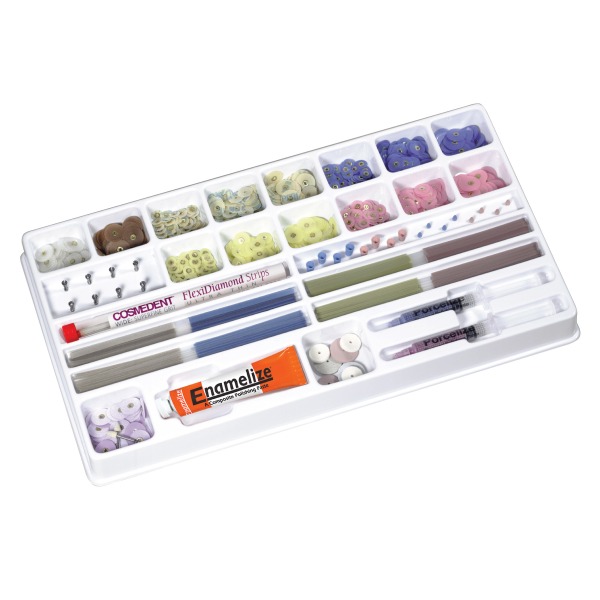 Top Finisher System
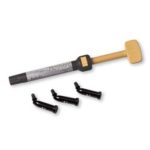
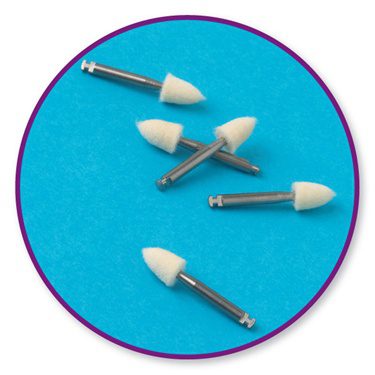 Felt FlexiPoints
-
-
-
-
- Core & Temp
- Resin Cement
- Accessories
- Education


Technique Video
Replicating Dental Craze Lines with Composite Resin
Adding a craze line can make a big difference in realism when crafting natural-looking restorations, especially for mature patients. Here’s a step-by-step guide:
Step 1: Draw the Craze Line
After placing the dentin layer, use a No. 12 blade scalpel to create a fine line along the tooth’s length before curing the composite. This will serve as the foundation of your craze line.
Step 2: Widen the Craze Line
Using the tip of a Cosmedent® No. 3 Brush, gently press along the craze line to open it up slightly, creating a subtle depth. Once satisfied with the width, light-cure the dentin layer.
Step 3: Add Tint for Depth
Select a Creative Color® tint and apply it along the craze line with a Cosmedent® No. 1 Brush. Tint choice affects the line’s darkness; for example, a mix of light and dark brown can give a realistic aged effect.
Step 4: Spread the Tint
Using the brush, gently spread the tint along the length of the craze line. Make sure the tint reaches into every groove of the line to enhance its visibility.
Step 5: Remove Excess Tint
A micro brush can help you carefully dab and remove any excess tint, ensuring the line looks natural without being overly dark or prominent.
Step 6: Cure the Tint
Light-cure the tinted craze line to set it in place.
Step 7: Add More Tint if Needed
If you want a more pronounced effect, apply another thin layer of tint to the center of the craze line. Adjust the tint color and amount to achieve the look you want. Dab away excess with a micro brush and light-cure again.
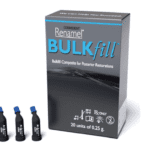
Step 8: Apply Renamel Microfill
Apply Flowable Renamel Microfill to the lingual surface, then light-cure. Add the Microfill body composite to shape the final form and light-cure again.
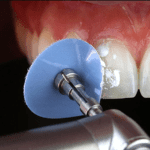
Step 9: Finishing and Polishing
Once the composite is fully cured, use finishing and polishing protocols. Use a FlexiBuff® with a small dab of Enamelize™ Polishing Paste for a high-gloss finish, bringing out a natural, polished look.
By following these steps, you can create a craze line that enhances the depth and realism of your composite restorations.
