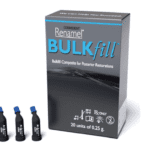
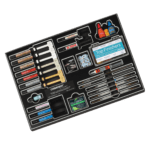
- Composites
- Finishing & Polishing
-
-
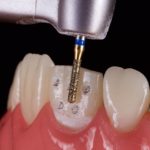
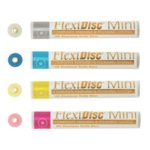 FlexiDisc Dental Polishing Discs
 Dental Polishing Cups & Points
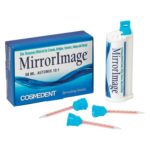
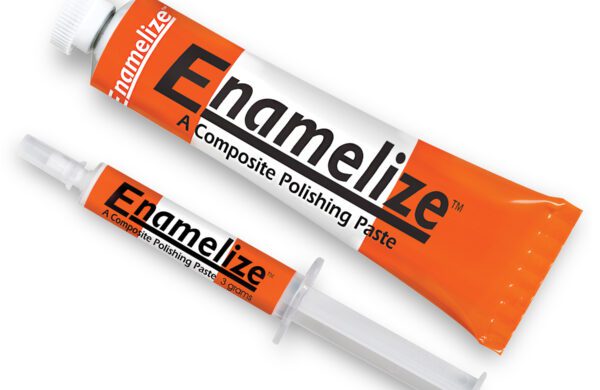 Enamelize Dental Polishing Paste
 FlexiBuffs
 All Ceramic Polisher
 FlexiStrips Dental Polishing Strips
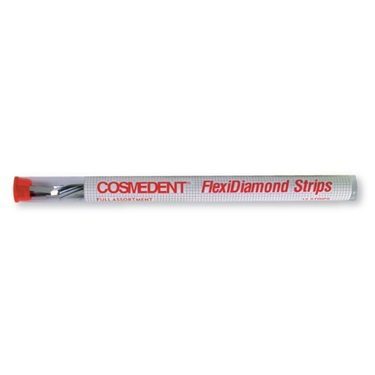 FlexiDiamond Strips
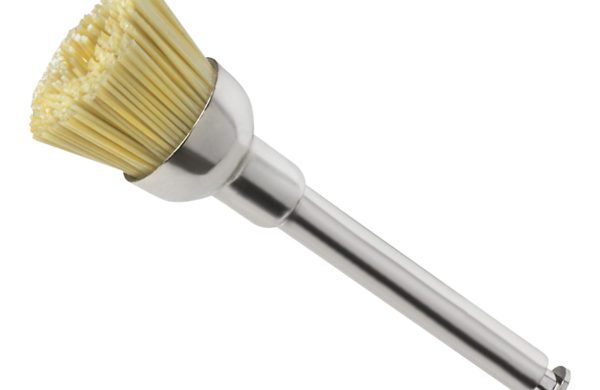 FlexiBrush Dental Polishing Brush
 NANO / Microhybrid Diamond Polishers
 Porcelize - Porcelain Polishing & Finishing Paste
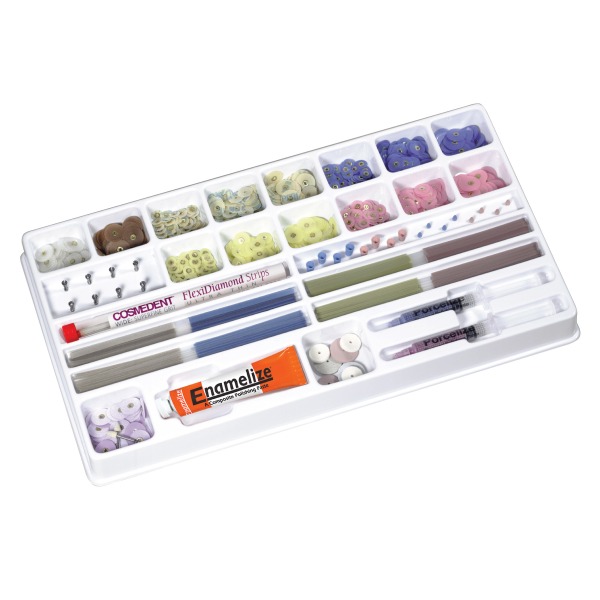 Top Finisher System
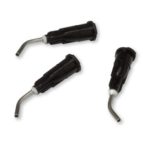
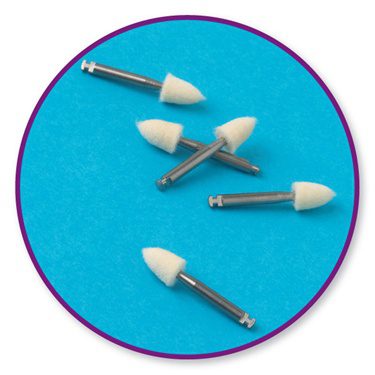 Felt FlexiPoints
-
-
-
-
- Core & Temp
- Resin Cement
- Accessories
- Education


Webinar
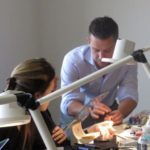
A Snapshot of Tips: Photography and Direct Resin Bonding Tips in Everyday Dental Practice
1-Hour FREE Webinar
A course explaining tips for using photography coupled with direct resin as a quick chairside procedure for esthetic previews, emergency repairs, and cementation of restorations.
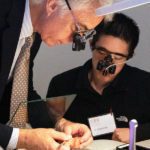
The Presenter: Dr. Fred Peck
Dr. Fred Peck is a third-generation dentist, practicing in Cincinnati, Ohio for 35 years. He is a graduate of Ohio State University’s College of Dentistry and completed his residency at the University of Pittsburgh Medical Center. Here, Dr. Peck shows how to take great dental photographs, evaluate your work based on those images, and use photographs to enhance your work.
Overview: Dental Photography and Direct Resin Bonding
Dental photography can enhance a dentist’s work and can speed up and improve the overall quality of direct resin bonding operations. However, getting the setup for photographs right and knowing how to apply the information in the images is critical to maximizing the use of this technology.
In this webinar, Dr. Fred Peck reviews cases where he used dental photography in restorations using direct resin bonding. Along the way, you will learn:
- How to prepare your office for great photographs
- What equipment you will need to get the best images
- What strategies to employ to get different kinds of information from your photographs
- Tips and tricks for maximizing the quality of your restoration work using direct resin and photography
The webinar also includes case studies using various materials and a Q&A.
The Main Question: How Do Dentists Use Photography?
Photographs can reveal a great deal about teeth, including information vital for matching resin with the look of existing teeth. Taking pictures in different ways reveals different information, such as the color or brightness of teeth.
Images can also be used to help better direct lab technicians in their work. However, it’s important to take steps to control the way the images are viewed and used to ensure that the work is consistent with the expectations. Setting up a dedicated space for photography can address many of those concerns, though there are steps that dentists with limited space can take to achieve the same effect.
Tips and Tricks for Dental Photography
Black and White Images
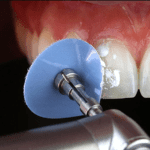
If you don’t yet have a high-quality camera, you can still use your smartphone for certain operations. Matching hues with a color photograph can be straightforward, but it can be hard to detect subtle changes in the brightness between natural teeth and composites in full color. A valuable solution to this problem is to take a black and white photograph, which strips out the hue, leaving only brightness. Being able to see brightness clearly can help you better match your work to existing teeth.
Polarization Filters
Polarization filters on cameras work just like polarized lenses in sunglasses. In dentistry, they strip out the shine of teeth from final images that result from the camera’s flash or other lighting in the room, making it easy to see the underlying color. This has direct implications for direct resin bonding and can make it easier to get a great match. Polarization filters are available for both professional cameras and smartphones.
Images for Lab Preparation
Sending black and white or polarized images in the RAW image format to your lab techs can help reduce the back-and-forth that sometimes happens when trying to color match a composite. However, it’s essential to maintain HIPPA compliance and ensure that lighting remains consistent between exam and lab areas when sending images. If the lighting in the lab is warmer or cooler than in the exam areas, it can lead the lab technicians to perceive color differently and lead to a poor match.
Materials and Tools Mentioned
This webinar discusses the benefits of using various tools and materials, including:
- Rapid Simplified Veneer Provisionals (RSVP)
- Renamel Flowable Microfill
- Cosmedent Complete Unfilled Resin
- Pink and White opaque
- Diagnostic wax
Case Studies: Veneers and Restorations using Direct Resin Bonding and Photography
In this webinar, Dr. Peck explores how he used photography to enhance his direct resin bonding veneers and restorations.
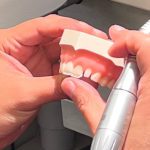
Case Study 1: Microfill Composite Temporaries
- The goal of this procedure was to create temporaries for central incisors for an upcoming wedding
- Apply clear RSVP over diagnostic wax
- Create direct temporaries with injection technique
- Products used here include:
- Cosmedent Complete unfilled resin
- Renamel flowable microfill
Case Study 2: Porcelain Veneers
- Includes examples of pictures taken to be sent to the lab
- Would prefer for patients to receive temporaries in the shape of a final as opposed to matching what they have now
- Using polarized lenses to color match veneer
- Adjusting for the difficulty lab technicians experience when trying to conceal two or more separate underlying colors
- Technique: Using Pink Opaque (as opposed to white) to block out the color in repeated thin coats
Case Study 3: Major Restoration
- Replacing a broken tooth and improving the function and look of teeth
- Created a model and added proper length in composite on it
- Used a single color composite because of patient’s age and primary goal of not breaking teeth
- Converted putty matrix to a lingual shelf and used it to build length on teeth
The A Snapshot of Tips: Photography and Direct Resin Bonding Tips in Everyday Dental Practice also includes a Q&A with the audience.