- Composites
- Finishing & Polishing
-
-
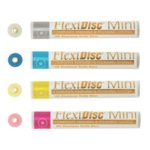 FlexiDisc Dental Polishing Discs
 Dental Polishing Cups & Points
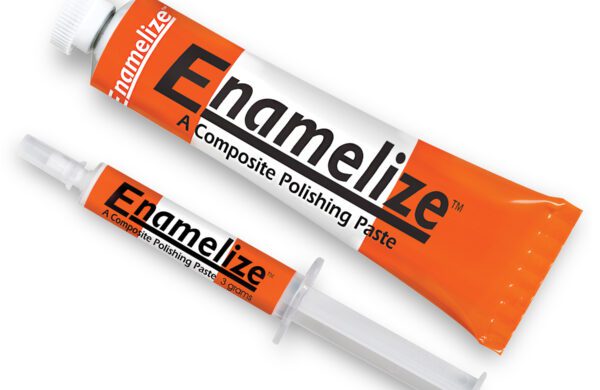 Enamelize Dental Polishing Paste
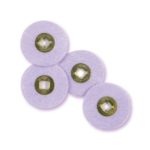 FlexiBuffs
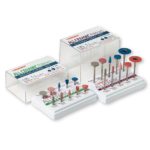 All Ceramic Polisher
 FlexiStrips Dental Polishing Strips
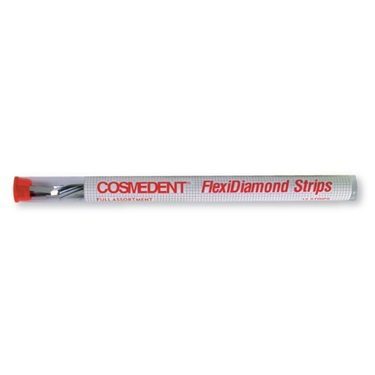 FlexiDiamond Strips
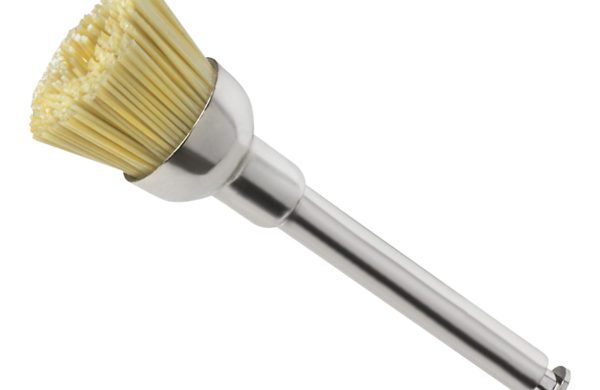 FlexiBrush Dental Polishing Brush
 NANO / Microhybrid Diamond Polishers
 Porcelize - Porcelain Polishing & Finishing Paste
 Top Finisher System
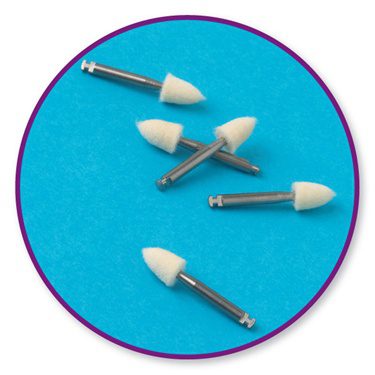 Felt FlexiPoints
-
-
-
-
- Core & Temp
- Resin Cement
- Accessories
- Education


Webinar
Resin Composite Veneers – Planning to Treatment
A class covering the advantages of resin composite veneers and how, together with a facial-based treatment plan, you can achieve results that will satisfy the toughest patients.
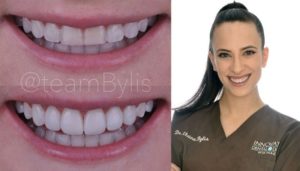 The Presenter: Dr. Elaine Bylis
Elaine Bylis, DDS, graduated from the University of Maryland School of Dentistry in 2017. She received advanced training in cosmetic dentistry from The Nash Institute, where she was honored to return as a guest lecturer as well. She has also received advanced training in Invisalign. Dr. Bylis is one of the youngest dentists ever to be published in Dentistry Today, an accomplishment she has done twice. Her most recent article covers the topic of digital planning in dental surgery.
Overview: Resin Composite Veneers, from Planning to Treatment
Composite resin is an ideal material for many veneer cases. Using composite resins also has the advantage of allowing for a more conservative, less-invasive approach to tooth restoration.
Creating veneers with resin composites requires understanding the advantages and disadvantages of the material. In this webinar, Elaine Bylis, DDS, presents several case studies while discussing:
- How to do facial-based smile design
- The advantages of resin composite veneers
- How to mitigate some of the perceived disadvantages of resin composite veneers
- The process for application of composite
- Tips and tricks to make your composite veneers shine
The webinar also includes a step-by-step case which reviews materials, instruments, and procedures for a cosmetic veneer case, as well as a final Q&A.
The Advantages of Composite Veneers
Resin composite veneers have a number of advantages over more traditional porcelain veneers. This class outlines the main ones:
- Minimal preparation of teeth, which is completely reversible. Preparation is little more than lightly roughening the tooth surface, leaving the majority of the tooth intact.
- A repairable product. If a resin composite veneer fractures (which can happen), it can easily be supplemented and repaired as opposed to removing a porcelain veneer and starting again.
- Multiple veneers can be color matched to each other. Resin composites allow for color matching and blending to a degree that porcelain just does not allow. No more “six veneer syndrome” where color match is lost when going from canine to canine: Veneers with resin composites blend into corridors and look great no matter what.
- Same-day results (no insert appointment). The entirety of the veneers can be done in one day, which patients love. The before-and-after photographs are also more telling.
- No lab = complete control. Save on lab fees and pass the savings along to your patients. If there is a problem with the veneers, you can fix it immediately.
Mitigating Some of the Disadvantages of Composite Veneers
What about the disadvantages of resin composite veneers? And do the advantages outweigh the disadvantages in all cases, most cases, or just a few? How can a savvy dental practitioner get around those disadvantages?
This webinar explores exactly those questions. For example:
- Resin composite veneers have a higher potential to break or stain. It is true that porcelain veneers are less likely to break or stain. But resin composite veneers can hold up just as well if proper bonding technique is used (absence of moisture, good light curing, etc.), good occlusion is achieved and patients are properly educated about the care of their veneers.
- Using composite veneers requires “an artistic eye” for the final product to look right. This is true—but practicing with resin composites will pay off. Doing your own wax-ups and being diligent about photographing those smiles will help.
- Veneers made with composite require special care. When patients are properly educated and supported, their resin composite veneers will last a long time. For example, give patients a list of approved toothpastes, and when they come in for a cleaning, use Cosmedent’s Enamelize Polishing Paste instead of a gritty paste.
Approach: Facial-Based Smile Design (Treatment Planning)
At the heart of Dr. Bylis’ approach is facial-based treatment planning. Facial-based treatment planning is the process of manipulating the shape of a patient’s teeth virtually on a photo of the patient before treatment, in order to simulate the desired cosmetic end-result. By working with the virtual image first, dental practitioners can figure out the exact treatment plan needed and make adjustments before beginning treatment.
Facial-based treatment planning also allows the patient to have a say in the end-result and make educated treatment decisions. Because they can see what the end-result should look like, they can give feedback and decide whether that result is worth the effort and cost.
Starting with facial-based treatment planning does not require a significant investment in special equipment or software. Any image manipulation software can be used: Photoshop, Keynote, PowerPoint, or an app on an iPhone.
Several of Dr. Bylis’ case studies reveal how treatment was planned and adjusted using such images, and in accordance with facial-based treatment planning.
Ways to Use Composite Veneers
In this class, Dr. Bylis will review several cases where composite veneers are a great alternative, yielding good results and satisfied patients:
- Color correction and arch expansion
- Partial veneers
- Single central incisor (damaged during a swimming accident)
- Veneers in combination with Invisalign
- Chipped/broken teeth due to trauma
- Intrinsic staining
- Class V’s (not technically a veneer, but great use of Cosmedent’s Renamel Microfill)
Dr. Bylis also does a more complete walkthrough of a single case—a young woman wanting the best-possible smile before her wedding. For this case, Dr. Bylis walks though the details of treatment, including:
- Patient’s history and goals
- The digital mock-up, using Photoshop
- The wax-up
- Instruments and materials used (most from Cosmedent: Microfill, Opaquer, FlexiDiscs, BBA, IPCT, etc.)
- Preparation (including placement of cords)
- Application of opaquers and creation of shells
- Addition of translucent enamel
- Shaping the Microfill
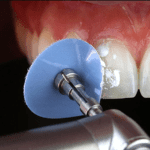
- Polishing the veneer
The Resin Composite Veneers–Planning to Treatment webinar also includes a Q&A with the audience.