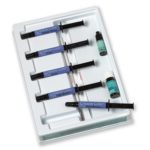
- Composites
- Finishing & Polishing
-
-
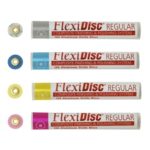 FlexiDisc Dental Polishing Discs
 Dental Polishing Cups, Burs & Points
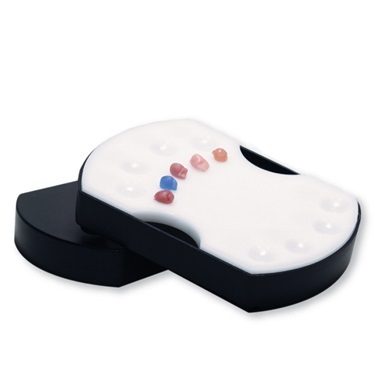
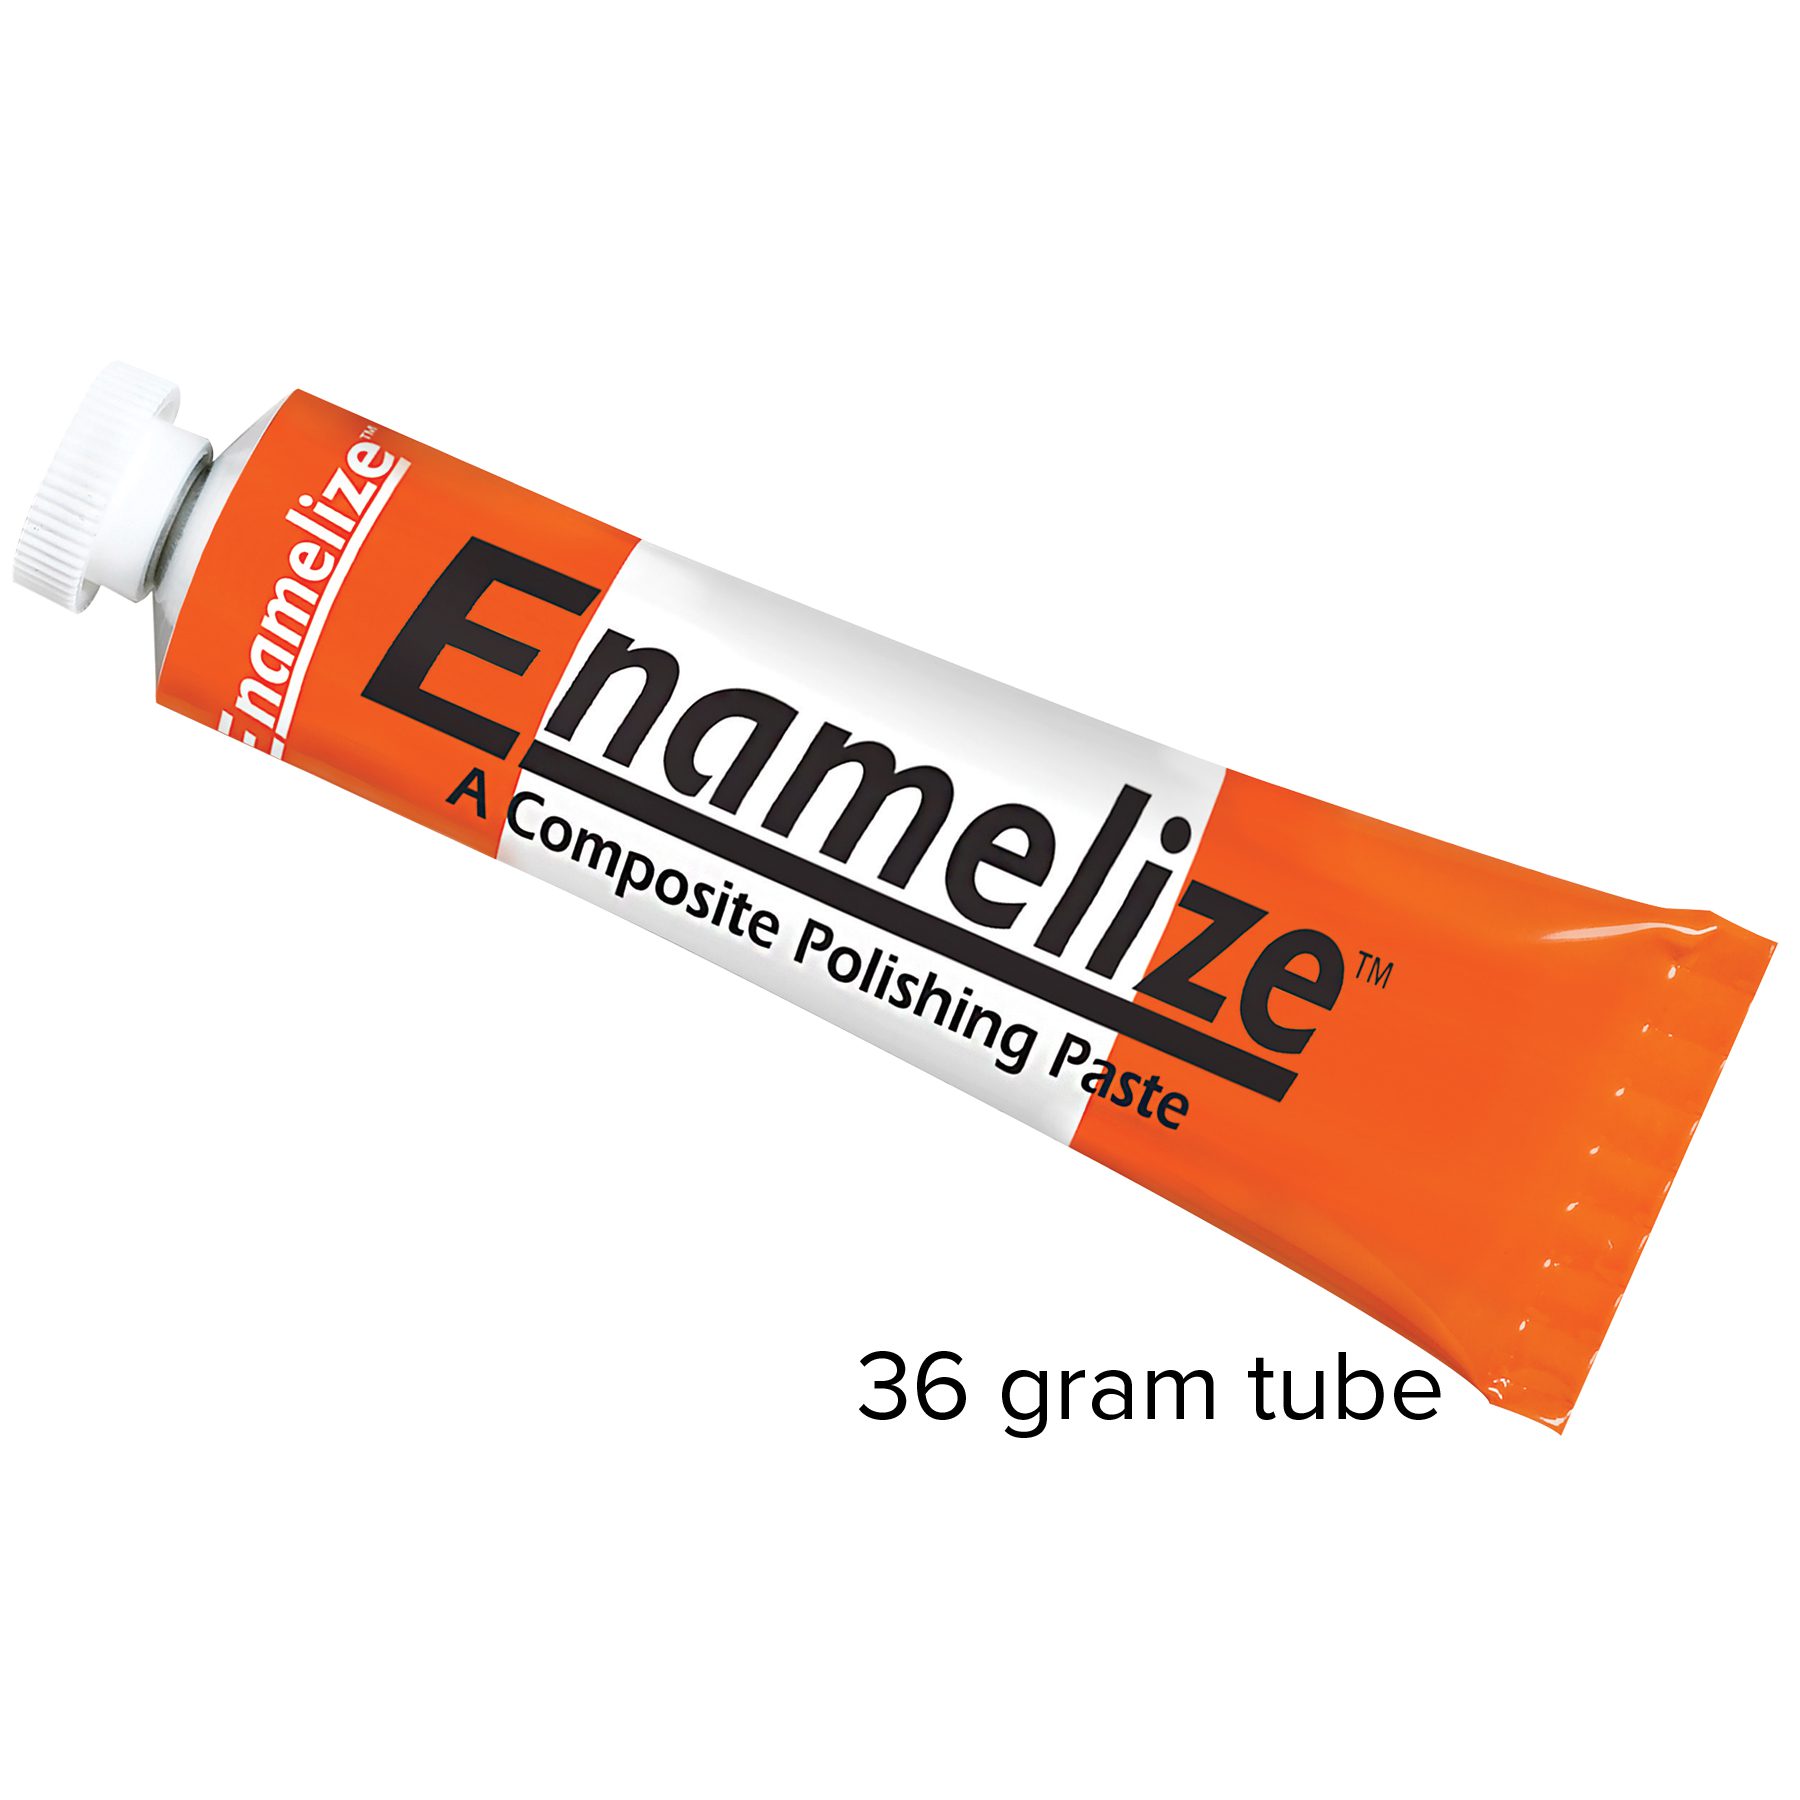 Enamelize Dental Polishing Paste
 FlexiBuffs
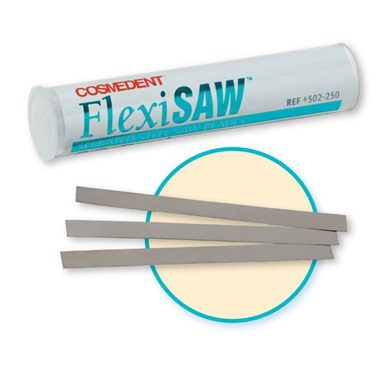 FlexiSAW
 All Ceramic Polisher
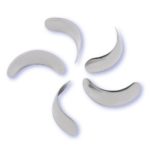
 FlexiStrips Dental Polishing Strips
 FlexiDiamond Strips
 FlexiBrush Dental Polishing Brush
 NANO / Microhybrid Diamond Polishers
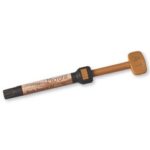
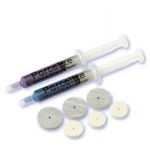 Porcelize - Porcelain Polishing & Finishing Paste
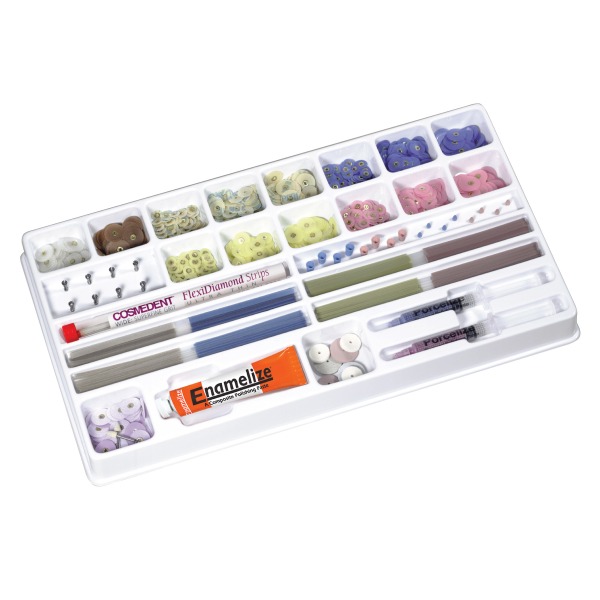 Top Finisher System
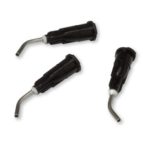
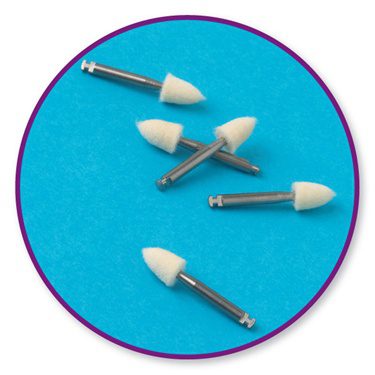 Felt FlexiPoints
-
-
-
-
- Core & Temp
- Resin Cement
- Accessories
- Education


Technique Video
Reinforcing Worn Incisal Edges with Composite Resin
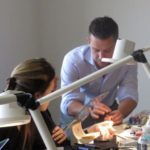
In this video, Dr. Mopper shows how building up worn incisal edges with composite protects the enamel surface left and can prevent future crowns. This is a great example of quadrant dentistry.
First, Dr. Mopper preps the teeth by creating a “trough” with micro-burs. He enters the incisal edge with a flame-shaped bur. He then uses a broad-based bur to broaden out the base of the through. He also uses the burs to remove any excess staining.
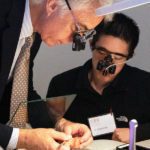
Next, Dr. Mopper isolates each tooth. Any material (Teflon, Mylar, etc.) can be used — anything thin enough to get between teeth. Dr. Mopper is using metal strips here. He applies an etching solution to the teeth and then washes it off. Next, he adds the bonding adhesive and light-cures the material for 15-20 seconds.
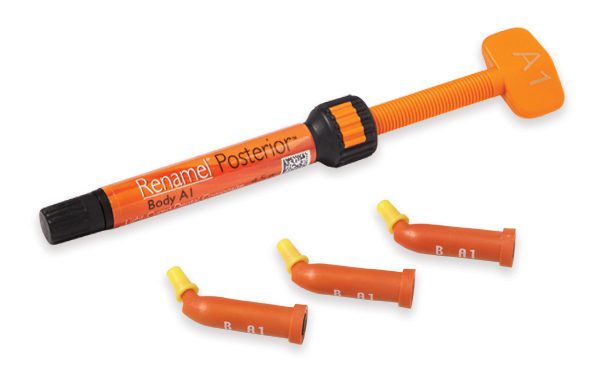
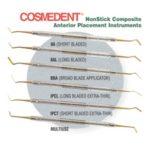
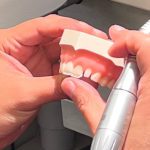
Dr. Mopper adds the dentin reinforcement first to the teeth. He adds Renamel® NANO Plus™ with a Cosmedent® Multi-use Instrument to fill the troughs. He then makes a concave indentation in the NANO to leave a space to build up the Microfill later. He light-cures the NANO for 15-20 seconds. Dr. Mopper then applies the final layer, Renamel Microfill. Renamel Microfill offers the right amount of flexibility for better wear.
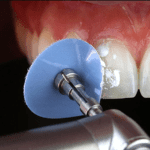
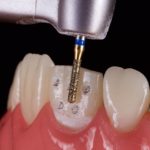
He begins finishing with the Coarse Gray FlexiDisc® and continues finishing with the Medium Blue FlexiDisc. He then finishes and polishes with the Fine and Superfine FlexiDisc. Dr. Mopper finishes the proximal of each tooth with a diamond strip and then uses an aluminum-oxide Fine/Superfine FlexiStrip® fine/superfine strip on the interproximal of each tooth to make it as smooth as possible.
