- Composites
- Finishing & Polishing
-
-
 FlexiDisc Dental Polishing Discs
 Dental Polishing Cups & Points
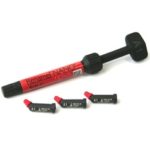
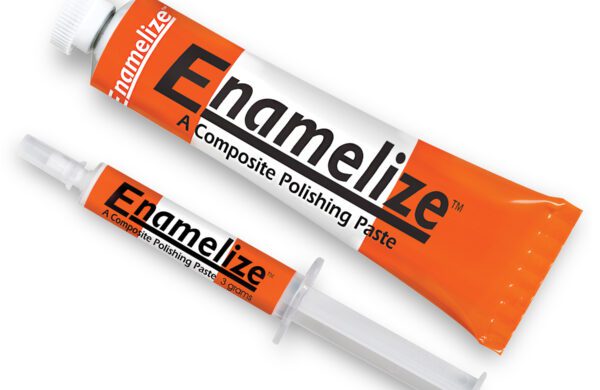 Enamelize Dental Polishing Paste
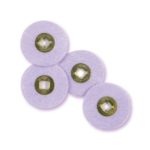 FlexiBuffs
 All Ceramic Polisher
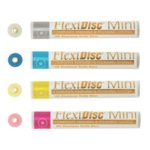
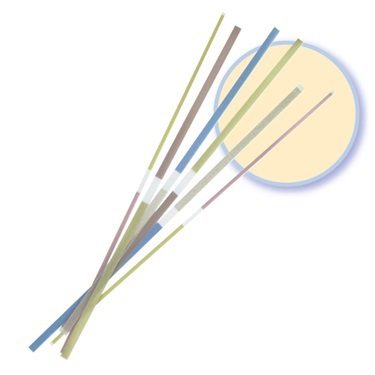 FlexiStrips Dental Polishing Strips
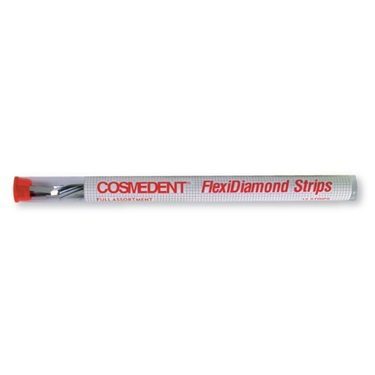 FlexiDiamond Strips
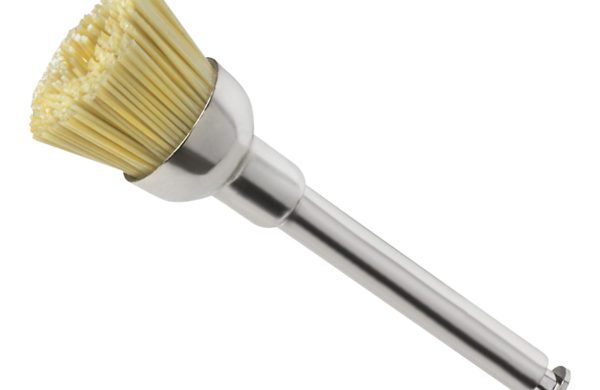 FlexiBrush Dental Polishing Brush
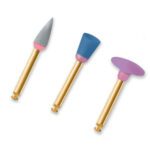 NANO / Microhybrid Diamond Polishers
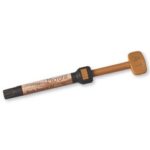
 Porcelize - Porcelain Polishing & Finishing Paste
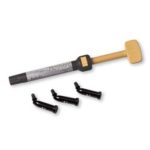
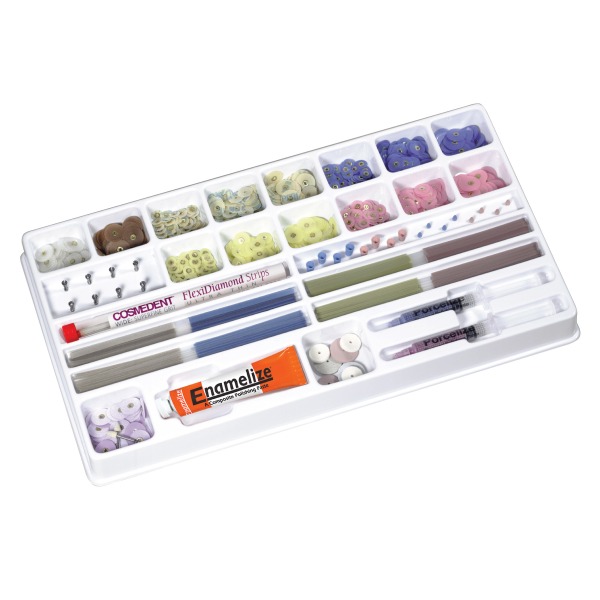 Top Finisher System
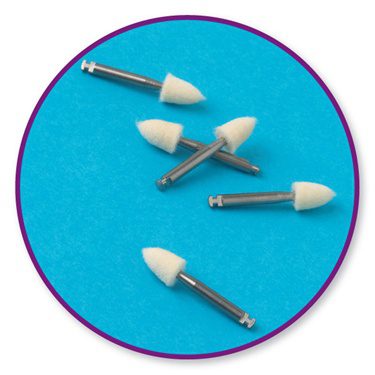 Felt FlexiPoints
-
-
-
-
- Core & Temp
- Resin Cement
- Accessories
- Education


Technique Video
Modify the Tooth Shade (without Adding Length) with Tints
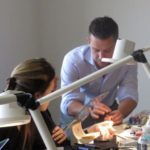
Dr. Drew Ballard, creator of HALO™ veneer technique, shows us how to modify the tooth shade without adding length to the central incisor. Adding straight composite on the facial aspect of this tooth will modify the shade but would reduce the translucency. Using Cosmedent shades, tints, and pigments on the incisal edge with Microfill will adjust the shade but retain the tooth’s translucency.
Dr. Ballard starts by explaining the anatomy of the central incisor tooth. He notes the blues (violet) in the corners that are translucent. He points out the halo around the incisal edge, the three mamelons coming down, ghostly – almost amber form.
Dr. Ballard then draws out his plan on his tablet. He puts the Cosmedent Creative Color Violet Tint from Cosmedent in the corners to replicate the blue on each corner of the central incisor. He likes to mix the violet tint with a little clear flowable to tone it down just a bit. Placing the tint will create that illusion of bending around the corner. Dr. Ballard then mixes violet and gray tints to place along the incisal edge, again toning it down with a flowable composite – this preserves the “halo-like” effect.
Dr. Ballard uses Cosmedent Pink Opaque to create the mamelons and complete the halo effect. This will stand out against the dark background. He first draws the Pink Opaque along the very tip of the incisal edge – this will really “pop” the halo.
To finish the mamelons, Dr. Ballard puts three very, very small dots of pink opaque or where they should be. He then carefully draws them through with a very, very small instrument. Again, this will create a “pop” against the darker background.
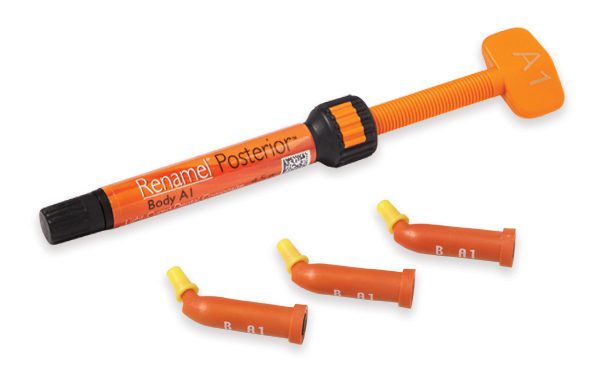
Dr. Ballard then uses a light incisal shade of Renamel Microfill to seal in all of the tints and opaques and create a polishable surface. He then finishes the restoration with the body enamel—the body shade of Renamel Microfill could be an SB2 or SB3.
