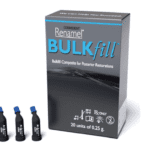
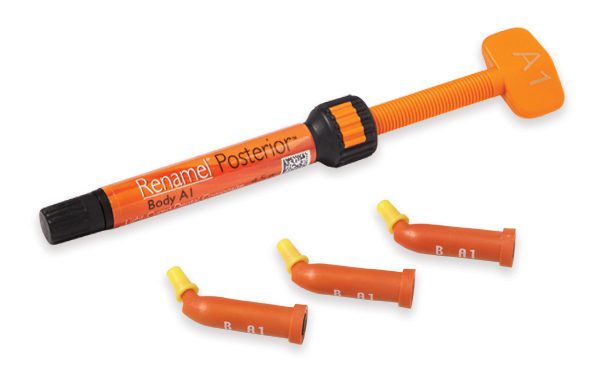
- Composites
- Finishing & Polishing
-
-
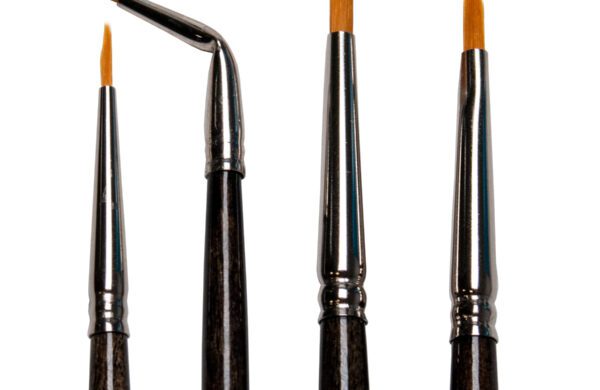
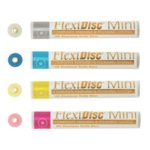 FlexiDisc Dental Polishing Discs
 Dental Polishing Cups & Points
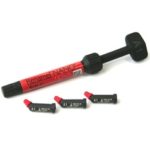
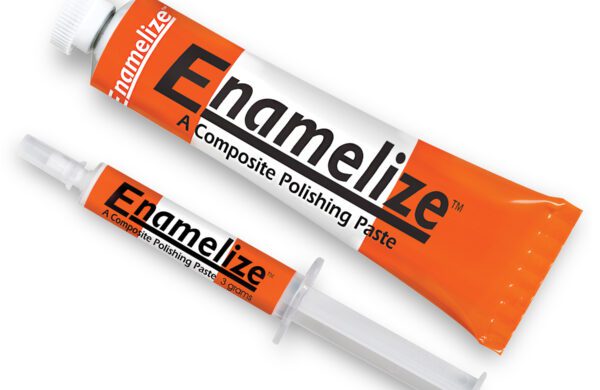 Enamelize Dental Polishing Paste
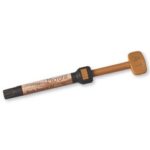
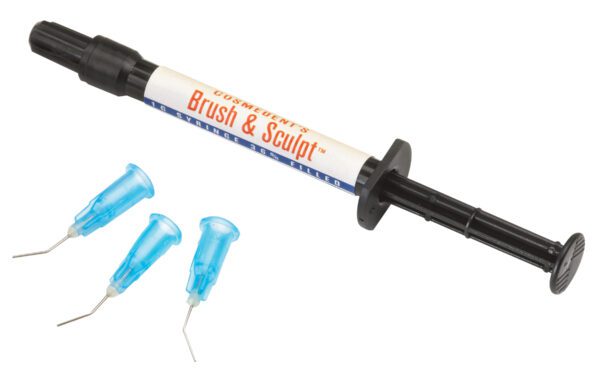
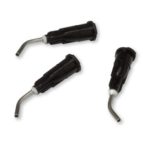
 FlexiBuffs
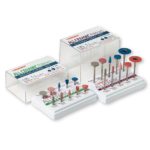 All Ceramic Polisher
 FlexiStrips Dental Polishing Strips
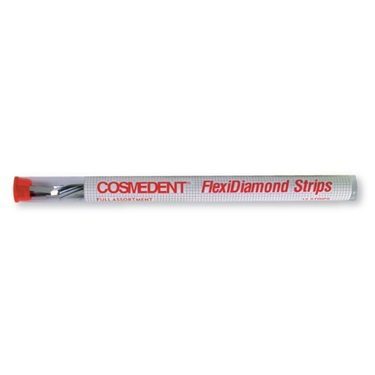 FlexiDiamond Strips
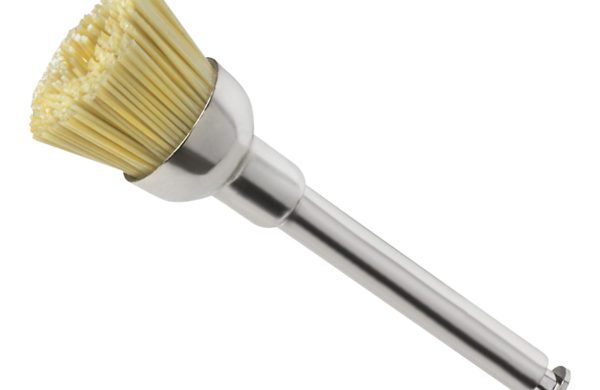 FlexiBrush Dental Polishing Brush
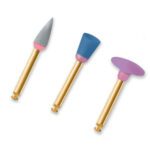 NANO / Microhybrid Diamond Polishers
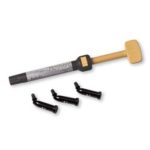
 Porcelize - Porcelain Polishing & Finishing Paste
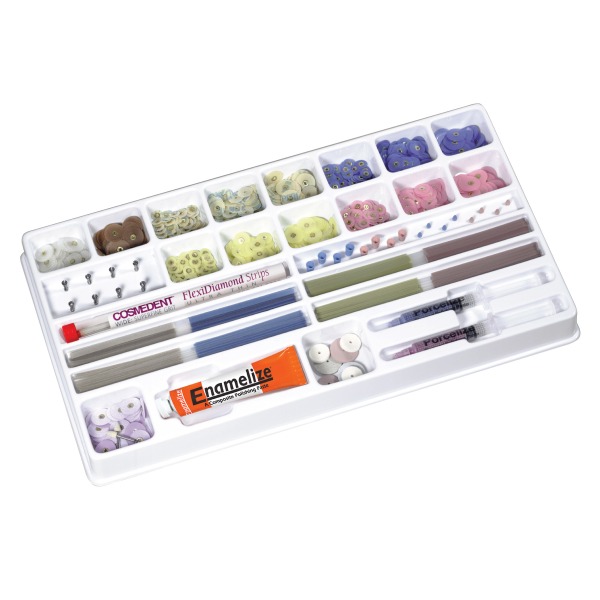 Top Finisher System
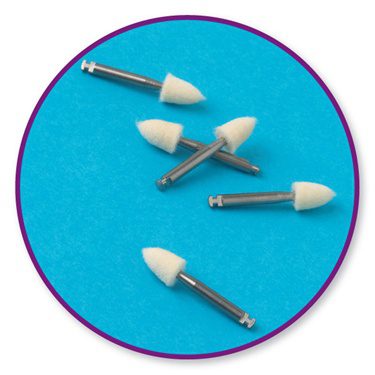 Felt FlexiPoints
-
-
-
-
- Core & Temp
- Resin Cement
- Accessories
- Education

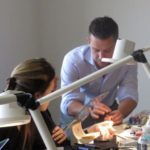


Webinar
Mastering Composite Artistry: Tips and a Toolbox for Clinical Success
A course designed to help dentists master the tools, techniques, and knowledge needed for superior composite artistry.
The Presenters: Dr. Adamo Notarantonio and Dr. Amanda Seay
Dr. Notarantonio graduated from the State University of New York at Stony Brook School of Dental Medicine in 2002, and completed his residency at Stony Brook in 2003.
Dr. Seay graduated from the New York University College of Dentistry in 2002. Both are Accredited Fellows of the American Academy of Cosmetic Dentistry.
Overview: Mastering Composite Artistry
Restoration work using composite materials is a science, but it’s also an art. Consequently, dentists’ approaches and techniques for preparing and applying composites can make or break the procedure.
In this webinar, Dr. Notarantonio and Dr. Seay explain the tricks they use in their practices that result in superior outcomes. Along the way, you’ll learn:
- How to deal with dehydration and color matching
- How to develop your own shade chart
- The Cut and Roll Technique for composites
- How to cover match complex colors in composite
- How to perform detail work with magnification
The Main Question: Why Would Dentists Choose Composite Over Porcelain?
One of the best advantages of composites over porcelain is its versatility, allowing for different kinds of restoration work. It is also very conservative, especially relative to porcelain, preserving much more of the original tooth in the process.
Some dentists shy away from composites because the underlying material costs less, and thus they would have to drop their prices and lower their margins. However, making great composites requires mastery of the craft. Since composite materials produce a final product of the same or higher quality relative to porcelain, prices can be kept stable, leading to a better margin on the labor.
Effects of Dehydration on Tooth Color
Dehydration affects the shade of teeth, and it happens surprisingly quickly. It’s best to capture the shade you’ll target when creating your composites within the first three minutes of an appointment. Once the tooth has begun to dehydrate, it will take at least three hours of rehydration to reach a shade where the change is imperceptible to the human eye, and it can take 24 to 48 hours for the tooth to rehydrate completely. Consequently, dentists should warn their patients that the composite will look mismatched initially, but the rest of the teeth will match once they’ve rehydrated over the next day.
Materials and Tools Mentioned
This webinar discusses the benefits of using various tools and materials, including:
- Rubber dams
- Lingual Matrix
- Teflon Tape
- Pencil
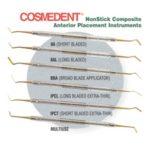
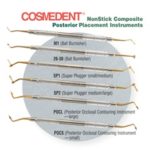
- Cosmedent IPCL and sable brushes #1 and #3
- Flexidisc, Enamelize, and Flexibuff
How to Make Your Own Shade Chart
If you don’t have a custom shade chart for your composite materials, it can be difficult to determine how they’ll look once they’ve dried. Making your own is straightforward:
- Prepare a sheet of glass.
- Roll a sample of each of your composites into a patty, and press them into the glass.
- Label each sample
- Cure the samples
With the finished shade chart, you’ll be able to evaluate each composite material for its color, as well as warmness and coolness.
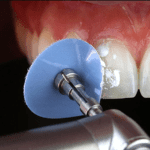
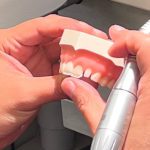
Cut and Roll Technique
The Cut and Roll Technique minimizes the amount of work that must be done with composite before you place it in a patient’s mouth. Start by cutting composite onto a glass sheet. Avoid cutting against the tip of the tube, as it can introduce black flecks into the final composite. Roll the composite on your glass slab to remove air bubbles and shape it into the approximate form needed. Once it’s close to how you think you’ll want it, place it in the patient’s mouth. This technique avoids excessive cutting in the patient’s mouth and helps avoid incidental damage.
Case Studies
This webinar features 3 case studies showing how the detail work can transform composite work into an art form.
Case Study 1: Fixing Color and Correcting Damaged Previous Composites
- The original composites had good shape, but the color did not match the rest of the smile.
- Starting with the smaller restoration first to dial in the final shape with less guessing.
- After building up the other side, use pencils to mark the shape and ensure angles are consistent.
Case Study 2: Shade Mapping Teeth with Deep Color
- Tooth contained many deep colors, including violets, grays, oranges, and whites.
- Started by cutting back a window to give space to work.
- Added chromatic enamel to cover up underlying colors.
- Finished with a layer of achromatic enamel to match surrounding teeth.
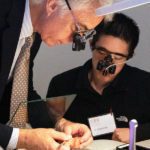
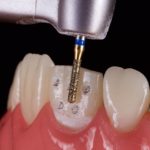
Case Study 3: Using Magnification to Get the Detail Right
- Detail work on the tooth helps sell it as the real thing.
- The best detail work happens at the highest magnification, as you can’t work on what you can’t see.
- Dentists should strive to work at a magnification of at least six to eight, though with microscopes of up to 20x magnification, dentists can dial in the texture.
The Mastering Composite Artistry: Tips and a Toolbox for Clinical Success webinar also includes a Q&A with the audience.