- Composites
-
-
Composites
Dental Composite materials for direct anterior and posterior composite bonding.
-
-
-
-
Continuing Education: Get the most from our Composite products by taking one of our Continuing Education Courses. View Courses
-
-
- Finishing & Polishing
-
-
Finishing & Polishing
Finishing and polishing materials for composites, porcelain, metal, gold and natural teeth.
-
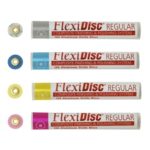 FlexiDisc Dental Polishing Discs
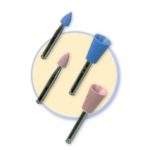 Dental Polishing Cups, Burs & Points
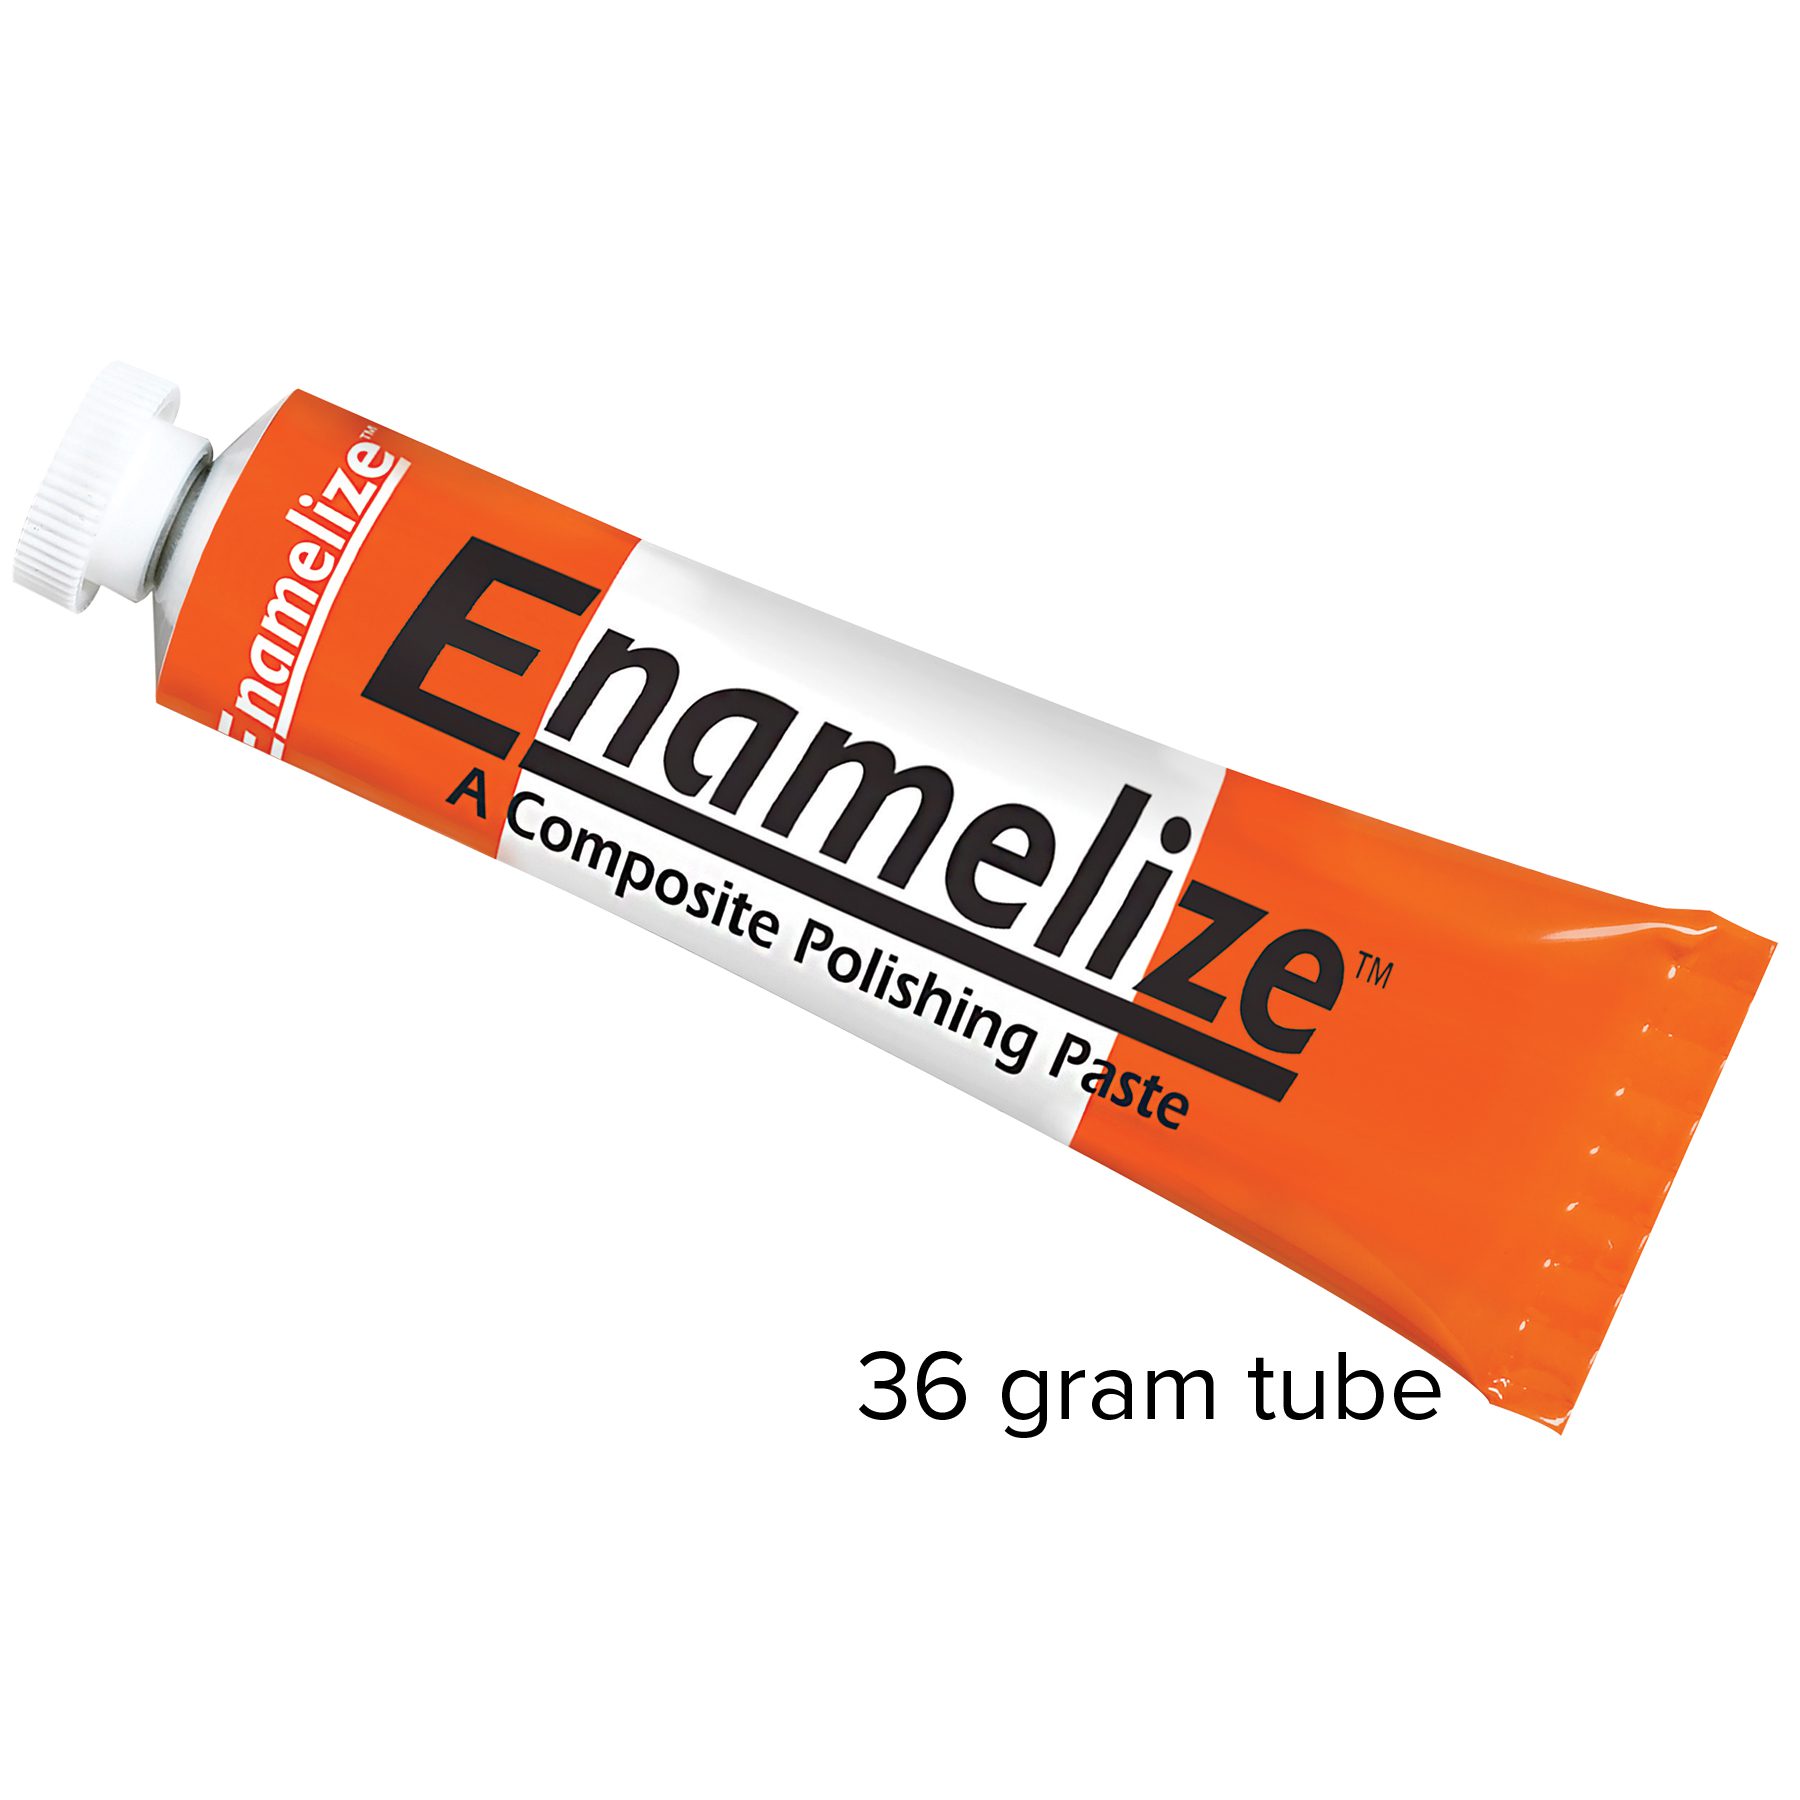 Enamelize Dental Polishing Paste
 FlexiBuffs
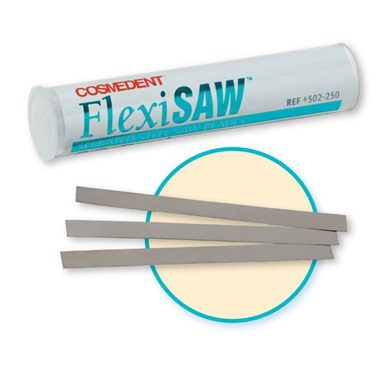 FlexiSAW
 All Ceramic Polisher
 FlexiStrips Dental Polishing Strips
 FlexiDiamond Strips
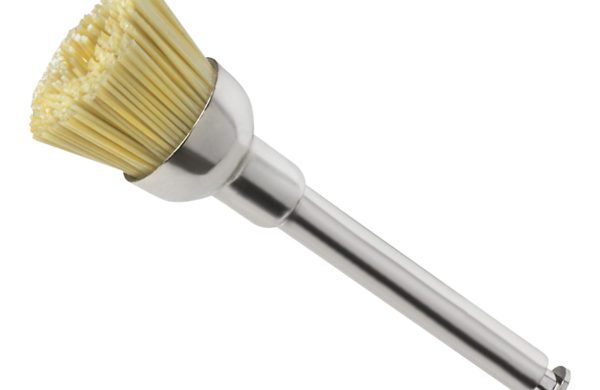 FlexiBrush Dental Polishing Brush
 NANO / Microhybrid Diamond Polishers
 Porcelize - Porcelain Polishing & Finishing Paste
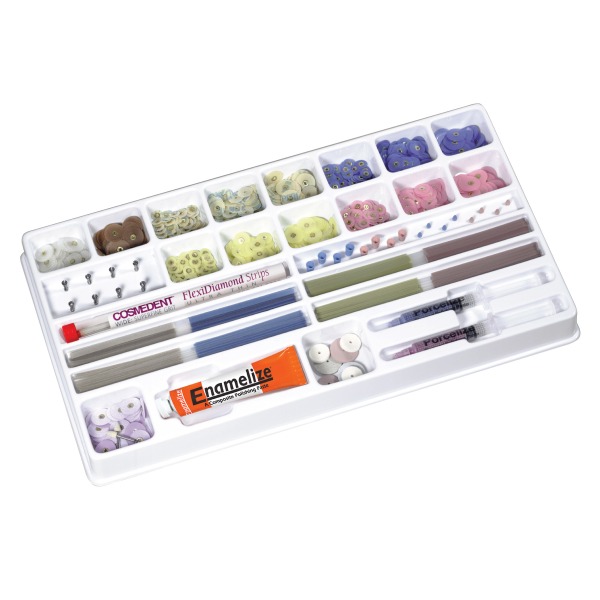 Top Finisher System
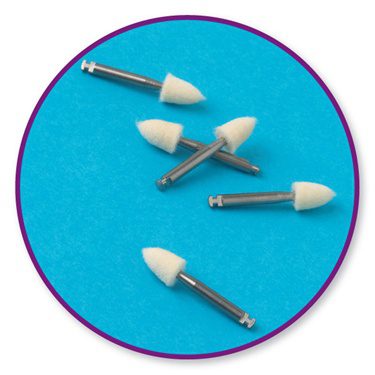 Felt FlexiPoints
-
-
-
-
Continuing Education: Get the most from our Composite products by taking one of our Continuing Education Courses. View Courses
-
-
- Core & Temp
-
-
-
Continuing Education: Get the most from our Composite products by taking one of our Continuing Education Courses. View Courses
-
- Resin Cement
-
-
-
Resin Cements
-
-
-
-
-
-
Continuing Education: Get the most from our Composite products by taking one of our Continuing Education Courses. View Courses
-
-
-
- Accessories
-
-
Accessory Products
Complete your esthetic dentistry toolkit with these helpful accessories.
-
-
-
-
Continuing Education: Get the most from our Composite products by taking one of our Continuing Education Courses. View Courses
-
-
- Education
-
-
Continuing Education
Learn all of the composite dentistry that you may be missing in your practice and how doing more of it can benefit you financially and professionally.
-
-
How to Avoid Show Through of Dark Preps
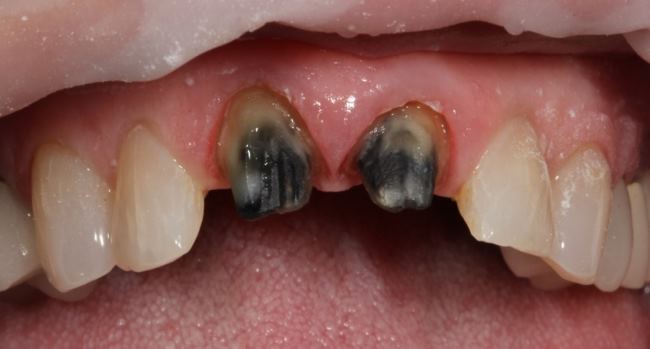
Have you ever removed old PFM crowns, only to discover this? The dreaded sclerotic dentin, or old buildups that need to be covered?
When I first started practice, I would see this and feel limited by my material choices of what I could use to restore these teeth. I felt like I needed to use a more opaque material to block out the color, but this would compromise the esthetics I was reaching for. This leads me to this article.
The World of Opaquers
Another dentist introduced me to the world of opaquers and it has literally changed my practice with esthetics. To achieve great esthetics with translucent materials you have to have a similar base structure and this is where Cosmedent’s Creative Color Opaquers have come in so handy.
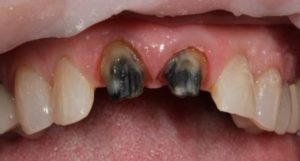
Before
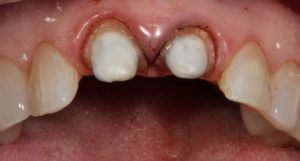
Pink Opaque
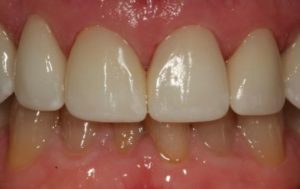
After
I stock three opaques in my office: Pink, White, and A2.5/A3
PINK OPAQUE
Pink Opaque I use to cover any grey or black substructure. It leaves the tooth with a white substructure.
WHITE OPAQUE
Creative Color White Opaque I will use to block out a substructure such as a necrotic tooth that is an A4 that I need to make lighter to match an A1 or A2 substructure. I also use white to make decalcification marks in composite buildups.
A2.5/A3 OPAQUE
Cretive Color A2.5/A3 Opaquer I use to blend with white opaquer or if I need a darker substructure that is only a shade or 2 different than the one I am trying to match.
How to use Cosmedent Opaquers
- Etch and apply adhesive to the surface you wish to opaque and light cure.
- Apply a thin layer of Creative Color clear liquid resin, air thin and light cure.
- Place a thin layer of desired color opaquer and cure.
- If there is still show through, apply additional thin layers.
- Don’t be afraid to blend colors. If you are blocking out grey, start with pink. This will turn the tooth pretty white, so if you need the prep to be a dentin shade then add the A1.5/A2 shade as the next layer.
- Don’t forget to use opaquer prior to impressions or imaging!
Case 2
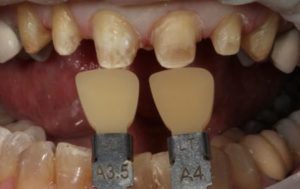
Before
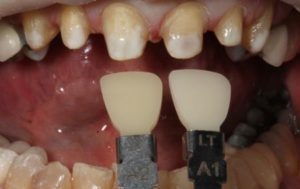
Opaquer A2/A2.5
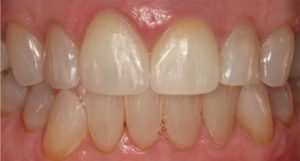
After
Case 3
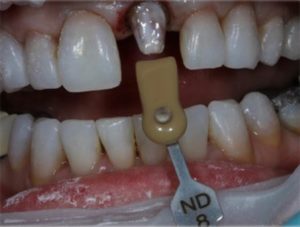
Pink Opaque
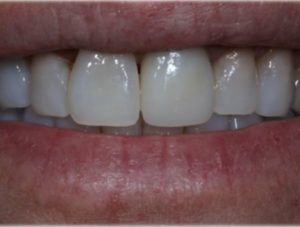
After
