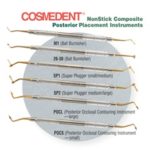
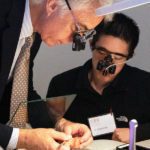
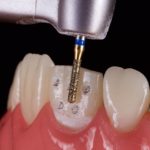
- Composites
- Finishing & Polishing
-
-
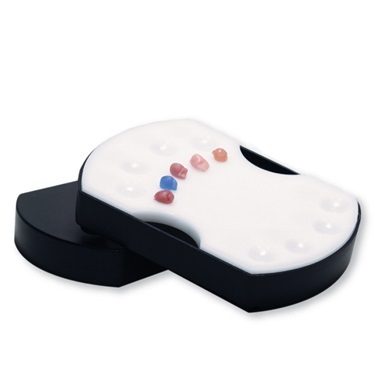
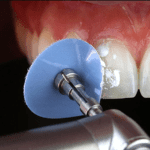
 FlexiDisc Dental Polishing Discs
 Dental Polishing Cups & Points
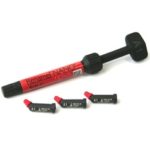
 Enamelize Dental Polishing Paste
 FlexiBuffs
 All Ceramic Polisher
 FlexiStrips Dental Polishing Strips
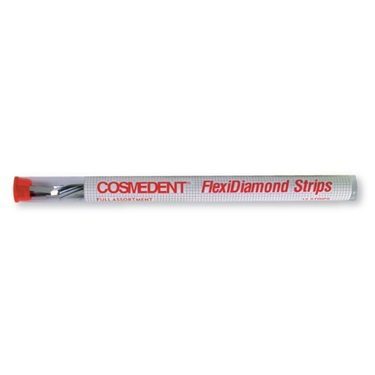 FlexiDiamond Strips
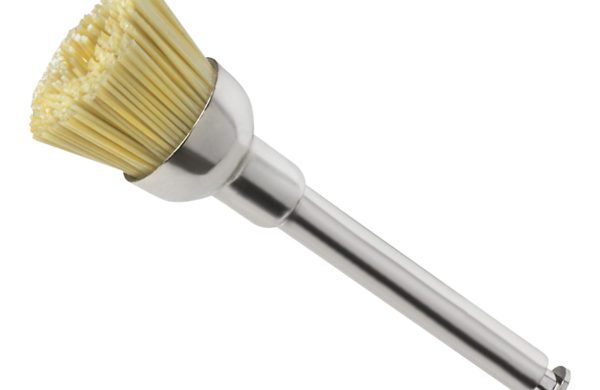 FlexiBrush Dental Polishing Brush
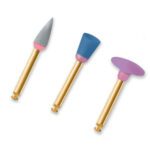 NANO / Microhybrid Diamond Polishers
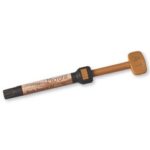
 Porcelize - Porcelain Polishing & Finishing Paste
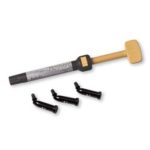
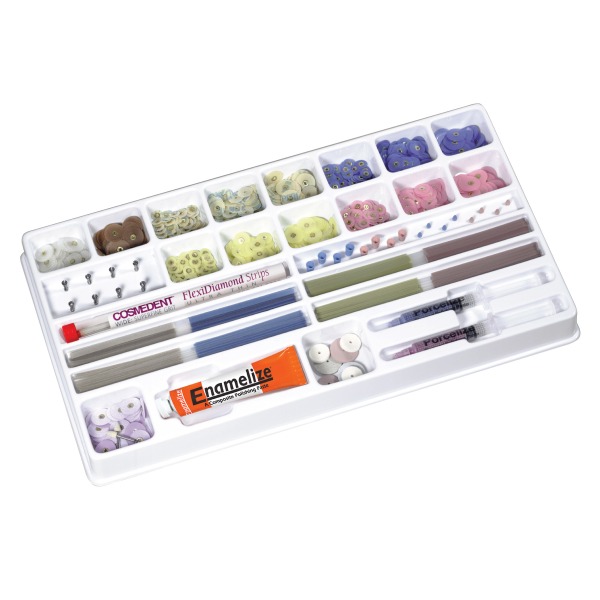 Top Finisher System
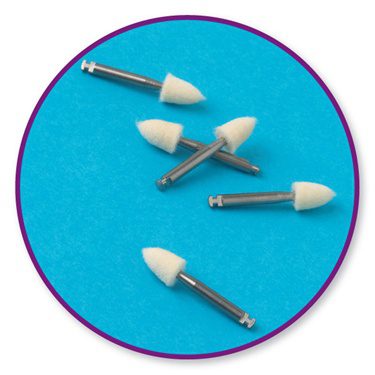 Felt FlexiPoints
-
-
-
-
- Core & Temp
- Resin Cement
- Accessories
- Education


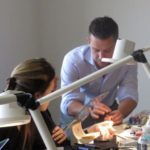


Webinar
Full Mouth Reconstruction with Composite Resin
1-Hour FREE Webinar
Learn how to approach full mouth reconstructions using principles of conservative dentistry, relying on composite resins and preserving what you can of healthy teeth.
The Presenter: Dr. Javier Quirós
Dr. Javier Quirós is a graduate of the University of Costa Rica School of Dentistry with a specialty in advanced prosthodontics. He studied dental aesthetics at the graduate level at Baylor College of Dentistry and has more than 20 years of experience in cosmetic dentistry. Here, Dr. Quirós demonstrates the art and science of full mouth reconstruction with composite resin.
Overview:
In the past, Dr. Quirós did a lot of work with veneers. However, when other dentists started coming to his practice and asking for a more conservative approach, he realized the value of “conservative dentistry,” preserving as much of the underlying teeth as possible. As a result, most of his work now revolves around being as conservative as possible, primarily relying on composite resins.
In this webinar, Dr. Quirós covers the thinking behind his approach to restorations using composite resin. Along the way, you will learn:
- How to do a full mouth rehabilitation without prepping
- How to handle and correct occlusion in dental restorations
- When to use microfill and nanofill for best long-term results
- Different techniques and methods for different parts of the mouth during a full mouth restoration
The Main Question: Why Should You Do Full Mouth Restorations in Composites?
When presented with a patient with a significant amount of enamel and dentin lost to grinding, dentists have options in how they approach their restoration. In situations like these, it can be tempting to go for porcelain veneers. But to do that successfully, dentists will need to grind down already-damaged teeth even further. One significant advantage of doing full mouth restorations in composite is that you can preserve what remains of the patient’s healthy teeth.
Doing a full mouth restoration in composite requires more prep work than restoring just a few teeth. Dr. Quirós recommends starting with a face bow to gain critical measurements to correctly align your semi adjustable articulator. On that articulator, you should build a wax mockup that achieves your esthetic goals, then show it to the patient, which helps produce buy-in for the procedure. Once you have sign-off on the look, you can then build out your functional model, which you’ll use for your manual work on anterior teeth and for building out your stents and matrices for the posterior work you’ll do to hone in the look and final fit.
Principles of Full Mouth Restorations:
Dr. Quirós prioritizes the following ten principles in his full mouth restorations:
- You have to have healthy joints
- Always use a semi adjustable articulator
- Use centric relation
- Establish functional occlusion
- Always have, use, and trust a wax-up of the case
- Always take a Centric Relation Record at the Vertical Dimension at which the case will be restored
- Mock Up, final try in Bisque and PMMA, check occlusal points and lines
- Respect Neuro-musculature
- Use different restorative techniques, especially conservative techniques
- Use a face bow transfer before you mock up the case
These principles and their justifications are covered in more detail throughout the webinar.
Methods and Tools Mentioned
This webinar discusses the benefits of using various tools and materials, including:
- Renamel Microfill
- Face bow
- Semi adjustable articulator
- Lucia jig
- Design Pro Smile
- RSVP stents and matrices
Case Studies
In this webinar, Dr. Quirós explains his approach to full mouth restorations using direct and indirect composite veneers.
Case Study 1: Dr. Fabiola (Another Dentist) Full Restoration
- The patient presented with a tight bite closed vertical dimension of occlusion, significant enamel wear, and broken restorations.
- Began with a digital smile design to help determine how much should be added to open vertical dimension.
- Made a wax-up, adding putty and showing the patient for confirmation of esthetics.
- Created a functional wax-up that accomplishes functional goals while matching esthetics.
- Added microfill composite to incisal edges and front to build up the teeth.
- Work through the upper anteriors, lower anteriors, and posteriors (in that order).
Case Study 2: Fixing Smile and Bite
- The patient lost a lot of enamel from grinding at night.
- Started with a digital smile design.
- Opened the vertical dimension of occlusion to provide space to add composite and other material in a conservative manner.
- Used measurements from the face bow to set up articular to produce better results.
- Used Lucia jig to capture centric and vertical dimensions at the same time.
- Recommends using microhybrid composite when you need a lot of strength, as nanos aren’t strong enough for incisal and posterior applications.
- Also recommends using a single big ball of composite, then brush and shape into place.
- For posterior support, built a PVS stent (or matrix) out of RSVP, placing composite on the matrix, and adjusting through the matrix, doing one tooth at a time.
Case Study 3: Fixing a Canted Smile
- The patient presented with uneven wear–need to lengthen the left side more than the right to correct occlusal plane
- Begin with an esthetic wax-up, then move to a functional mockup
- Do incisal ledges with microhybrid composite, and the front with microfill composite
- Apply rubber dam, remove fillings and cavities, then use a matrix with regular putty to repair molars
The Full Mouth Restoration with Composite Resin webinar also includes a Q&A with the audience.