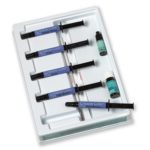
- Composites
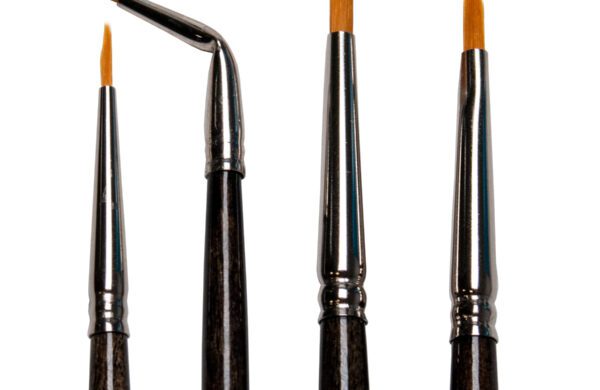
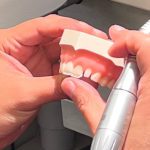
- Finishing & Polishing
-
-
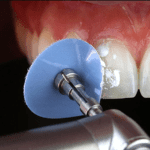
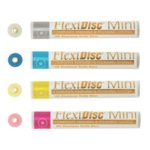 FlexiDisc Dental Polishing Discs
 Dental Polishing Cups & Points
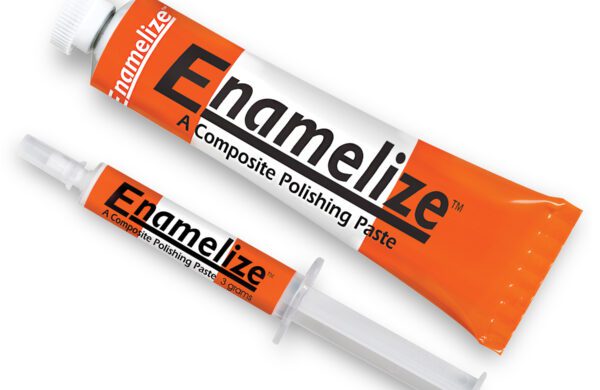 Enamelize Dental Polishing Paste
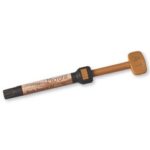
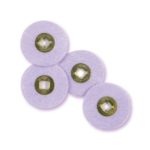 FlexiBuffs
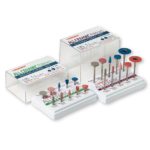 All Ceramic Polisher
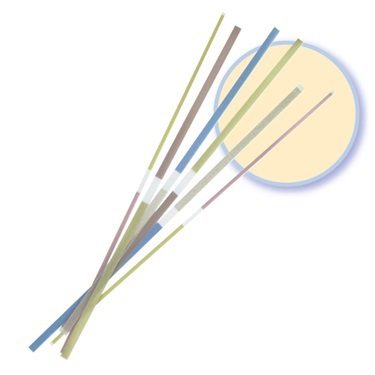 FlexiStrips Dental Polishing Strips
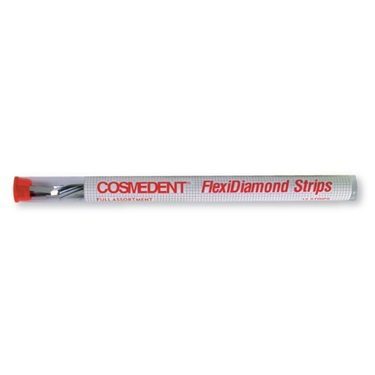 FlexiDiamond Strips
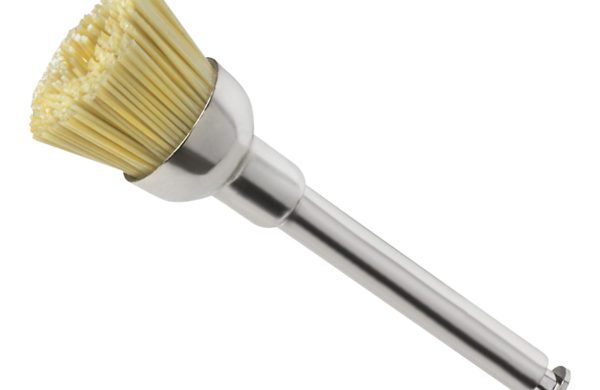 FlexiBrush Dental Polishing Brush
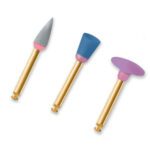 NANO / Microhybrid Diamond Polishers
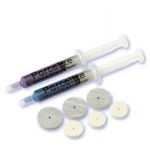 Porcelize - Porcelain Polishing & Finishing Paste
 Top Finisher System
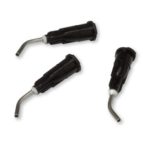
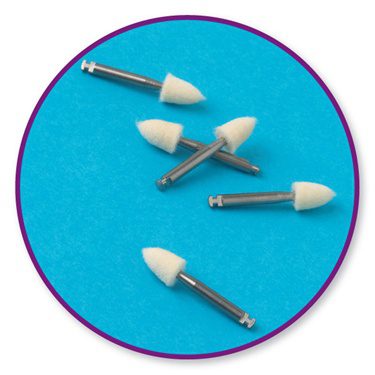 Felt FlexiPoints
-
-
-
-
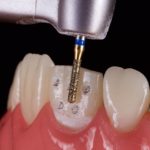
- Core & Temp
- Resin Cement
- Accessories
- Education

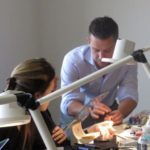

Webinar
Direct Posterior Composites: Efficiency and Esthetics
1-Hour Free Webinar
Learn proven techniques for creating long-lasting, natural-looking posterior Class II direct resin restorations while minimizing patient sensitivity.
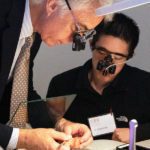
The Presenter: Dr. Dennis Hartlieb, DDS, AAACD
Dr. Dennis Hartlieb is a graduate of the University of Michigan School of Dentistry. He maintains a full time practice, Chicago Beautiful Smiles, in the Chicago suburb of Glenview, Illinois. Dr. Hartlieb is also an instructor at the Center for Esthetic Excellence in Chicago and is an Adjunct Associate Professor at the Marquette University School of Dentistry in Milwaukee, Wisconsin. He also lectures extensively to dentists throughout the US on the art and science of anterior and posterior direct resin techniques.
Dr. Hartlieb is an Accredited Member of the American Academy of Cosmetic Dentistry, as well as a member of the prestigious American Academy of Restorative Dentistry and the American Dental Association. He is the president of the Chicago Academy of Interdisciplinary Dentofacial Therapy, and officer for the Chicago Academy of Dental Research study club. His dentistry has been seen in many dental publications and he has contributed articles on his techniques in restorative dentistry.
Overview: Direct Posterior Composites
A common issue with posterior composites is postoperative sensitivity. Dr. Hartlieb identifies the most common causes of post-op discomfort and, through several examples, describes best practices for placing superior composite restorations that minimize sensitivity.
In this webinar, you will learn:
- The factors that most affect postoperative sensitivity, such as adhesion, shrinkage, and configuration
- Keys for a successful Class II restoration
- Best practices for posterior composites, such as checking occlusion during pre-op and pre-wedging
Factors that Affect Postoperative Sensitivity
One of the challenges faced by dentists performing posterior composite restorations is minimizing postoperative sensitivity. There are three main factors that can affect this:
Adhesion
Close attention to adhesive techniques is important for successful composite restorations. There are three types of adhesive materials dentists can choose from; these include phosphoric acid etch, self etch, and universal adhesion materials.
During a restoration, different elements of the tooth react differently to the different types of adhesives. While phosphoric acid etch is effective for bonding to enamel, self etchers and universal adhesives are more effective for the dentin layer. Phosphoric acid etch will remove the smear layer and smear plug and open up the dentin tubule. This can cause post-op sensitivity and is the reason a lot of dentists prefer self etchers, which don’t remove the smear plug.
The clinical cases discussed in the webinar demonstrate when, where, and how to use these different options.
Polymerization Shrinkage
Polymerization shrinkage is another factor that can affect tooth sensitivity. All composites shrink between 1-3% during light curing, independent of what type of light is used or the angle of the light.
To combat this problem, composite warmers may be beneficial. Studies have shown that warming the composite material prior to applying it reduces the amount of shrinkage. Warming can also improve the flow of the material.
Configuration Factor (“C-factor”)
Surprisingly, patients often report more sensitivity with Class I posterior composites than with Class II restorations, which tend to be larger. The configuration factor, or C-factor, is related to the setting stress of the composite resin in relation to the shape or the configuration of the restoration.
As the ratio of the bonded surface area to the unbonded surface area increases, the stresses developed during curing or polymerization also increase. Because Class I restorations have a larger proportion of composite bonded to the tooth compared to surface composite, the C-factor is higher – and this can contribute to increased post-op sensitivity.
Incremental fill techniques can be used to control the C-factor in Class I restorations. Incremental fill using horizontal layering may still cause setting stress. The oblique layering technique is more effective for reducing inherent stresses as the composite is built up. This technique also allows for the creation of natural occlusal anatomy because the cusps are built up one at a time.
Bulk fill techniques can also address C-factor problems, because they combine horizontal and oblique layering. However, bulk fill is limited to a depth of 3-4 millimeters. Challenges and limitations associated with bulk fill techniques are addressed, and techniques for overcoming these by using Cosmecore material are discussed during the case studies.
Class II Posterior Composite Restorations
Dr. Hartlieb walks webinar viewers through several case studies demonstrating efficient techniques for creating long lasting, natural looking posterior composites with close attention to minimizing post-op sensitivity. The examples are focused on Class II restorations, though the techniques can be applied to Class I cases as well.
The keys for a successful Class II restoration include:
- Tight proximal contact
- Adequate seal at the gingival margin
- Proper proximal contours
- No overhang
When shade matching, match against a tooth without an existing amalgam. The metal will affect the tooth color and throw off the match.
It’s also important to check occlusion during pre-op. With Class II restorations, if the dentist waits to adjust occlusion until after the composite is in place, the anatomy they just created may be wiped away while trying to correct the bite. To prevent this, it may be necessary to adjust the anatomy of the opposing tooth a bit before beginning the restoration.
Another best practice for posterior composites is tightly pre-wedging after the patient is anesthetized. This helps separate the teeth to compensate for the thickness of the matrix material, and it helps prevent incidental gingival tissue laceration and tearing of the rubber dam. Finally, once the tooth is prepped, burr marks on the wedge provide a guide to where the wedge needs to be adjusted to allow for full contour of the matrix band for proper fitting during the restoration.
Case Studies
Several case studies are presented step-by-step to demonstrate common challenges and best practices for placing Class II posterior composites. These include:
- Restoring a bicuspid with an existing amalgam
- Changing a Class II to a Class I
- Adjacent Class II composites
- Bulk fill composites
Instruments and Materials Used
Throughout the webinar, tools and materials used in the demonstrated restorations are identified. These include:
- Wooden wedges
- Brasso micro burr
- Clear plastic matrix bands
- Garrison matrix ring
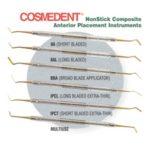
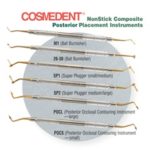
- Cosmedent multi-use instrument
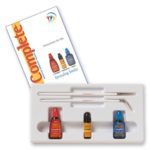
- Cosmedent Complete adhesive
- Cosmedent Oxygon
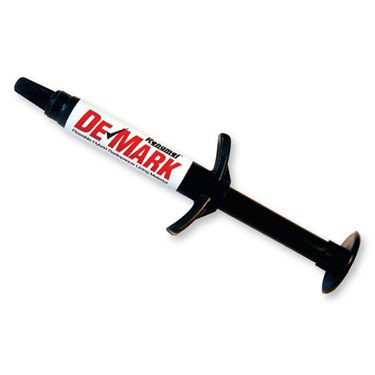
- Renamel De-Mark radiopaque cavity liner
- Flexibuff polishers
- Enamelize polishing paste
- FlexiDisc finishing and polishing discs for composite
- Cosmecore core build-up material
- Creative Color Tint
Q&A
The webinar concludes with a question and answer session with Dr. Hartlieb and members of the webinar audience.