- Composites
-
-
Composites
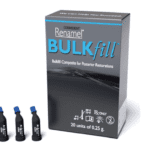
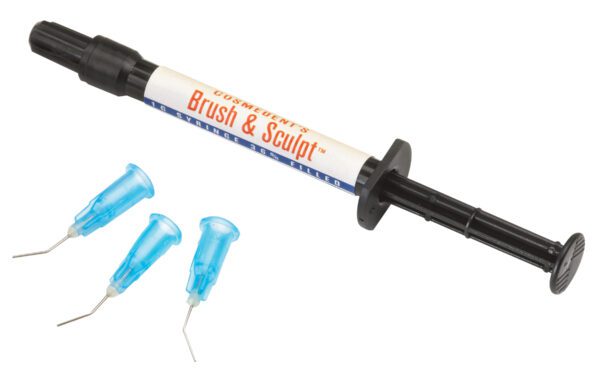
Dental Composite materials for direct anterior and posterior composite bonding.
-
-
-
-
Continuing Education: Get the most from our Composite products by taking one of our Continuing Education Courses. View Courses
-
-
- Finishing & Polishing
-
-
Finishing & Polishing
Finishing and polishing materials for composites, porcelain, metal, gold and natural teeth.
-
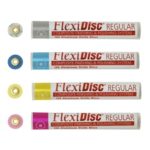 FlexiDisc Dental Polishing Discs
 Dental Polishing Cups, Burs & Points
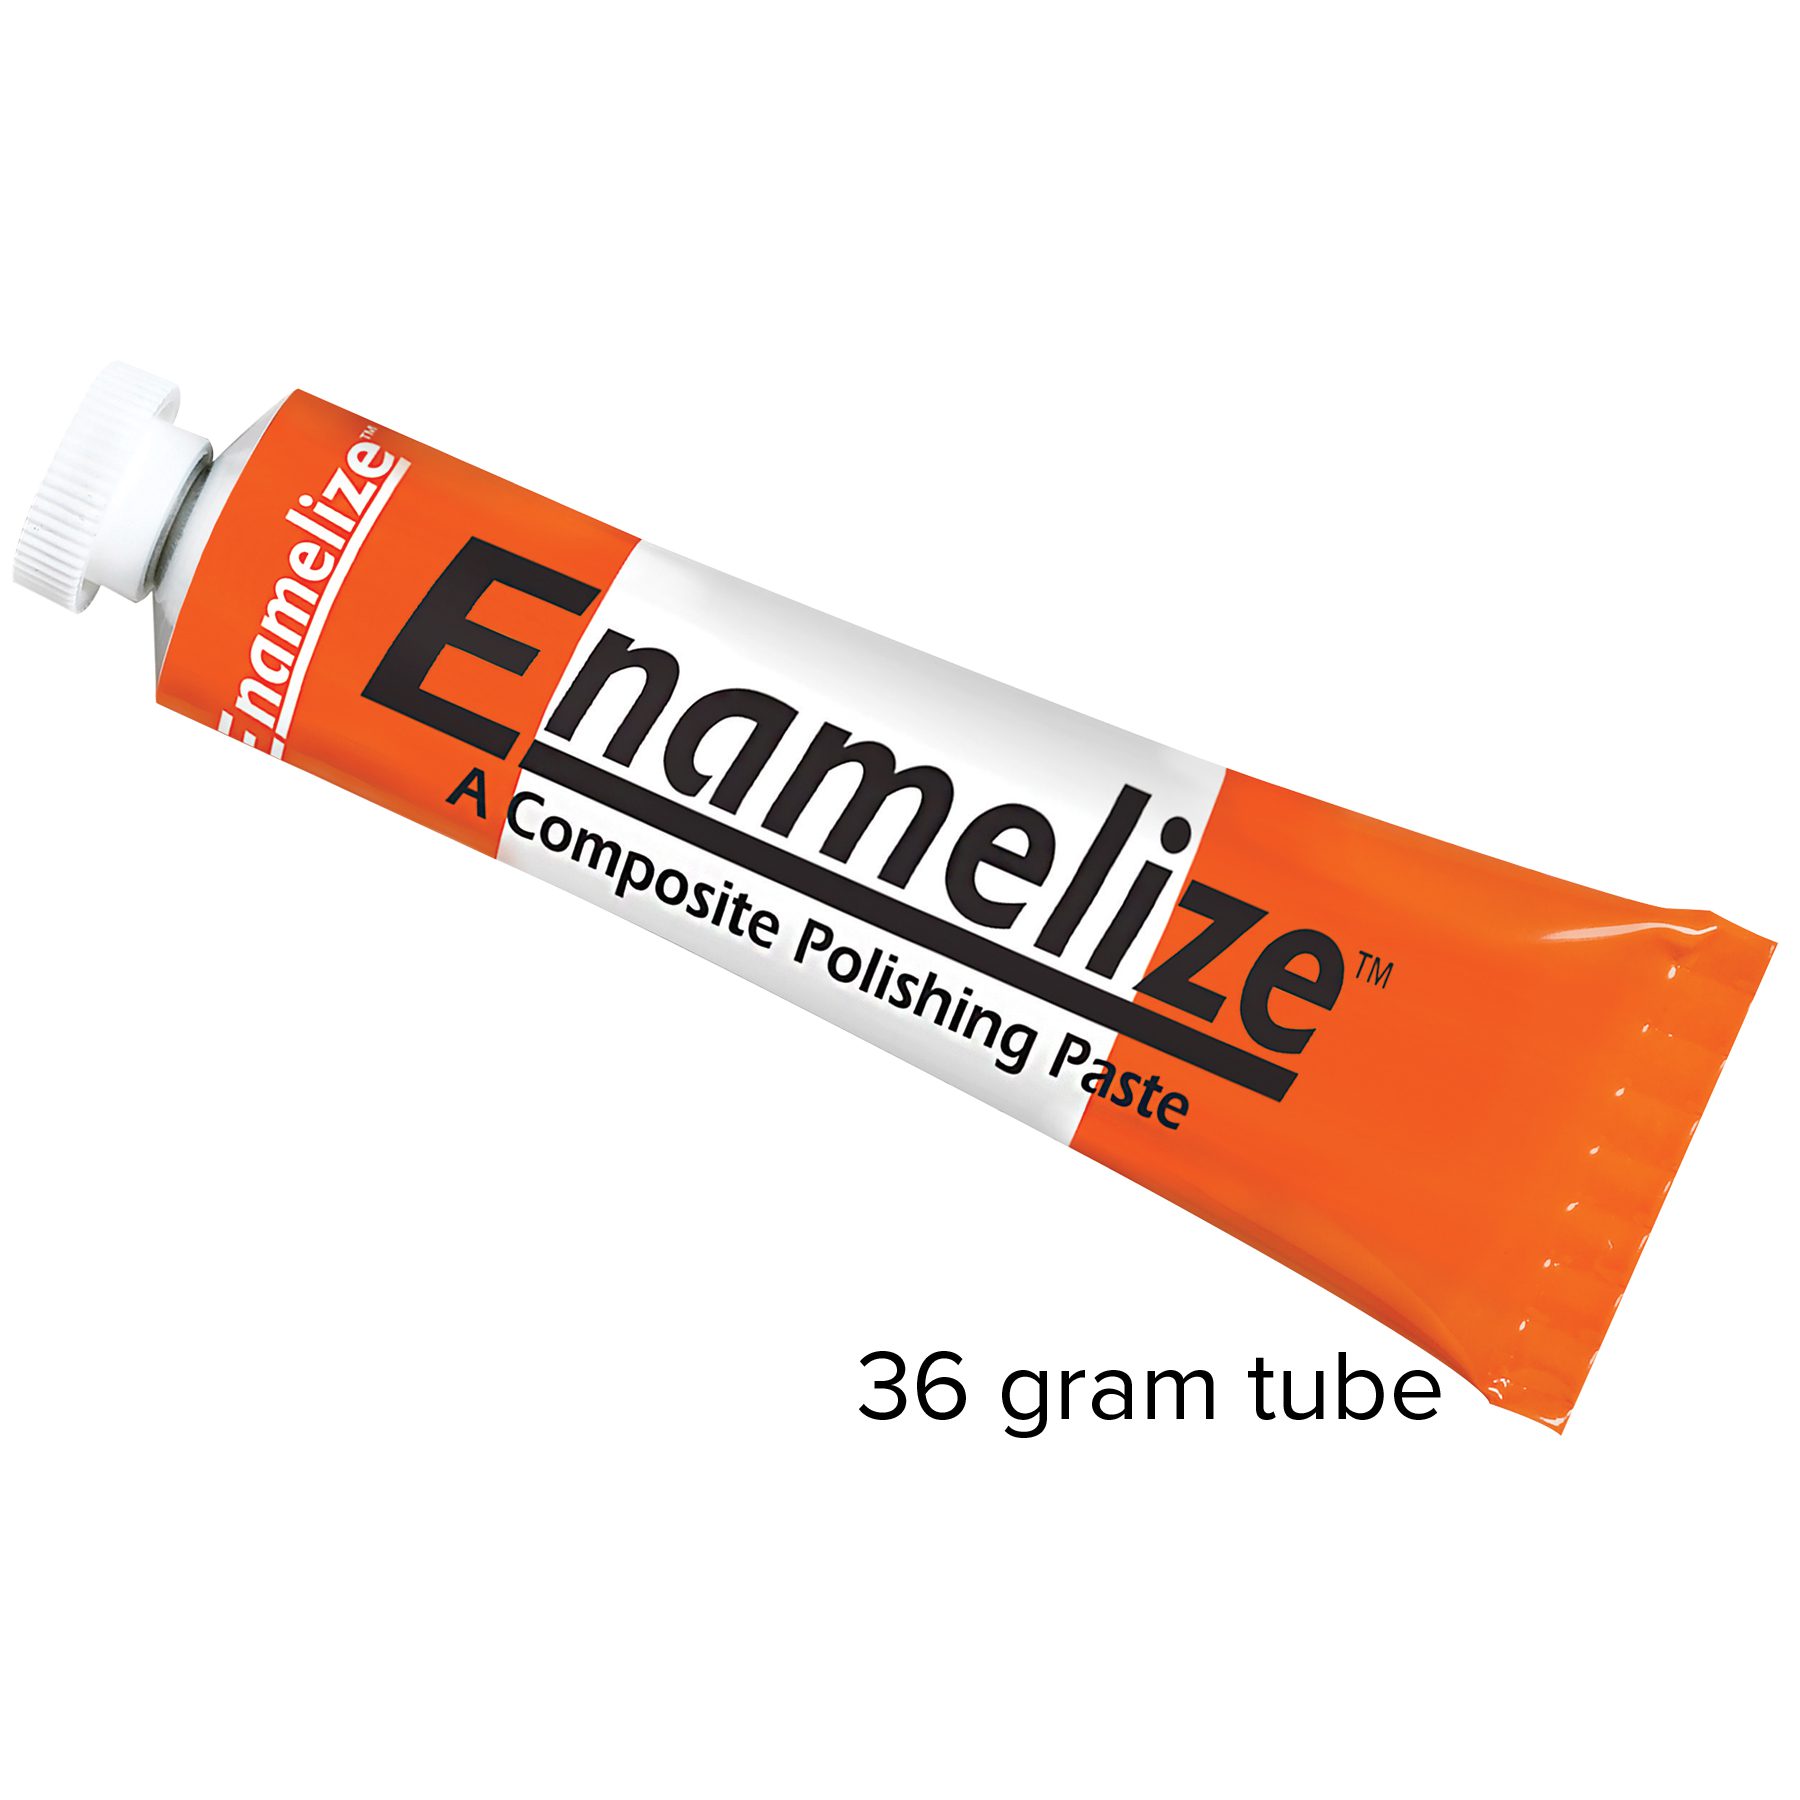 Enamelize Dental Polishing Paste
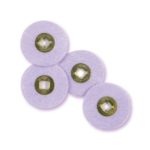 FlexiBuffs
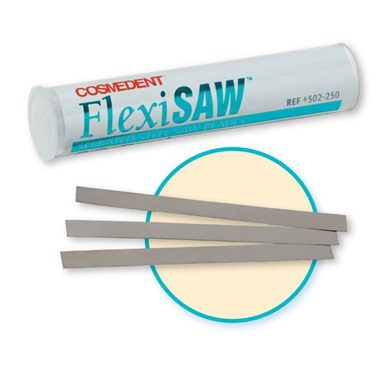 FlexiSAW
 All Ceramic Polisher
 FlexiStrips Dental Polishing Strips
 FlexiDiamond Strips
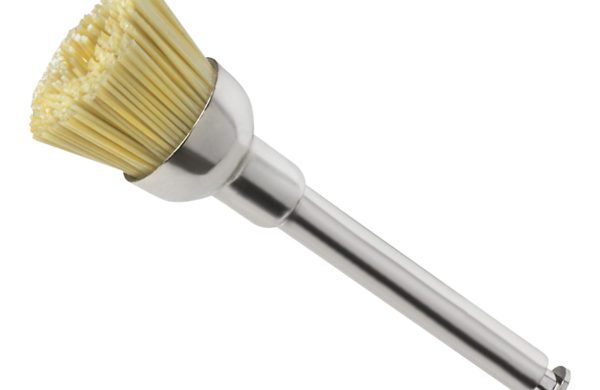 FlexiBrush Dental Polishing Brush
 NANO / Microhybrid Diamond Polishers
 Porcelize - Porcelain Polishing & Finishing Paste
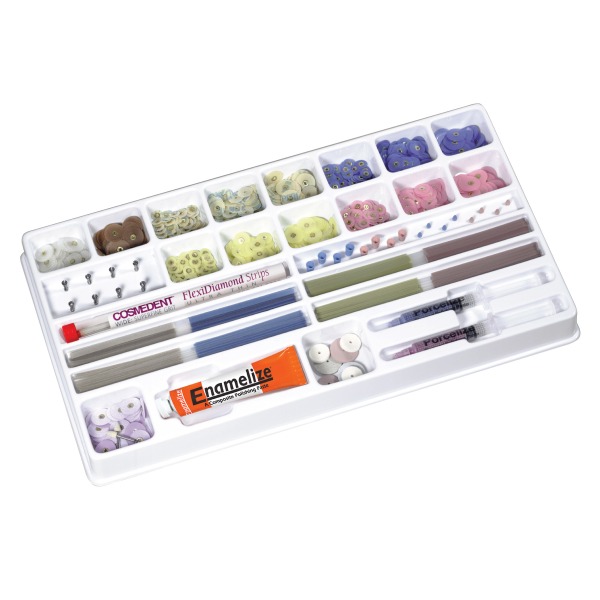 Top Finisher System
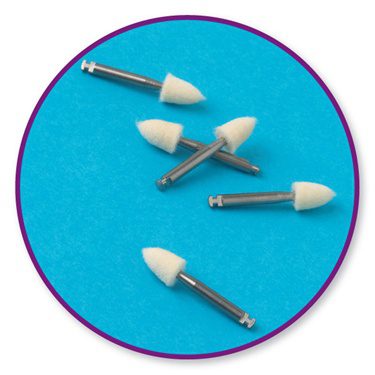 Felt FlexiPoints
-
-
-
-
Continuing Education: Get the most from our Composite products by taking one of our Continuing Education Courses. View Courses
-
-
- Core & Temp
-
-
-
Continuing Education: Get the most from our Composite products by taking one of our Continuing Education Courses. View Courses
-
- Resin Cement
-
-
-
Resin Cements
-
-
-
-
-
-
Continuing Education: Get the most from our Composite products by taking one of our Continuing Education Courses. View Courses
-
-
-
- Accessories
-
-
Accessory Products
Complete your esthetic dentistry toolkit with these helpful accessories.
-
-
-
-
Continuing Education: Get the most from our Composite products by taking one of our Continuing Education Courses. View Courses
-
-
- Education
-
-
Continuing Education
Learn all of the composite dentistry that you may be missing in your practice and how doing more of it can benefit you financially and professionally.
-
-
Direct Composite Veneers on a Class IV Restoration
Dr. Agne Malisaukiene shares in simple steps her preferred technique utilizing direct composites on a Class IV restoration with this esthetically beautiful case.
1. To build the foundation for the restoration, prepare the tooth structure by crown lengthening. Remove old composite and decay with a burr and then sandblast. These are critical steps before any placement of composite.
2. Use a rubber dam to isolate the operative site and keep composite dry during placement and curing. The clamps should hold the dam in place to keep the tooth structure exposed.
3. Place Renamel Microhybrid (MWO) composite in a stent to create the palatal surfaces and then apply to tooth structure. This composite adapts so well to underlying tooth structure and is best for blocking unwanted color.
4. Follow up with placement of Renamel Nano Plus™ (A1) and cure. This composite is especially good for creating body dentin. It is easy to place and sculpt and has outstanding strength and wear resistance.
5. To emphasize incisal edge and line angles, place a layer of Renamel Microhybrid (IL) composite and cure. This composite has an ideal opacity and pairs very well with the final composite layer for exceptional esthetics.
6. Because of its precise pigmentation and translucence, Renamel Microfill (A1) composite is placed and cured to create the outermost enamel layer of tooth structure. The IPCL instrument is often used to place composite layers because it has a long and ultra-thin blade.
7. Repeat the same sequence of restorative techniques on the laterals.
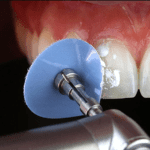
8. Now it is time to polish! FlexiDiscs Mini and FlexiPoints are an excellent, budget-friendly option and work remarkably well to create a high polish due to their high flexibility and assortment of color-coded grits and convenient shapes.
9. You may want to finish the case by applying a conservative amount of polishing paste. Enamelize was used for this case because it creates an unbelievable luster that will leave your patient smiling. It is also a great material for routine follow-up care.
10. If permitted, be sure to photograph the results and share them with your followers on social media. Do not underestimate the value in sharing your cases.
