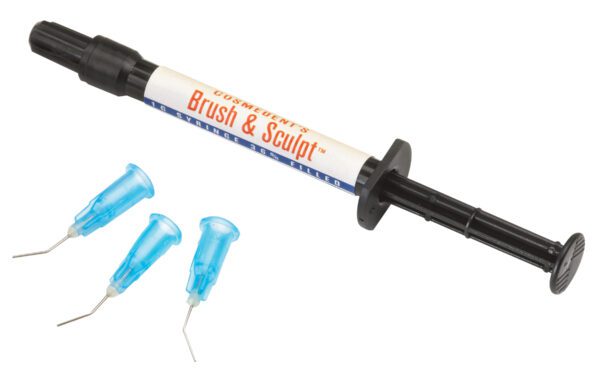
- Composites
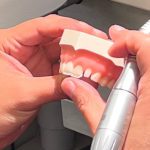
- Finishing & Polishing
-
-
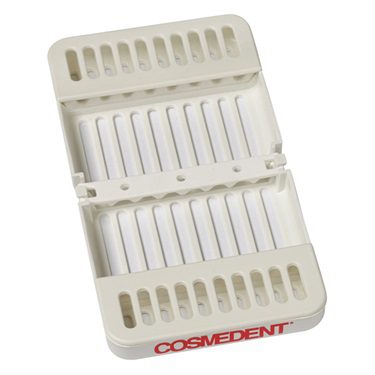
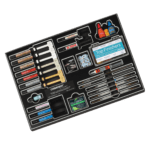
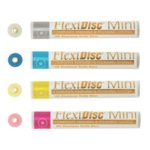 FlexiDisc Dental Polishing Discs
 Dental Polishing Cups & Points
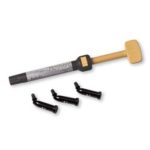
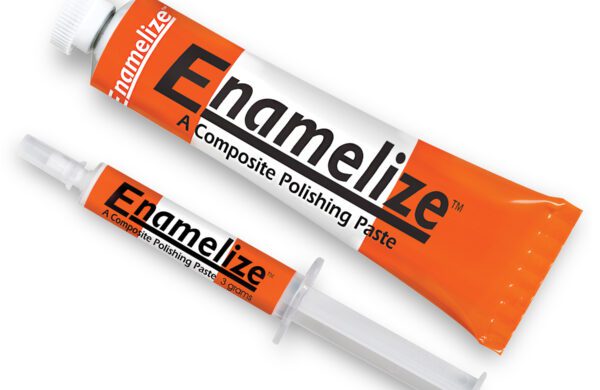 Enamelize Dental Polishing Paste
 FlexiBuffs
 All Ceramic Polisher
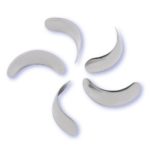
 FlexiStrips Dental Polishing Strips
 FlexiDiamond Strips
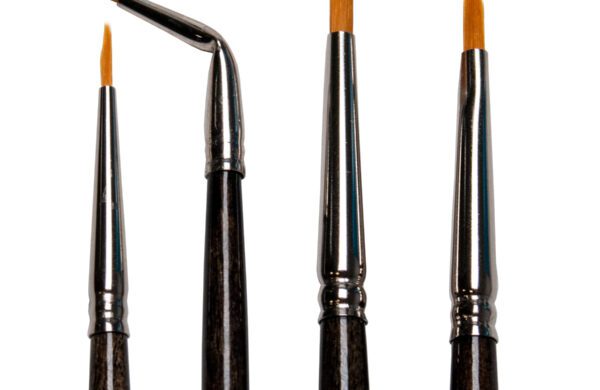
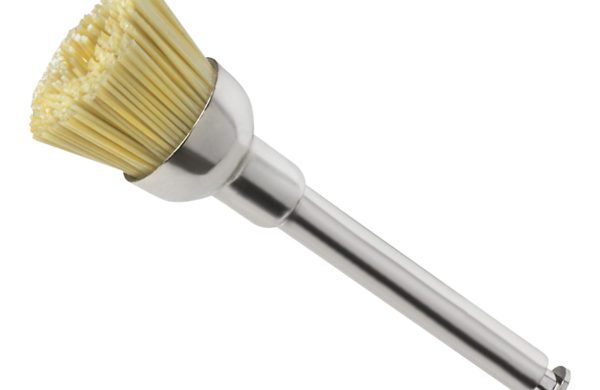 FlexiBrush Dental Polishing Brush
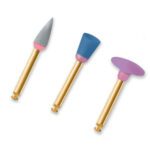 NANO / Microhybrid Diamond Polishers
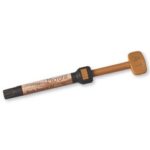
 Porcelize - Porcelain Polishing & Finishing Paste
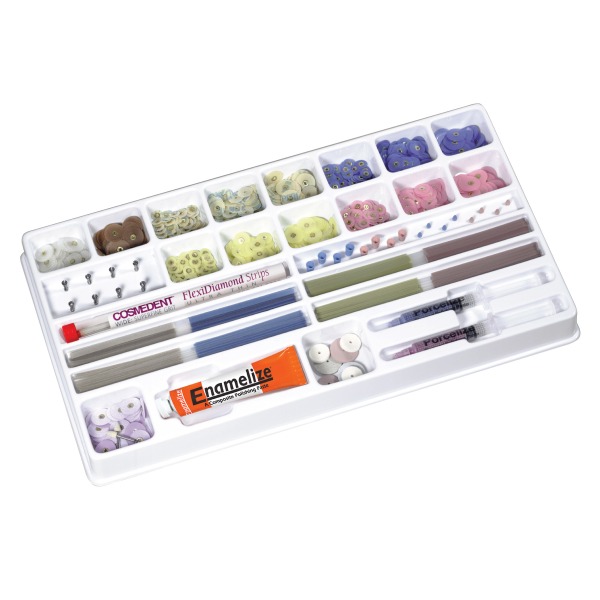 Top Finisher System
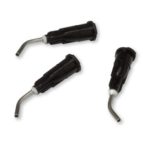
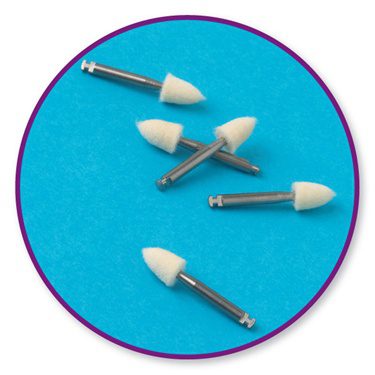 Felt FlexiPoints
-
-
-
-
- Core & Temp
- Resin Cement
- Accessories
- Education


Webinar
Creating a Direct Composite Veneer that Rivals Porcelain
1-Hour FREE Webinar
A class full of tips and techniques for creating great composite veneers with high attention to detail, using the right materials and tools.
The Presenter: Dr. Bob Margeas
Dr. Bob Margeas received his D.D.S. from the University of Iowa, College of Dentistry in 1986 and completed an A.E.G.D. residency in 1987. He is currently an adjunct professor in the Department of Operative Dentistry at the University of Iowa, and maintains a private practice with a focus on comprehensive esthetic restorative dentistry in Des Moines, Iowa.
Dr. Margeas is also a fellow in the Academy of General Dentistry, the American Society for Dental Aesthetics, and the International Team of Oral Implantologists. He frequently lectures on esthetic dentistry, and has published numerous articles on the subject.
Overview: Composite Veneers that Rival Porcelain
Unlike dealing with porcelain, creating great composite veneers requires a high degree of artistry and the ability to perform well in the moment. Creating high-quality composites in real time means that dentists must master the required techniques and have a deep understanding of the tools and materials they will be using during the procedure.
In this webinar, Dr. Bob Margeas reviews a case study and gives a live demonstration where he builds a composite veneer. Along the way, you will learn:
- The strengths and weaknesses of different composite materials
- Which kinds of equipment are helpful at different stages of the process, and which should be avoided
- Tips and tricks to make working with composite easier and more efficient
- How to dial in the details to create composites that are indistinguishable from existing teeth
The Main Question: What do Dentists Need to Do to Create Great Composite Veneers?
The detail work is what makes composites shine—both literally and figuratively. The ability to dial in the detail work starts with a thorough understanding of the available materials. Some composites hold their shape well, while others will sag before they’re cured. Different brands will have differing levels of chroma and value fidelity, and choosing between microfills and nanofills can make a huge difference in the overall process. Knowing well what to use is important, but understanding the scope of what the market offers can be helpful for finding a new favorite material, or one that will be useful in certain edge cases.
Knowing your tools is also vital. Ensuring that you can use them properly is just the first step. Learning how to adjust how you use them to help create fine details can dramatically improve the overall look of the finished product.
Finally, observation is key. Composite work can look great in a vacuum but not stand up to scrutiny when evaluated in context. Training yourself to notice the small details on adjacent teeth gives you the knowledge you need to create a composite that’s nearly indistinguishable from the nearby adjacent teeth.
Tips and Tricks for Composite Veneers
- Use adhesive on adjacent teeth to ensure a good fit without worrying about the composite bonding to nearby teeth.
- Cosmedent is the only company that produces Opaquer that matches not only chroma but also the Vita Shade Guide.
- You cannot over-cure a composite, but you can under-cure.
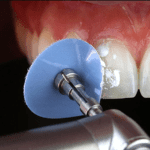
- When using burs to polish, you want lower speed and high torque.
- Always evaluate from the incisal ledge view when evaluating your work.
Materials and Tools Mentioned
- Opaques and tints
- Vita-shaded composite
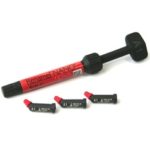
- Renamel Microfill
- FlexiDiscs
- Brasseler ET Bur
- Compo-ject composite gun
Case Studies and Q&A:
Case Study 1: Replacing a Porcelain Veneer
- Started with a porcelain veneer that had poor translucency.
- After removing the porcelain veneer, the underlying tooth had a lower value.
- Instead of starting with pink opaque, using opaquers that match the Vita shade chart to raise the tooth’s value.
- Overbuilding the tooth prior to polishing can help ensure dentists don’t accidentally hit their tints while finishing and polishing.
- A variety of equipment is needed to create the final texture and shape of the tooth and then to create the final polish.
Case Study 2: Live Demonstration
- Take a picture with your phone and then edit the image to black and white to evaluate the value.
- Layer tint under translucent microfill to better match multichromatic teeth.
- If you have clean gloves, you can shape renamel—otherwise, use your IPC thin-bladed instrument.
- Use wetting agents to prime brush to move the composite after shaping into the general shape you want.
- Incisal Light can be used to add color and give a 3-D effect on teeth where few colors are used.
- Cure the composite, then finish and polish to ensure that the tooth isn’t overbuilt and the color remains accurate.
- If a tooth looks fat, bringing in the angles can remove this effect without changing the overall shape of the tooth.
Questions from Q&A
- What do you use to get all the cement off a tooth?
- When you want darker dentin tissue, do you use hybrid for that?
- Which material gives you the best polish on the enamel?
- How should dental hygienists handle composites?
- Should you consider the color of your adhesive when making composites?
- How do you hide dark triangles on larger restorations?
- Does using a wetting resin, like a brush to sculpt, diminish the bond strength between layers of composite?
- Do you ever get patients that are upset that their teeth are not perfectly white?
- What are your thoughts on using a Velo fast cure?
- What instances should you use microfill in?