- Composites
- Finishing & Polishing
-
-
 FlexiDisc Dental Polishing Discs
 Dental Polishing Cups & Points
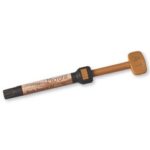
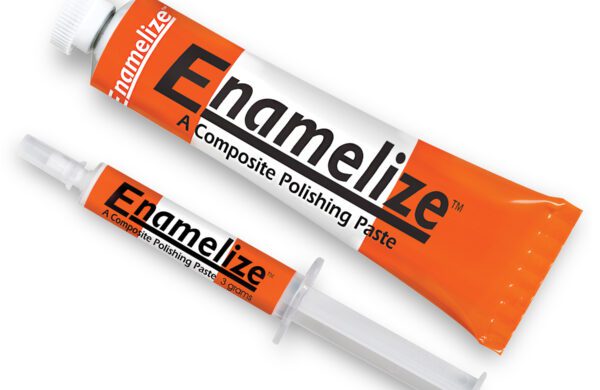 Enamelize Dental Polishing Paste
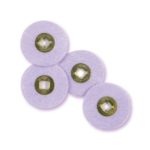 FlexiBuffs
 All Ceramic Polisher
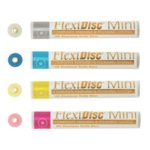
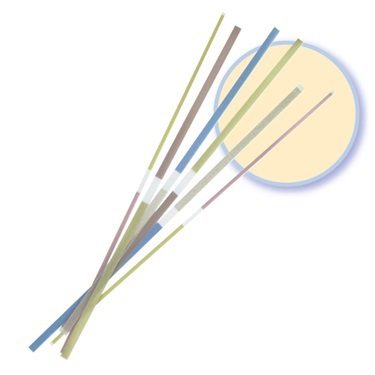 FlexiStrips Dental Polishing Strips
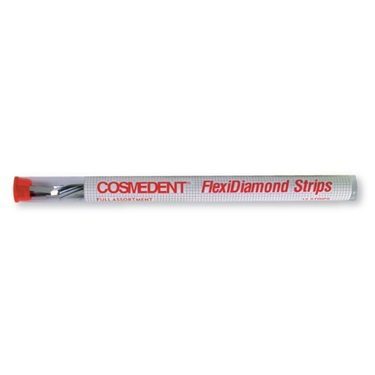 FlexiDiamond Strips
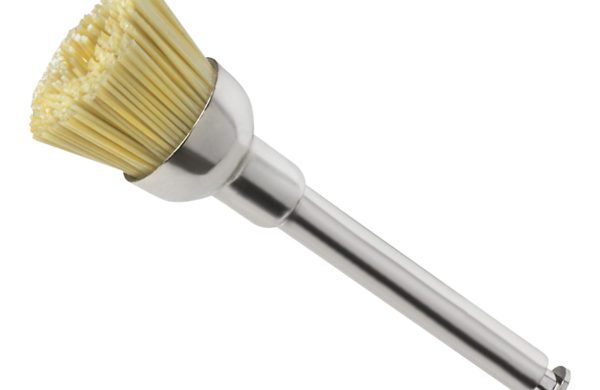 FlexiBrush Dental Polishing Brush
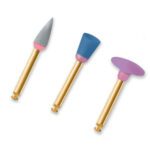 NANO / Microhybrid Diamond Polishers
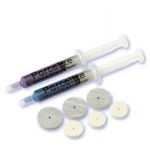 Porcelize - Porcelain Polishing & Finishing Paste
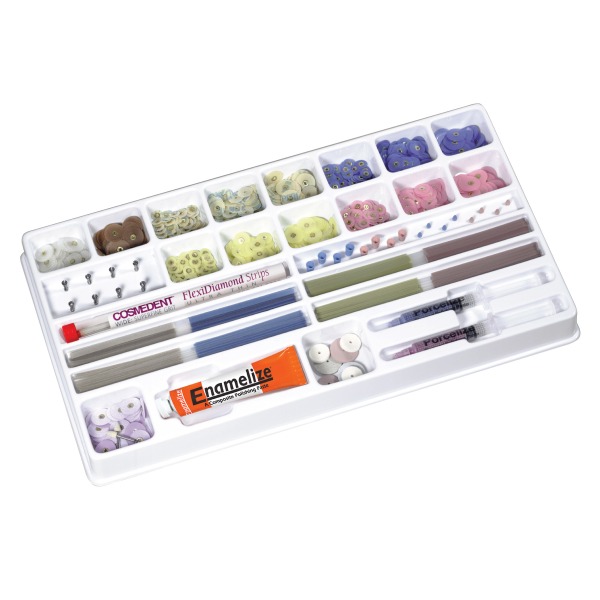 Top Finisher System
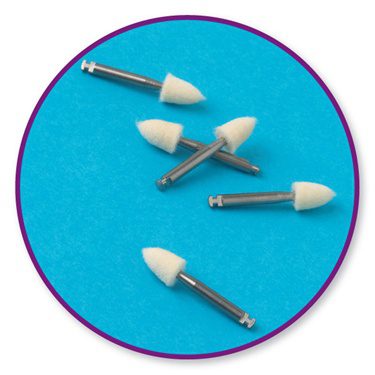 Felt FlexiPoints
-
-
-
-
- Core & Temp
- Resin Cement
- Accessories
- Education


Webinar
Composite Power: Versatility Unsurpassed (Part 4)
1-Hour FREE Webinar – Part 4
Explore case studies using composite resin for posterior restorations as well as repairs of existing metal and ceramic restorations.
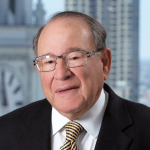
The Presenter: Dr. Bud Mopper, DDS, MS
Dr. Bud Mopper has been practicing composite dentistry for over 40 years and is a renowned lecturer on the topic. He co-authored A Complete Guide to Dental Bonding, which was the first definitive book for the dental profession describing bonding techniques. Dr. Mopper is a Life Fellow of the Academy of Esthetic Dentistry, Founding Member and Fellow of the American Academy of Cosmetic Dentistry, Life Fellow and Diplomat of the American Board of Pediatric Dentistry, and Fellow of the American College of Dentistry. He teaches continuing education courses in direct resin bonding at multiple universities and has won numerous awards for his pioneering work in composite dentistry.
The Power of Composite for Restoration and Repair
In this, the last in the four-part series on composite dentistry, Dr. Mopper provides additional examples of advanced composite techniques, including posterior restorations and repairs to existing metal and porcelain restorations. Through photos and step-by-step instructions, he explains how dentists can achieve true artistry with composite resin, crafting restorations that are undetectable to the eye. He shows how he and his colleagues deliver a final product that looks exactly like natural tooth structure. Composite restorations are a patient pleaser and a practice builder, delivering beautiful, long lasting results without breaking the bank.
The webinar also includes an extensive question and answer session about best practices, recommended materials, and how-tos for approaching advanced cases.
Materials Used
Dr. Mopper identifies the equipment and materials he uses throughout the presentation. These include:
- Cosmedent pre-contoured matrix bands – curvature mimics the shape of the proximal surface from occlusal to gingival
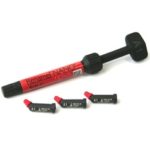
- Renamel Microhybrid
- Renamel Nanofill
- Balsam wedges to isolate the tooth being restored
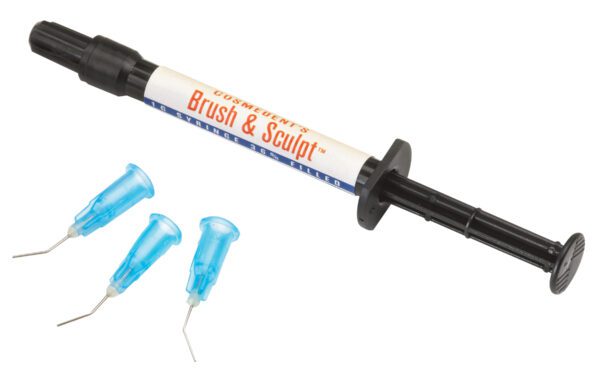
- Titanium plugger for sculpting
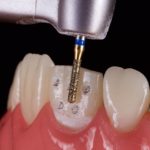
- Multi-fluted carbide burr, multi-fluted steel burr for finishing and polishing (round and flame shaped)
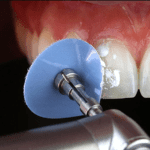
- Flexidiscs for shaping
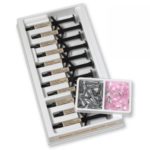
- Cosmecore A2 dentin replacement
- Pink Opaque
Composite Dentistry for Posterior Restorations
Multiple examples of posterior restorations with composite resin are presented:
Case 1: Rapid, simplified technique
A technique for performing posterior restorations using a matrix band is presented; this process is so quick that it rivals that of amalgam. The result is attractive and the restoration keeps its polish and holds up over time. Dr. Mopper stopped doing stainless steel crowns altogether after developing this technique.
Case 2: A large posterior restoration
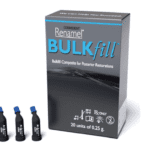
This time, the cavity is much larger. A matrix band is used again. The first step is to build up the proximal wall. Dr. Mopper prefers Nanofill in this case for the overall best edge strength at the occlusal surface. It also is more effective at preserving the margins, and offers superior opacity and polishability. Next, he uses Cosmecore dentin replacement as a base to fill up most of the cavity, then finishes it with either Nanofill or Microfill on top. He explains that this technique is superior to using BULKfill: it’s faster with better results.
Using Composite Resin to Repair Existing Restorations
The next series of examples demonstrates the versatility of composite materials for repairing existing metal and porcelain restorations.
Case 3: Repairing gold restorations with composite
In this example, Dr. Mopper repairs existing gold restorations with exposed margins and covers them with opaquer and Microfill composite for a natural look. Since gold is a warm metal, Pink Opaquer is not required (as it would be when covering amalgam); he uses regular opaquer.
Case 4: Repairing porcelain crowns
Case 4 involves repairing a “black area” near the gingiva on a porcelain crown. Here Dr. Mopper demonstrates how to create an invisible repair, starting by placing a coating called GingaGuard to protect the gingiva during acid etching. A Pink Opaquer is then used to neutralize brown and gray stains before completing the restoration with Microhybrid.
Case 5: Restoring porcelain crowns
This case involves existing porcelain crowns; the goal is to improve their appearance and at the same time restore the canine rise and repair a bridge to make it blend into the rest of the arch. All restorations are intact at the patient’s six-year post-op visit except for a small chip needing repair.
Case 6: Covering exposed metal
This case study shows a repair to a porcelain restoration that has exposed metal. Dr. Mopper explains how to cover the exposed metal successfully without taking the crown off.
Case 7: Repairing bicuspids with defective cervical margins
Through this example Dr. Mopper explains his techniques for repairing restorations to enhance overall healing and allow the patient’s soft tissue to build up properly, showing significant progress as early as three weeks post-op. Here composite resin is a “magical material” because it creates natural, long lasting restorations that contribute to the overall health of the gingival tissue.
Composite Resin Restorations: Q and A
The second half of this webinar consists of an extensive question and answer session where Dr. Mopper offers his expertise on best practices for composite restorations, covering a range of topics:
- Best practices for using opaquer, including pink opaquer
- Best practices for restoring multiple adjacent teeth at once to prevent sticking
- Special procedures for preparing a canine tip
- When a diastema closure also require preps
- Criteria for a long bevel on class 3 and 4 restorations
- Clarifications on how to approach restorations at what Dr. Mopper calls the “aesthetic zone” at the gingival layer
- Does a dentist need innate artistic ability to perform beautiful restorations?
- Best practices for lingual composite buildup on maxillary (e.g., on patients with bulimia)
- Is it possible to repair cracks in porcelain with composite?
- Preventing composites from discoloring
- Best practices for repairing a subgingival abfraction
- Techniques for getting rid of the white line in posterior composite restorations
- How to check occlusion with composite veneers to avoid interferences and fractures
- Tips for repairing a fracture on a composite veneer
- How to develop the canine rise in composite
- What mockups are created prior to initiating a treatment plan
Recommendations for tools and materials
Webinar attendees also ask about:
- Tips on using cups for polishing
- When to use a coarse disc vs. a burr for polishing
- Recommendations for using a flowable material for posterior restorations
- Recommendations for instruments that do not stick to the composite material during shaping
- Are the recommended composite materials bioactive?
- Is Cosmedent Microfill compatible with other types of composite?
- When to use a bonding agent when repairing an existing composite restoration
- Recommendations for fast curing lights, concerns about heat produced by them
- Recommended speeds for using FlexiBuffs, FlexiDiscs, and FlexiPoints
- What burrs does Dr. Mopper recommend?
Dr. Mopper also answers some general questions about patient and practitioner safety in the age of COVID 19 as well as the approach to patient and insurance billing in his practice.