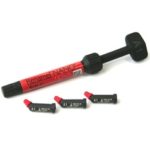
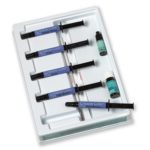
- Composites
- Finishing & Polishing
-
-
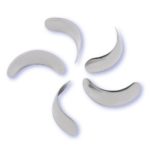
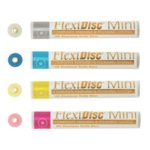 FlexiDisc Dental Polishing Discs
 Dental Polishing Cups & Points
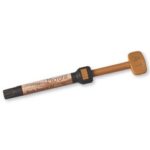
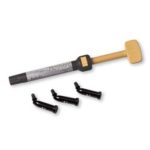
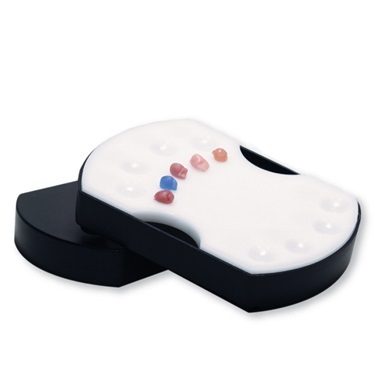
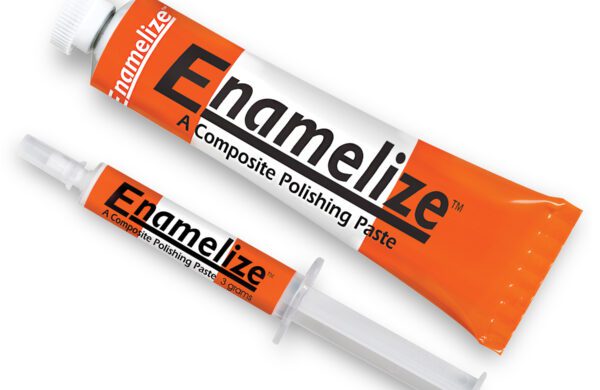 Enamelize Dental Polishing Paste
 FlexiBuffs
 All Ceramic Polisher
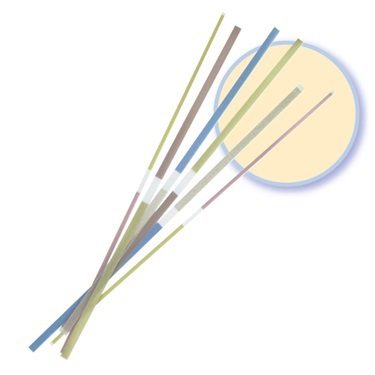 FlexiStrips Dental Polishing Strips
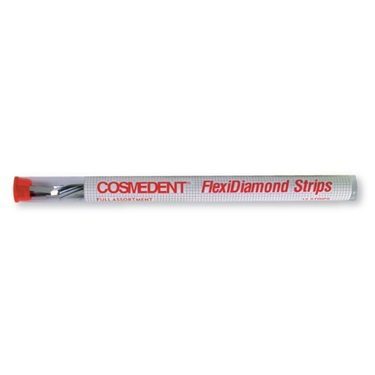 FlexiDiamond Strips
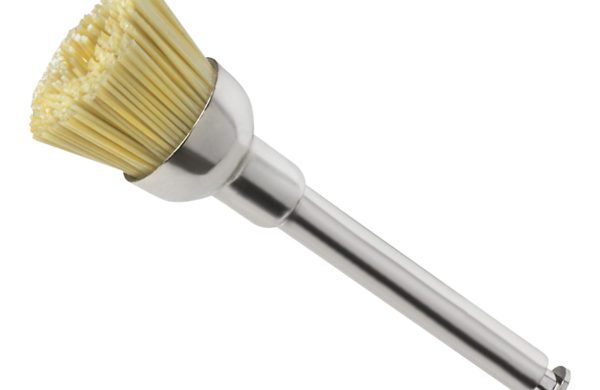 FlexiBrush Dental Polishing Brush
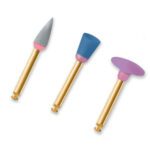 NANO / Microhybrid Diamond Polishers
 Porcelize - Porcelain Polishing & Finishing Paste
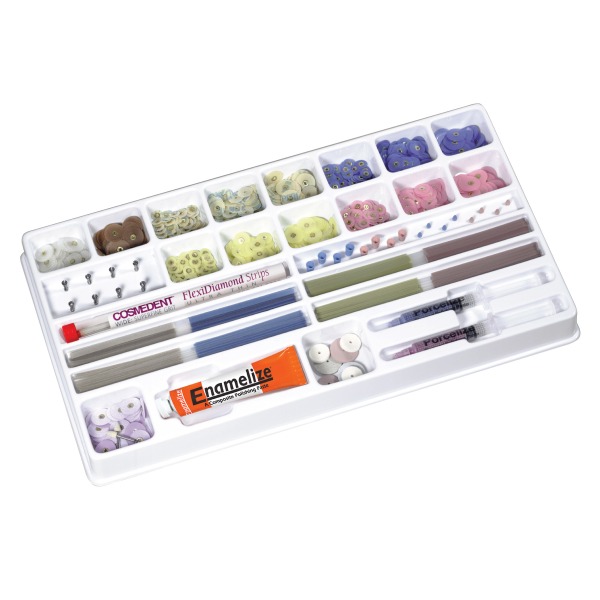 Top Finisher System
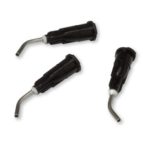
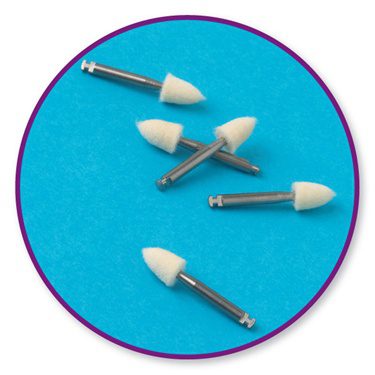 Felt FlexiPoints
-
-
-
-
- Core & Temp
- Resin Cement
- Accessories
- Education


Technique Video
Creating Aesthetic Diastema Closures with Composite Resin
Diastema closures are often performed for esthetic reasons, but choosing the right materials and techniques will play a critical role in the shaping, optical integration, and long-term function of the restoration. Composite resin is a great choice for diastema closures.
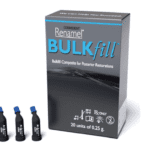
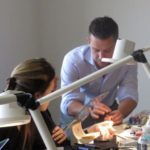
In this video case, Dr. Bud Mopper demonstrates a conservative and highly aesthetic approach to closing a maxillary central diastema using composite. With no caries or breakages to be concerned with, Dr. Mopper chooses Renamel Microfill to build up these teeth. Renamel Microfill is the closest composite to enamel and will provide the luster and translucency needed for a natural, finished restoration of this nature.
Preparing Teeth for the Diastema Closure Procedure
Cleaning the Teeth
To start this restoration, Dr. Mopper prepares the teeth for bonding. Before etching and bonding solutions are applied, Dr. Mopper performs a prophylaxis to rid the teeth of any biofilm. He uses a 15-micron diamond strip in the interproximal area to remove any plaque. He believes shade selection should be matched to a clean, moist tooth. Dr. Mopper selects composite shades using the VITA Classic shade guide. All of Renamel Microfill’s shades match this guide.
Measure the Teeth for Symmetry
Next, Dr. Mopper measures the central incisors for symmetry using calipers and reviews for cant. In this case, the patient’s upper left side has a nice vertical cant, but the right side has a mesial cant to it. In addition to closing the gap, Dr. Mopper will create the illusion that the right tooth is upright using composite. You should always take cant into account when measuring for symmetry, especially when restoring anterior teeth.
Etching and Bonding Process
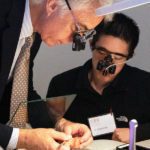
Before etching, Dr. Mopper isolates tooth #9 with Mylar strips. In this case, he etches the middle third of the tooth on both the facial and the lingual.
Dr. Mopper reviews the etched tooth and notices an area on the proximal surface that is unetched. This patient had braces and brackets on, and some cement was left after removing the hardware. Dr. Mopper removes the cement, cleans the area and then re-etches. Dr. Mopper air thins, washes and dries the tooth and then applies bonding adhesive.
Closing the Diastema with Composite
Applying Composite to Tooth #9
Dr. Mopper uses Renamel Microfill for closing diastemas. Before applying the composite to the tooth, he rolls the Microfill into an elliptical shape, or as he calls it, a convenience form. With the composite shaped into the convenience form, Dr. Mopper can easily place it on his instrument and apply it to the tooth. This convenience form also gives Dr. Mopper more sculpting control and minimizes composite bulk. It prevents him from dealing with and removing a lot of excess material. He then follows up with his fingers to shape the initial material on the tooth.
Dr. Mopper pays attention to sculpting the Microfill underneath the free margin with his instrument. He is focused on the line angle and pays attention to the proximal contours. Dr. Mopper uses the 8A instrument to shape and blend the composite over the facial surface. He continues to blend it down to get a finite margin. Dr. Mopper removes the excess material with his instrument and wipes it off with gauze. He then light cures the Microfill.
Dr. Mopper evaluates the labial surface’s contour. He is aware of a slight overbulk from the facial view but notes the proximal is well contoured.
Next, Dr. Mopper works on the lingual side of the tooth. Noticing a void at the lingual shelf, he makes another ellipse of Microfill and fills the area. He sculpts, shapes and blends the composite. Once the composite is placed on the lingual, Dr. Mopper measures again, making sure the tooth matches the one adjacent to it. The tooth plus its facial width should equal half the total distance for each tooth. He light cures the lingual surface.
Finishing and Polishing the First Tooth
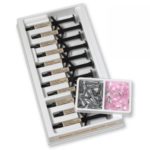
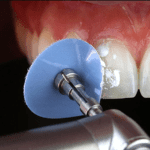
Dr. Mopper starts the finishing and polishing process on #9 with an ET bur on the facial and OS1 bur on the lingual. Dr. Mopper moves to the FlexiDiscs system, a series of aluminum-oxide impregnated finishing and polishing discs for composite resin. Dr. Mopper moves through the sequence of discs, first with the gray Coarse FlexiDisc to continue the shaping, and the blue Medium disc to finalize finishing. He follows up with the yellow Fine, and pink Superfine FlexiDiscs to polish the tooth. For interproximal finishing, Dr. Mopper uses a diamond strip and then follows up with a Fine or Superfine aluminum oxide strip. Aluminum oxide gives the best polish on a Microfill.
Finishing the Diastema Closure
Dr. Mopper finishes and polishes tooth #9 so that material can be placed on tooth #8 without the Mylar strip. Composite will not stick to cured and polished Microfill. With the Mylar strip removed, Dr. Mopper places Microfill on the labial of the adjacent tooth. Same as tooth #8 he sculpts, shapes, and polymerizes the facial aspect. Dr. Mopper then moves on to the lingual.
Using the 8A tool, Dr. Mopper applies the Microfill to the lingual void and sculpts beneath the gingival margin and shapes to the perfect contour. Dr. Mopper takes time to work the composite into the embrasure spaces and blends the material onto the lingual surface.
Excess composite may squeeze out to the facial during this application. Since it is still soft, simply trim it off and remove the excess with an IPC carver instrument (which is much thicker and less delicate than an 8A instrument.)
Repeat the same finishing and polishing sequence with the same burs and FlexiDiscs used on tooth #8. The contact will be tight. To open the contact, you can use an interproximal strip or use your 8A instrument and torque between the teeth.
The finished case demonstrates excellent integration of the composite with the natural dentition. Margins are undetectable, color blending is seamless, and the incisal translucency is preserved—all hallmarks of a successful anterior composite case.
