- Composites
- Finishing & Polishing
-
-
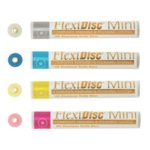 FlexiDisc Dental Polishing Discs
 Dental Polishing Cups & Points
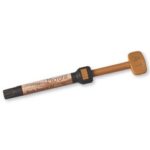
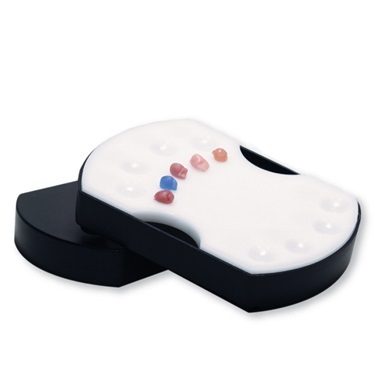
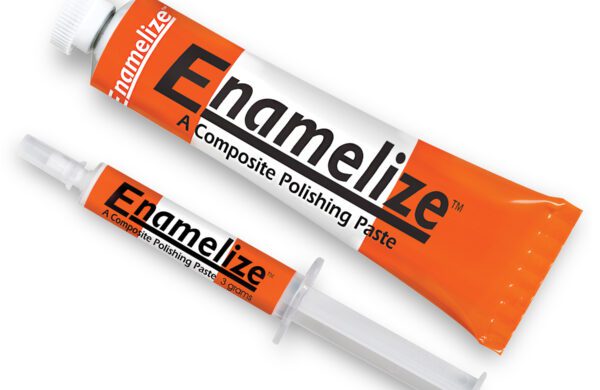 Enamelize Dental Polishing Paste
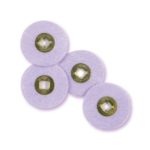 FlexiBuffs
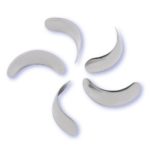
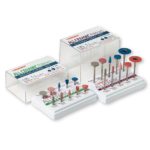 All Ceramic Polisher
 FlexiStrips Dental Polishing Strips
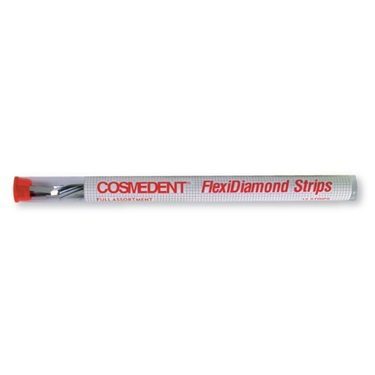 FlexiDiamond Strips
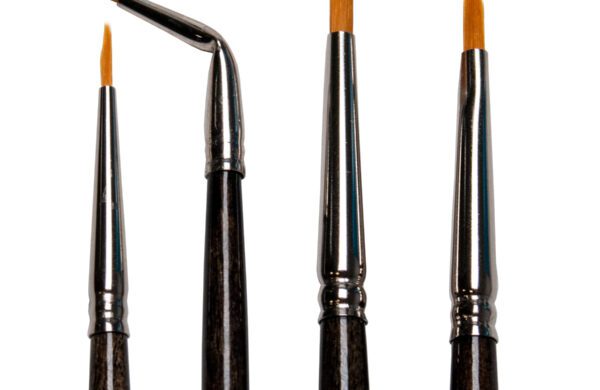
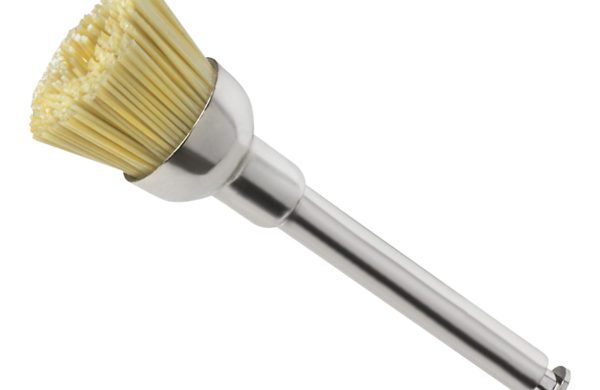 FlexiBrush Dental Polishing Brush
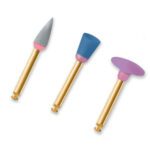 NANO / Microhybrid Diamond Polishers
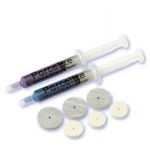 Porcelize - Porcelain Polishing & Finishing Paste
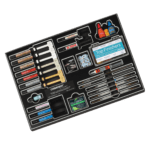
 Top Finisher System
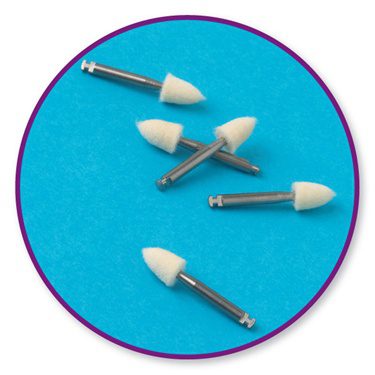 Felt FlexiPoints
-
-
-
-
- Core & Temp
- Resin Cement
- Accessories
- Education


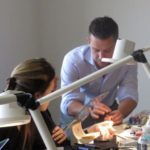
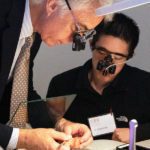


Technique Video
Peg Laterals – Lateral Incisor Bonding Guide
Rhodri Thomas shows you two ways of creating halos on peg lateral restorations
Building the Palatal Shell with Microhybrid Clear Occlusal
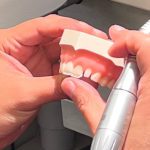
Using a silicone matrix, mark the outline of two lateral incisor teeth with a #12 blade. Remove the matrix from the mouth. Next, apply a thin layer of Microhybrid Clear Occlusal into the impression of each lateral incisor. The Microhybrid will form the base for the two palatal shells for the peg lateral restorations.
Lateral Incisor Bonding
Next, press the matrix back into the teeth and light cure the Microhybrid. Once cured, carefully remove the matrix, leaving the shells bonded to each incisor. If needed, refine the edges of each shell with the Blue, Medium FlexiDisc Mini-centered. This refinement cleans up the appearance and makes layering easier.
On the first tooth, begin building up the interproximal. Tuck a Full Contact Large Matrix Band just underneath the gingival on the distal to create a good contact. Next, add the A2 Microhybrid into the contact point and use an G3/BBA or 8A Instrument to tuck the Microhybrid in and spread it out. After spreading the Microhybrid, use a #3 Brush to smooth it up towards the cervical of the tooth, creating a seam, then light cure the composite.
Repeat the process on the tooth’s mesial, adding A2 Microhybrid to the contact point and smoothing up towards the cervical with the #3 brush. Light cure the Microhybrid on the mesial, completing the shell build on this tooth. Create another shell on the other lateral incisor in the same fashion.
Building Up the Dentin Layer with Microhybrid and Adding Microfill
Now it is time to build up the dentin layers; the sculpting defines the esthetic outcome of the final restoration. Add more A2 Microhybrid to the labial of the tooth and spread it out using the G3/BBA or 8A instrument. Smooth and tuck up the Microhybrid to the gingival margin of the tooth with the #3 Brush. Next, define the tips of the mamelons with the #12 blade. Light cure the Microhybrid. If needed, add a bit more Microhybrid onto the tooth, and use the #3 Brush to spread and smooth out seams. Leave a little incisal space for creative effects and light cure again.
Using the #1 Brush, apply Creative Color Honey Yellow Tint to the top third of the tooth to add warmth, starting at the cervical and bringing the tint down the top third of the tooth. Light cure the tint. Next, create a white halo using a Creative Color White Opaque and the #1 Brush, Brush the opaque across the incisal edge; light cure. Add Creative Color Violet Tint just above the incisal edge to boost the translucency (if you can easily see it, you have put on too much.) This addition of the violet tint will show through in the final polish.
The final layer for the composite restoration is Light Incisal Microfill, for the best polish in the market. Microfill is the composite that closest replicates enamel and will give the restoration the final polish. Add a small amount to the tooth and spread with the G3/BBA or 8A instrument, then smooth with the #3 Brush. Light cure.
The goal is to create a subtly different dentin layering on the other lateral incisor. Again, sculpt A2 Microhybrid onto the tooth, keeping the incisal edge free of composite. This time freehand mamelons on the surface of the Microhybrid with the IPCT instrument and the #12 blade scalpel. Light cure the composite.
Next, apply A3 Opaquer to the incisal edge to give the tooth a more amber halo. Light cure the opaquer. Dab on more A3 Opaquer and cure again. Light Incisal Microfill is then applied and spread across the tooth. It’s always good to put on a little bit too much so you can initially over build, pack and pad it on and take excess off the incisal edge. This ensures you will not be deficient in that area. Light cure the Microfill layer.
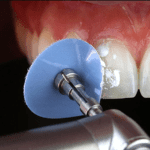
Finishing and Polishing the Peg Lateral Restorations
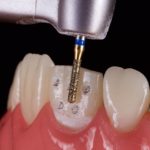
Now both teeth are ready for finishing and polishing. Using a #2 pencil, mark out basic anatomy – marking primary and line angles. Using a fine diamond bur, sculpt and form where you want the light to hit each tooth. Use the Coarse FlexiDisc Mini-centered to refine the primary anatomy and flatten any planes and a Medium FlexiDisc Mini-centered to get the line angles exactly where you want them.
Use your #2 pencil to check line angles and refine as needed. Use the fine diamond bur to make little horizontal sweeps, tucking in the incisal edge. Think of the three planes the tooth has coming out of the gingival to the incisal. Smooth any bur marks on the surface with first the Medium FlexiPoint and then the Medium, FlexiCup moving it horizontally and vertically softly over the tooth.
Using the fine diamond bur, add small details to the incisal edge. Run a #12 scalpel blade along the tooth’s surface to feel for seams. Smooth down any seams with the Superfine FlexiCup. This process starts to create an initial shine.
Mark secondary anatomy with a #2 pencil. Use the needle bur, Medium FlexiPoint, and Medium FlexiCup to add the anatomy. Repeat this process two to three times, and finish with the Superfine FlexiCup.
Use the needle bur again to create tertiary anatomy, letting it gently horizontally ripple across the surface. Dr. Thomas uses the FlexiBuff to clean the surface and check the progress. Refine tertiary marks as needed. Follow up with a Medium FlexiCup to remove high-wear areas and soften the edges.
Come back with FlexiBuff to get a fantastic final polish. The results are a tooth with a violent tint halo on one side and an amber tint halo on the other tooth.
