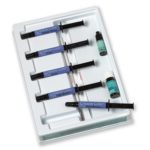
- Composites
- Finishing & Polishing
-
-
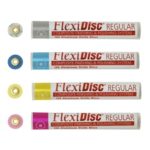 FlexiDisc Dental Polishing Discs
 Dental Polishing Cups, Burs & Points
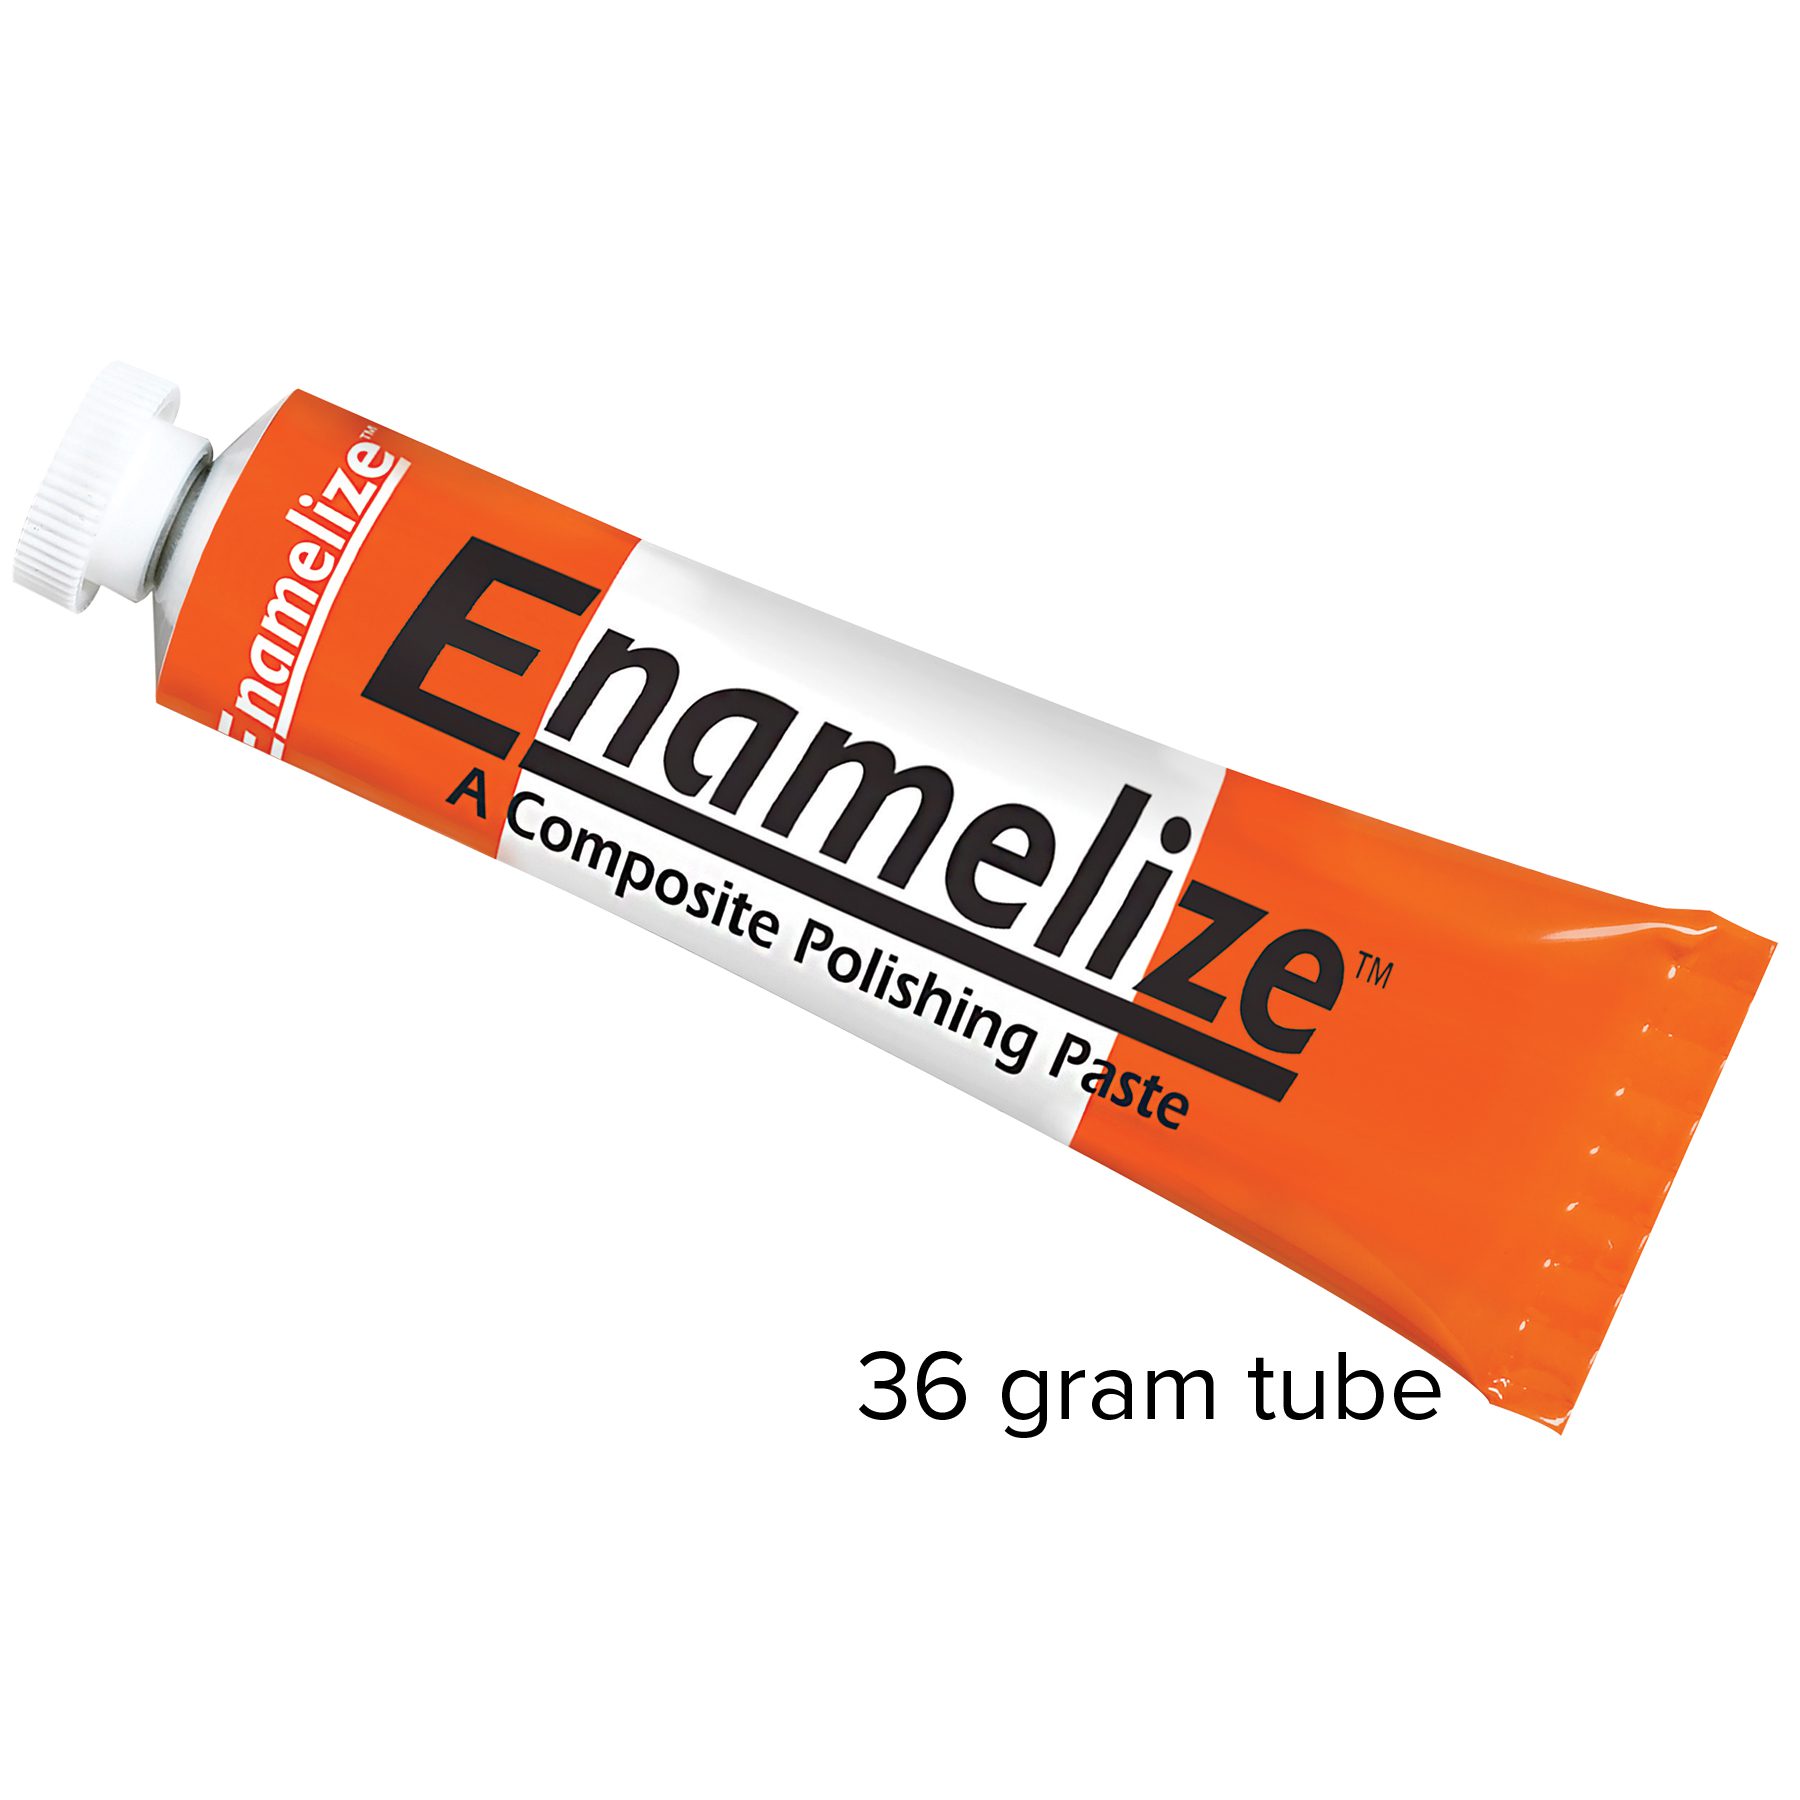 Enamelize Dental Polishing Paste
 FlexiBuffs
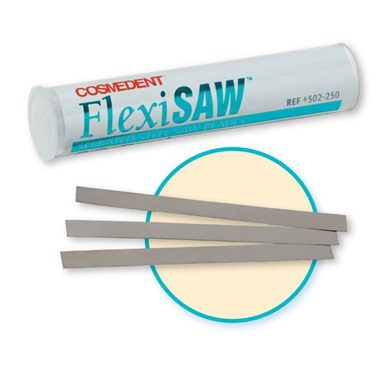 FlexiSAW
 All Ceramic Polisher
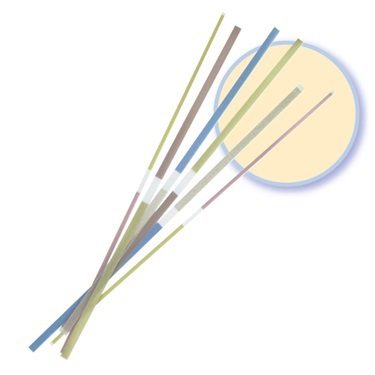 FlexiStrips Dental Polishing Strips
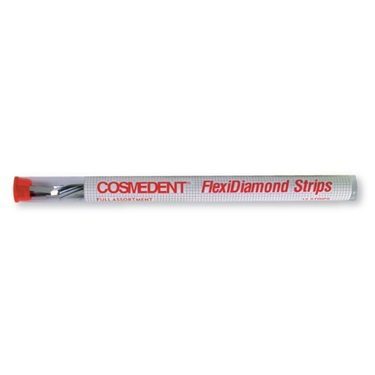 FlexiDiamond Strips
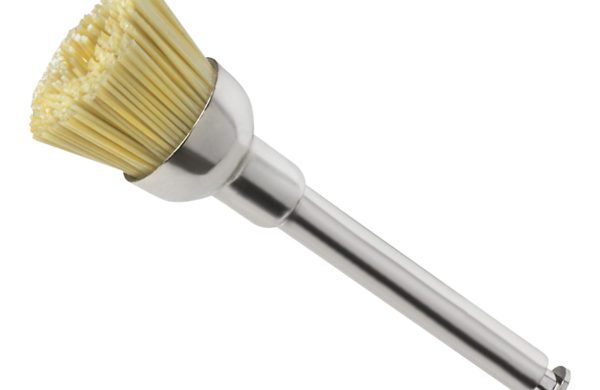 FlexiBrush Dental Polishing Brush
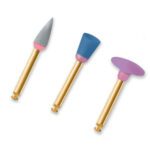 NANO / Microhybrid Diamond Polishers
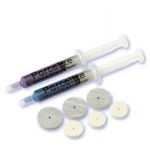 Porcelize - Porcelain Polishing & Finishing Paste
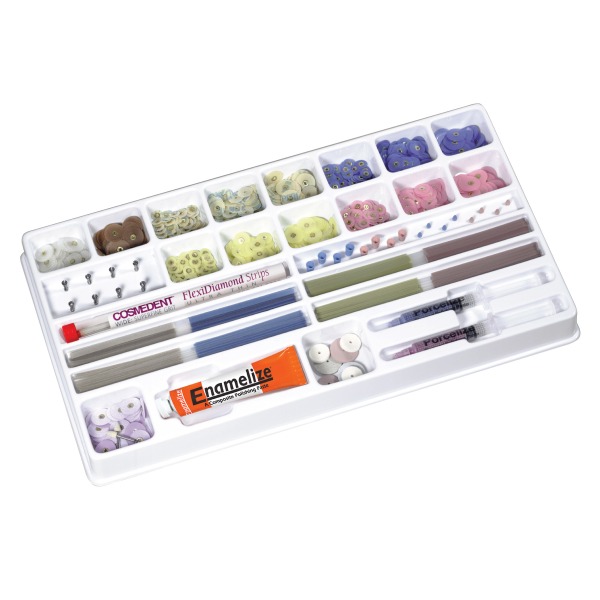 Top Finisher System
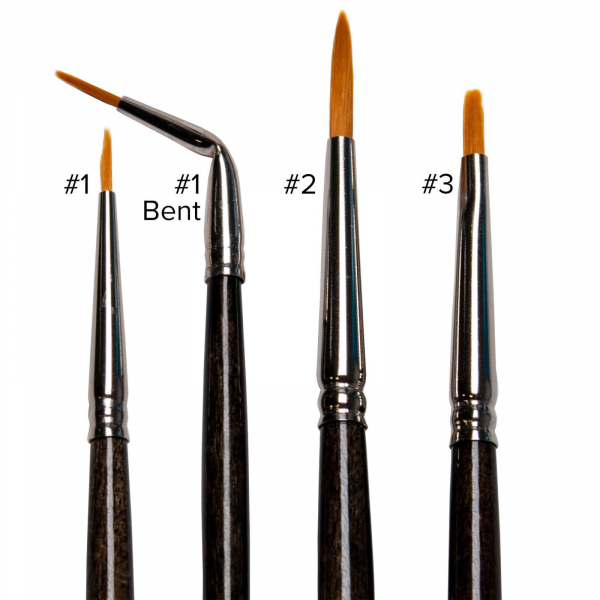
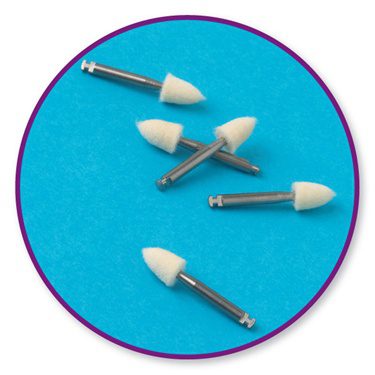 Felt FlexiPoints
-
-
-
-
- Core & Temp
- Resin Cement
- Accessories
- Education


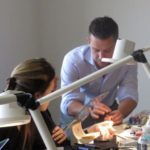


Webinar
Composite Power: Versatility Unsurpassed (Part 2)
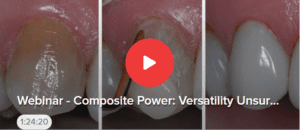 1-Hour FREE Webinar – Part 2
Explore examples and learn step-by-step techniques for performing a wide variety of dental restorations using direct resin bonding.
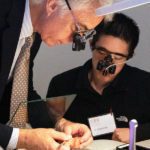
The Presenter: Dr. Bud Mopper, DDS MS
Dr. Bud Mopper has been practicing composite dentistry for over 40 years and is a renowned lecturer on the topic. He co-authored A Complete Guide to Dental Bonding, which was the first definitive book for the dental profession describing bonding techniques. Dr. Mopper is a Life Fellow of the Academy of Esthetic Dentistry, Founding Member and Fellow of the American Academy of Cosmetic Dentistry, Life Fellow and Diplomat of the American Board of Pediatric Dentistry, and Fellow of the American College of Dentistry. He teaches continuing education courses in direct resin bonding at multiple universities and has won numerous awards for his pioneering work in composite dentistry.
Overview: Examples of Composite Dental Restorations
In part 2 of this series, Dr. Mopper presents a variety of case studies of composite restorations performed in his practice. With pictures and step-by-step instructions, he explains the tools and materials he uses and techniques for color matching, smoothing, and sculpting using the power of composite to create a long-lasting, natural-looking smile.
Materials Used
Throughout the webinar, Dr. Mopper identifies the tools and materials used in his dental restorations. These include:
- Microbur – flame shaped
- Microbur – broad based
- 8856-016 diamond bur
- 6862-012 diamond bur
- Metal or teflon strips for isolation
- Wide FlexiStrips
- Bonding adhesives
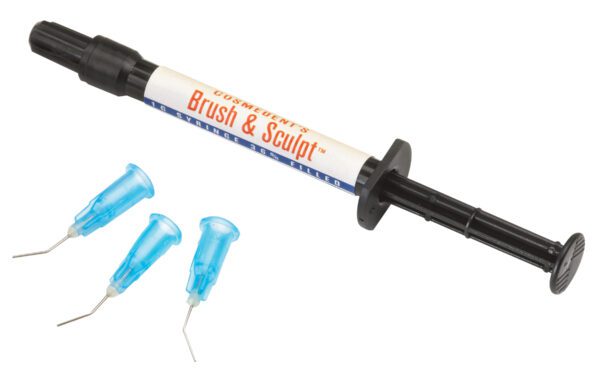
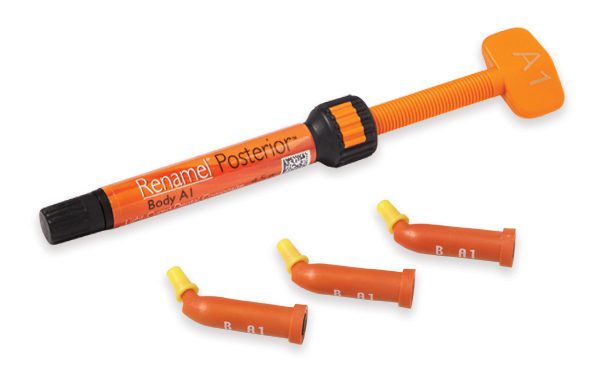
- Renamel Microfill
- Renamel Nanofill
- Renamel Microhybrid
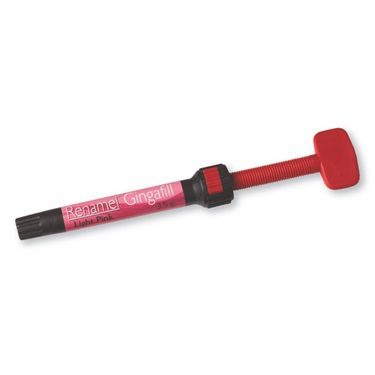
- Pink opaquer
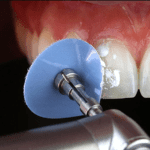
- FlexiDisc polishing discs
- Finishing strips
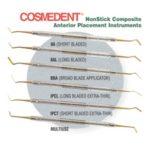
- 8A composite instrument
- IPCT composite instrument
- Multi-use composite instrument
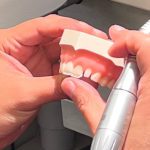
- Diamond polishers
- GingaGuard
Incisal Edge Reinforcement Using Troughing
Multiple cases are discussed of incisal edge reinforcement using troughing, a simple, minimally-invasive technique that can help halt the wearing and breakdown of teeth and prevent the need for crowns in the future.
In the first example, the patient has areas of extreme wear caused by bruxism. To prepare for restoration, the affected teeth are troughed out and the material replaced with Nanofill, using Microfill on the surface of the restoration. Care is taken to add canine rise to reestablish canine disclusion.
In the next case, the patient has areas of breakdown on the facial and lingual surfaces. Dr. Mopper demonstrates using a long bevel preparation and then restoring the teeth with Nanofill and Microfill.
Closing Diastemas with Composite
The first diastema patient presented was referred to to the practice by an orthodontist colleague who needed some help finishing a case. One of the biggest challenges when closing a diastema of the central incisors is creating symmetry: Dr. Mopper emphasizes the need to add composite to both centrals instead of just one. He details his technique for applying, blending, and shaping the Microfill.
Another patient visited Dr. Mopper after orthodontics, this time with a diastema involving the lateral incisors. In this instance, some preparation of the teeth is needed prior to composite dentistry — but prep is still minimal with this technique.
Repairing Enamel Defects
Dr. Mopper walks through several cases where he repairs enamel defects.
When a patient presents with an enamel lesion, it’s not sufficient to simply cover up the defect—it must be removed completely first. When a deep lesion goes into the dentin, it’s important to match the under color to the facial color when creating the restoration. This is achieved by starting with a Microhybrid layer followed by an overlay with Microfill, which is then finished and polished.
Dr. Mopper also shows a restoration of a brown spot lesion. This defect is likely the result of damage caused by an injury to the deciduous tooth that damaged the permanent tooth, causing a lesion.
Repairing a pit requires what Dr. Mopper has coined a “restorative pitectomy” using Microfill to create an invisible restoration.
Composite Veneering Techniques
Using several examples, Dr. Mopper explains how composite veneers rival porcelain veneers in terms of color, natural appearance, gingival integrity, long term durability, and ability to be repaired.
All veneers require tooth preparation. The following composite veneering techniques using Microhybrid and Nanofill are demonstrated:
- Preparation with incisal edge intact
- Preparation with incisal edge involvement when the tooth is fractured
- Examples using depth cuts
- Using Pink Opaque to neutralize dark areas
- Creation of cuspid rise
Reshaping and Realignment
The first reshaping case was a woman who had a retracted upper arch. Orthodontic surgery was recommended, but the patient opted for restorative correction instead to fill out the arch and create a broader smile. Dr. Mopper performed a more aggressive preparation before adding composite veneers.
Repairs
Dr. Mopper describes cases of repairing metal restorations (including gold and amalgam) with composite to get rid of the exposed metal. Opaquer is needed on top of the Microhybrid layer to block out the appearance of the shiny metal. Then Microfill is applied and polished. This replaces metal restorations with invisible composite.
Another repair addresses gingival recession along a porcelain and metal crown where metal has become exposed. Using GingaGuard to protect the gingival tissue, Dr. Mopper restores the area with composite.
He also shows an example where a metal restoration on the occlusal surface is repaired with composite to become invisible.
Dr. Mopper discusses repairs to existing composite restorations as well, showing a patient with 12-year old composites on the central incisors that had developed chips.
Additional Examples
Dr. Mopper discusses numerous examples of composite dentistry completed by his colleagues using similar materials and techniques. He also provides photos of long-term results at several years post procedure—some after 20 years or more—to demonstrate the durability and lasting results created with dental composites.
The webinar concludes with a question and answer session.